Table Of Contents
Removing the Door Panel
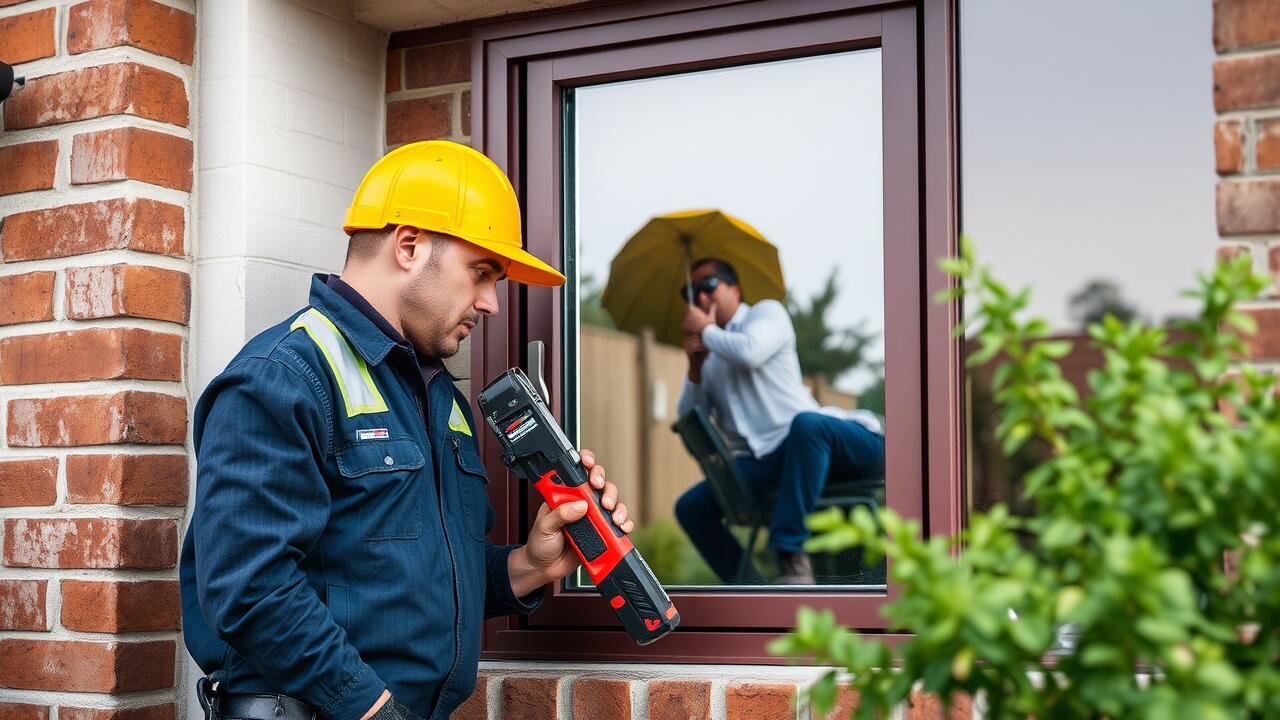
When embarking on the task of replacing a window regulator, removing the door panel is a fundamental step. Commence by ensuring all necessary tools are within reach. Carefully inspect the door for visible screws or clips holding the panel in place. Use a screwdriver to remove screws, typically located around the door handle, armrest, and along the edges. For clips, a trim tool can help pry the panel away without damaging it.
Once screws and clips are removed, gently lift the door panel upwards. Be mindful of any attached electrical wires or harnesses for the window controls. Disengage these connections cautiously to avoid any damage. With the door panel off, you now have access to the window regulator, essential for a successful side window repair. This step sets the foundation for a smooth installation of the new regulator.
How to Properly Detach the Door Panel
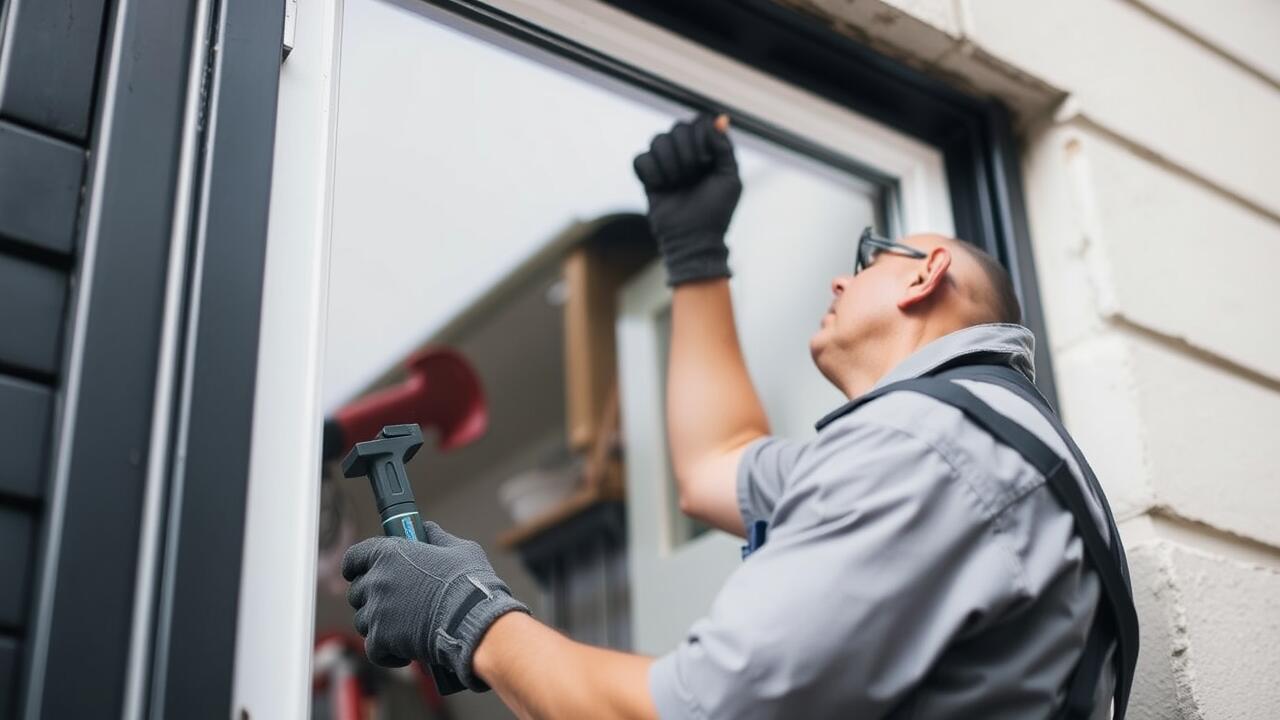
To begin the process of detaching the door panel, ensure that you have the right tools handy, including a screwdriver and plastic trim removal tools. Start by removing any screws that may be securing the panel to the door frame. These screws are typically located around the edges of the panel and may be hidden beneath covers or trim pieces. Be sure to keep track of these screws, as they will be necessary for reassembly.
Once the screws are removed, gently pry the door panel away from the frame using the plastic trim removal tools. This will help minimise the risk of damaging the panel or the surrounding trim. Pay close attention to any clips that may be holding the panel in place. If necessary, carefully disconnect any cables or wiring associated with window switches before fully removing the door panel. Completing this step ensures that the panel is free to be set aside, allowing you to access the window regulator for the side window repair.
Installing the New Window Regulator
Once the old window regulator has been removed, it is time to install the new one. Begin by aligning the new regulator with the mounting holes, ensuring it fits snugly in place. Secure it using the screws provided, making sure not to overtighten, as this may risk damaging the regulator. Ensure that the bolts are torqued to the recommended specifications to maintain functionality.
After securing the regulator, attach the window glass to the new mechanism. Slide the glass into the appropriate grooves and tighten the clamps or bolts to hold it securely in position. Make sure everything operates smoothly by manually testing the window’s movement before reassembling the door panel. Proper installation is crucial for effective side window repair, as it ensures longevity and reliable performance of the window mechanism.
Tips for a Successful Installation
Before starting the installation of the new window regulator, ensure you have all necessary tools at hand. This includes screwdrivers, a socket set, and any specific tools recommended in your vehicle’s manual. Organising your workspace can make a significant difference and reduce the chances of misplacing components. Pay close attention to the orientation of the old regulator as you remove it; taking photos during disassembly can serve as a helpful reference.
When positioning the new window regulator, make sure it aligns perfectly with the mount points. This step is crucial for ensuring smooth operation of the window. Once in place, securely fasten the screws or bolts without overtightening, which could damage the regulator. After completing the installation, test the window's movement before reattaching the door panel. A smooth operation indicates a successful installation, contributing to effective Side Window Repair.
Reconnecting the Electrical Components
Once the window regulator is securely installed, attention turns to reconnecting the electrical components. Start by locating the wiring harness associated with the window mechanism and ensure that all connectors are clean and free from debris. Align the connectors properly, as incorrect positioning might cause electrical malfunctions. Listen for a click or feel a firm resistance indicating that each connector has seated correctly.
After reconnecting the electrical components, perform a quick functionality test. Activate the window switch to check if the window moves smoothly up and down. If any issues arise, double-check all connections and the condition of the wiring. This step is crucial in ensuring a successful side window repair, as any disconnection can lead to further complications down the line.
Ensuring Proper Electrical Connections
Once the new window regulator is securely installed, it's essential to reconnect the electrical components. Start by identifying the corresponding connectors from the regulator and the vehicle's wiring harness. Ensure that each connector aligns correctly before pressing them together. A secure connection helps prevent any electrical issues that could hinder the operation of the power window.
After reconnecting, it’s wise to test the window’s functionality before reassembling the door panel. This preliminary check can save you time and effort. If the window operates smoothly, proceed with the final steps of your Side Window Repair. If not, inspect the connections again to ensure they are secure and free of dirt or corrosion.
FAQS
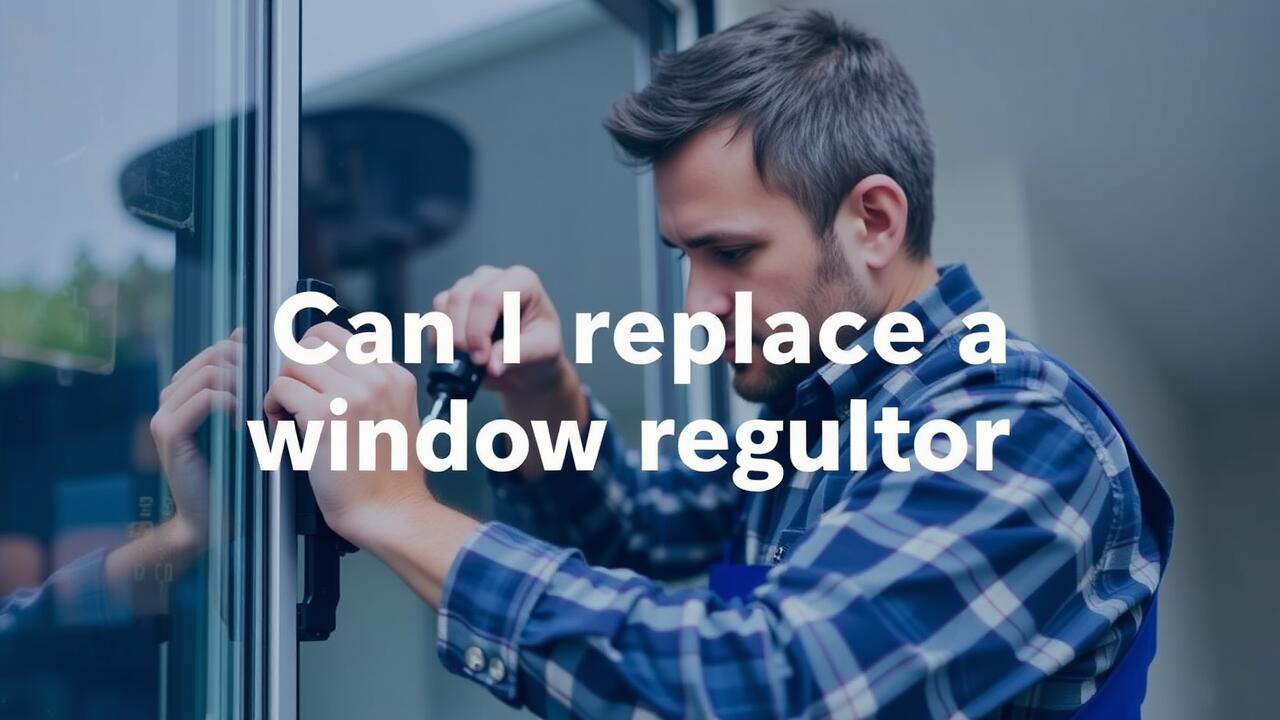
Can I replace a window regulator myself?
Yes, replacing a window regulator yourself is possible if you have basic mechanical skills and the right tools.
What tools do I need to replace a window regulator?
You typically need screwdrivers, a socket set, pliers, and possibly a trim removal tool to safely detach the door panel.
How long does it take to replace a window regulator?
The time it takes can vary, but most DIYers can complete the replacement in 2 to 4 hours depending on their experience and the specific vehicle.
Are there any specific safety precautions I should take?
Yes, ensure the vehicle is turned off, disconnect the battery, and work in a well-lit area. Additionally, take care when handling glass and sharp edges.
What should I do if the new window regulator doesn’t work after installation?
Double-check all electrical connections to ensure they are secure and properly connected. If issues persist, there may be a problem with the regulator or the switch itself.