Table Of Contents
Step-by-Step Guide to Repairing a Windshield
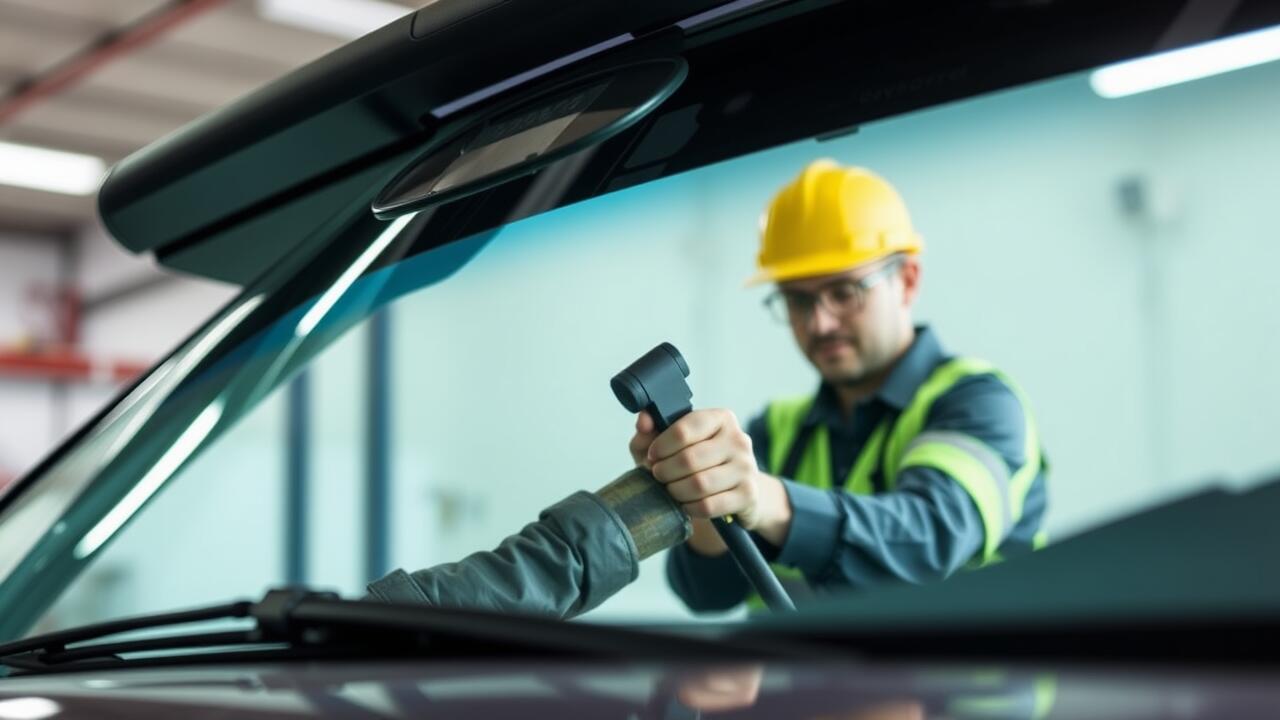
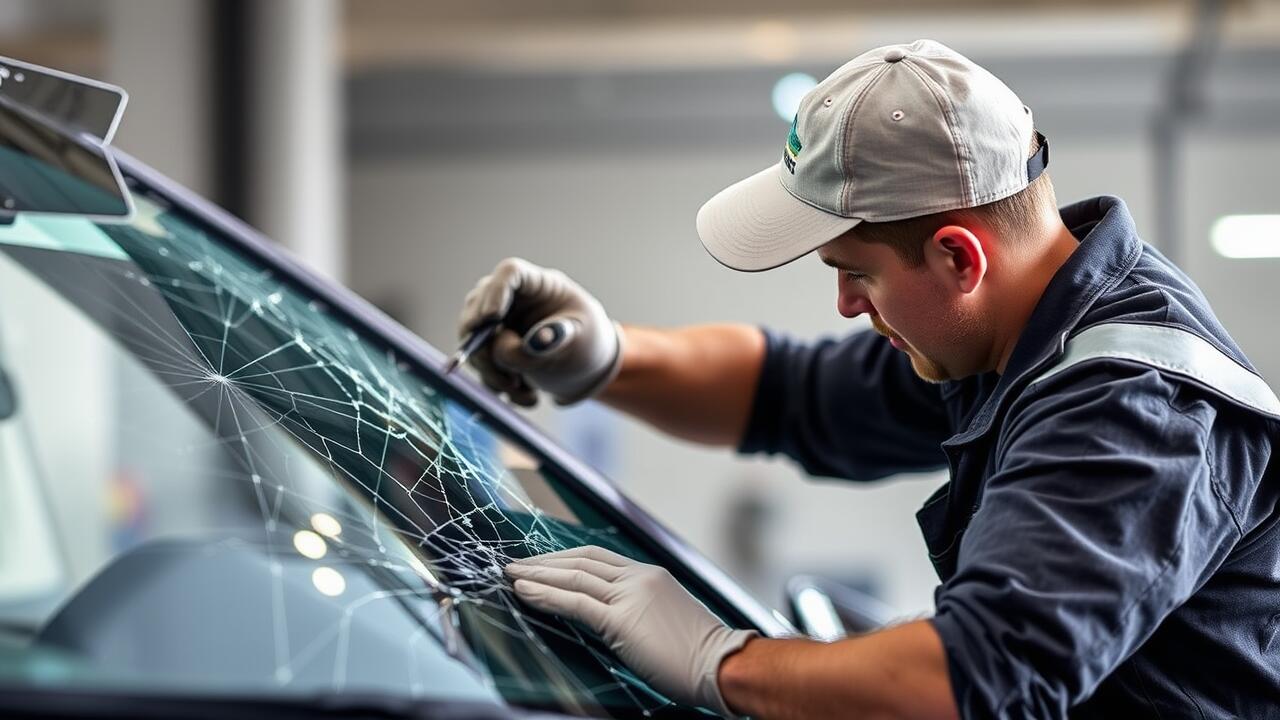
Before starting any windshield repair, gather the necessary tools and materials, including a repair kit specific for windshield repair, a razor blade, and clean cloths. Begin by cleaning the area surrounding the crack to remove any dirt or debris. This step ensures that the adhesive used in the repair process bonds effectively with the glass. Carefully examine the crack to determine its length and severity, as these factors will dictate the likelihood of a successful repair.
Next, follow the instructions provided with your repair kit. Most kits require you to apply a special adhesive into the crack using a syringe-like applicator. It is crucial to fill the crack completely to prevent air bubbles from forming. Once the crack is filled, the adhesive usually needs to cure under UV light or sunlight. After the required curing time, use a razor blade to remove any excess adhesive, ensuring a smooth finish to the repaired area. If successful, this process can restore the integrity of the windshield without the need for complete replacement.
Detailed Repair Process
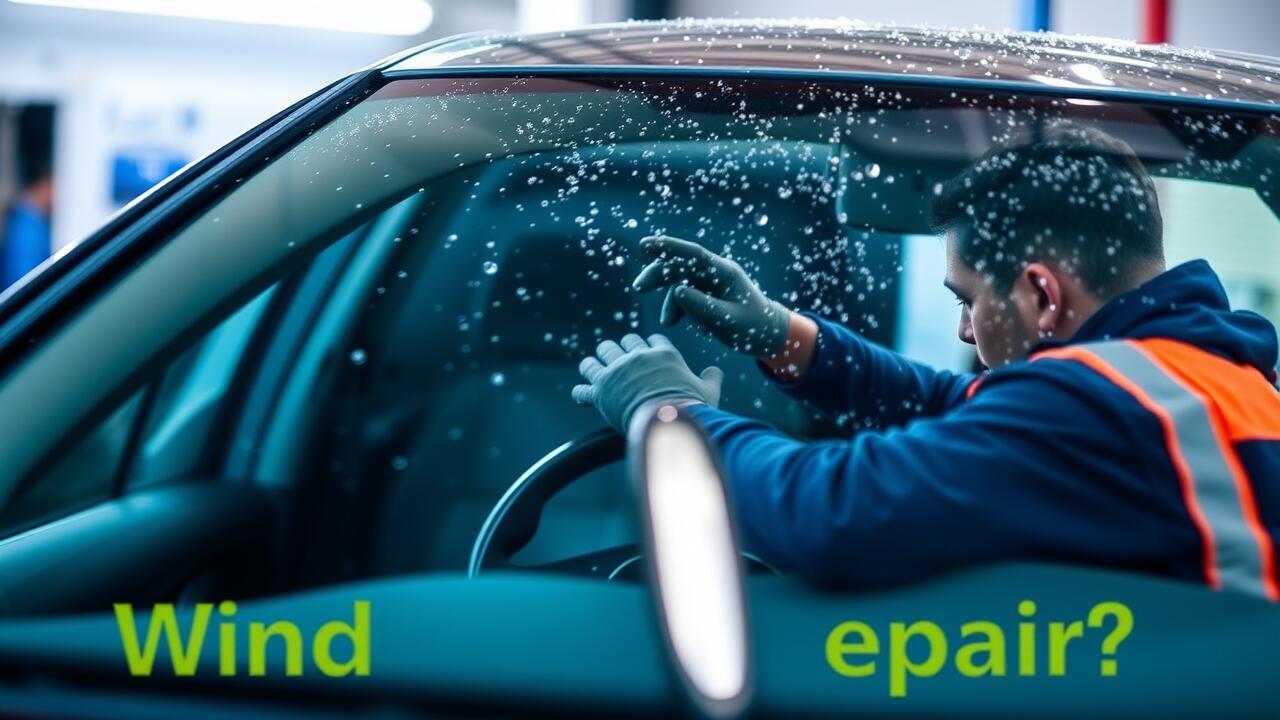
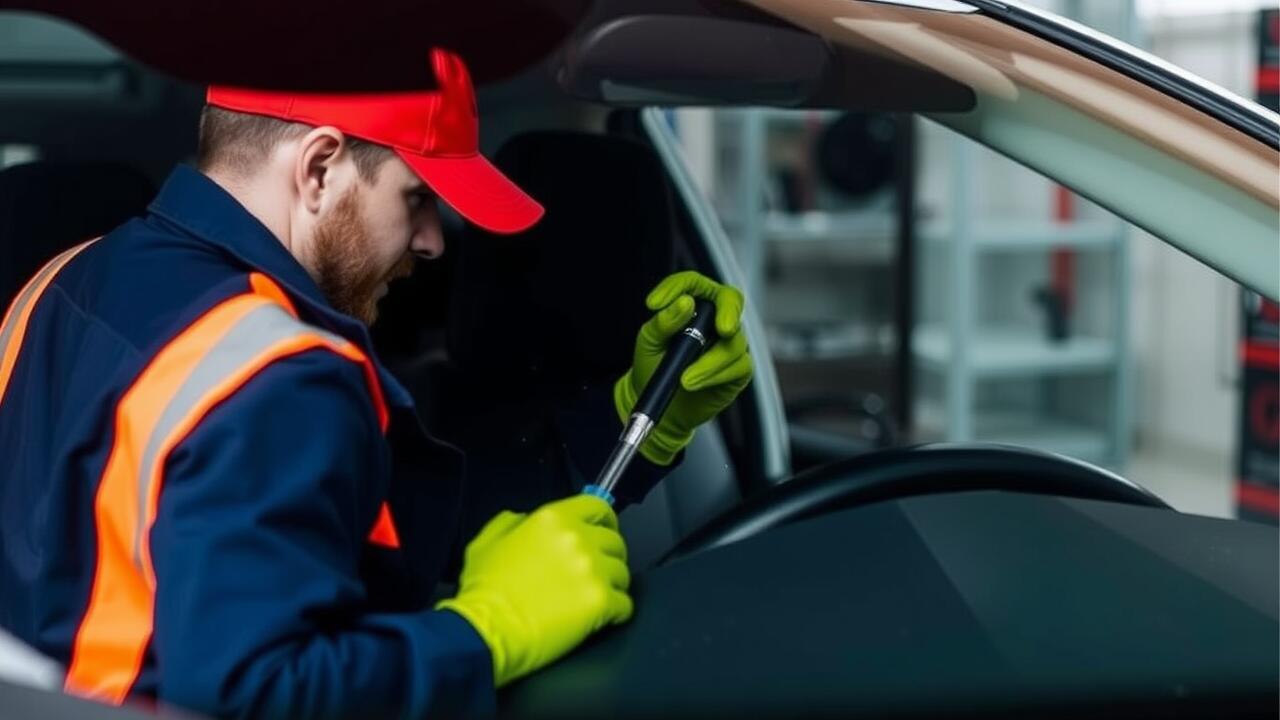
Repairing a damaged windshield involves several key steps to ensure a successful outcome. Begin by cleaning the area around the crack thoroughly, removing any dirt or debris that might hinder the repair process. Apply a special resin into the crack using a syringe or a similar tool. The resin is designed to fill the gap completely, restoring the structural integrity of the windshield. After filling the crack, use a blade to level the resin with the surface of the glass, ensuring a smooth finish.
Once the resin is in place, curing it with UV light is crucial for optimal results. This step typically takes only a few minutes but requires careful attention to ensure proper hardening. After curing, inspect the repair to confirm it has filled the crack adequately. If necessary, additional resin can be applied, followed by another curing process. Finally, clean the windshield again to remove any excess resin and restore clarity. Proper execution of these steps can significantly enhance the effectiveness of the windshield repair.
Limitations of DIY Windshield Repair
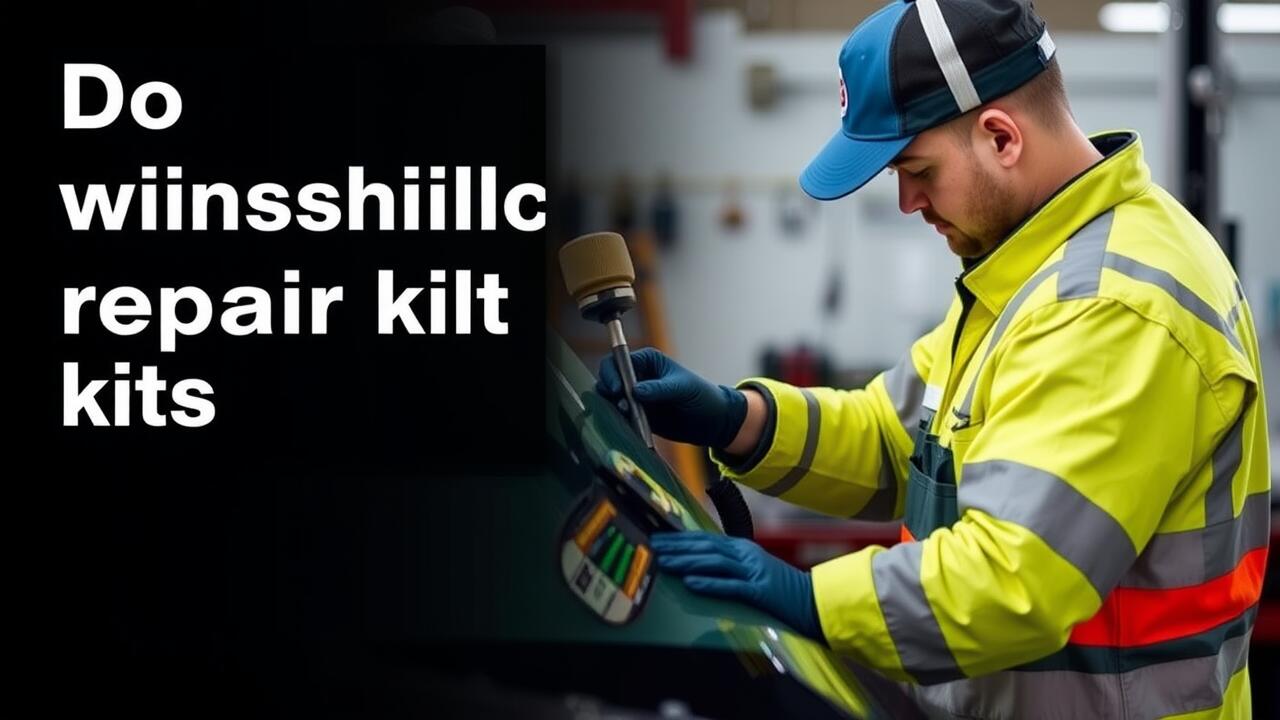
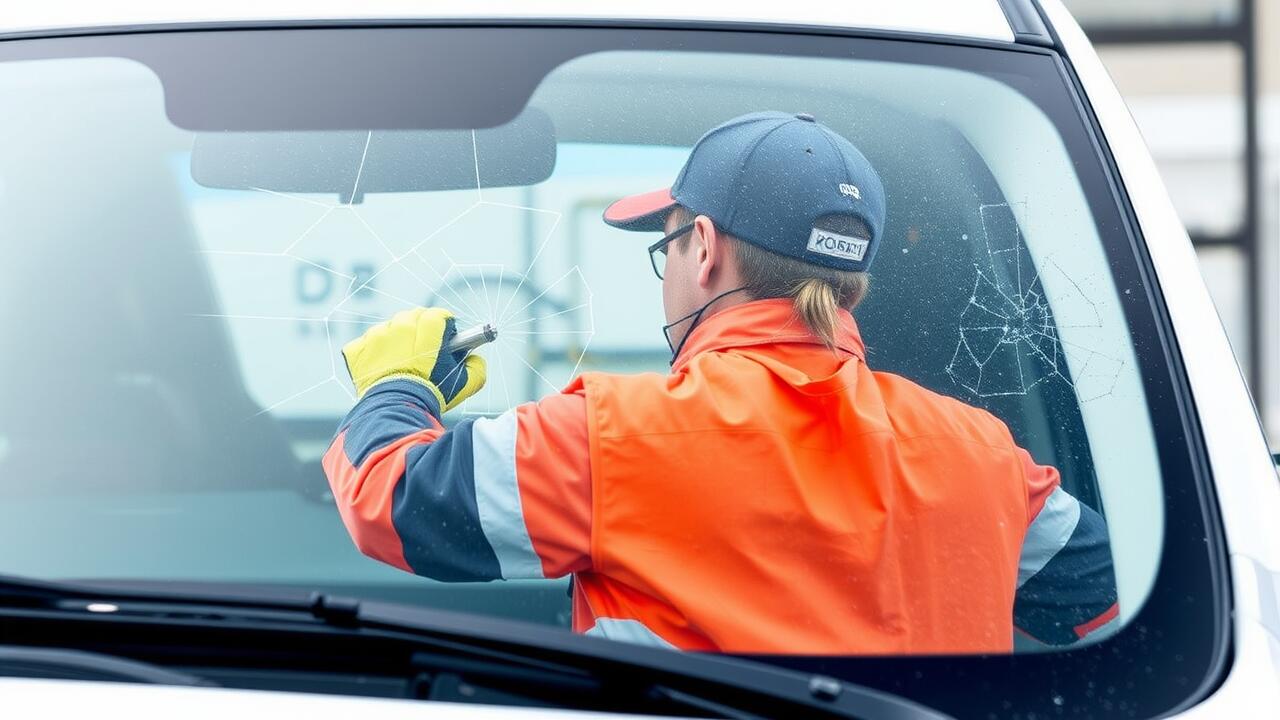
DIY windshield repair may seem like an appealing option for those looking to save money, but it comes with significant limitations. A 12-inch crack often exceeds the capabilities of typical repair kits, which are designed for smaller blemishes. Furthermore, the effectiveness of these repairs can vary based on the skill of the person performing them, leading to a risk of improper sealing or incomplete fixes that can compromise the integrity of the glass.
Another consideration is the potential for additional damage after a DIY repair attempt. If the crack worsens or spreads, it could render the windshield unsafe, necessitating a full replacement. Weather conditions, such as temperature fluctuations, can also affect the outcome of a DIY windshield repair. It's important to assess whether the risk of doing it yourself is worth the potential consequences.
Common Challenges and Mistakes
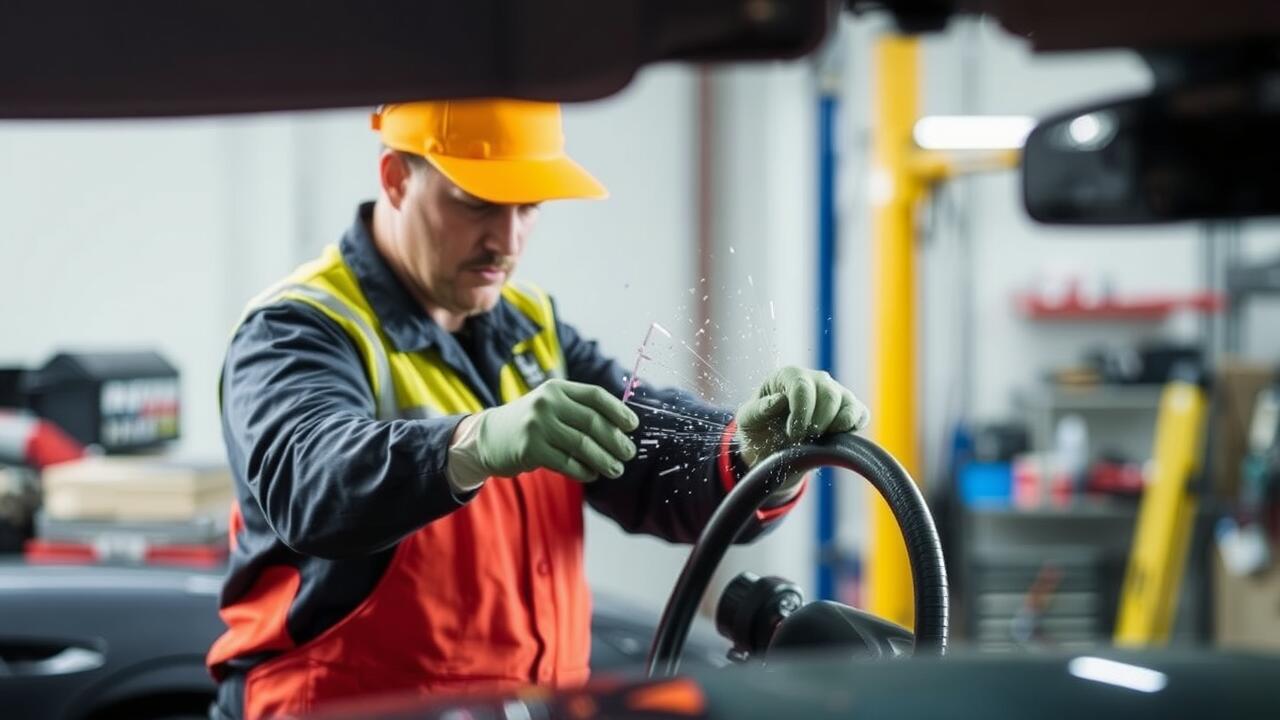
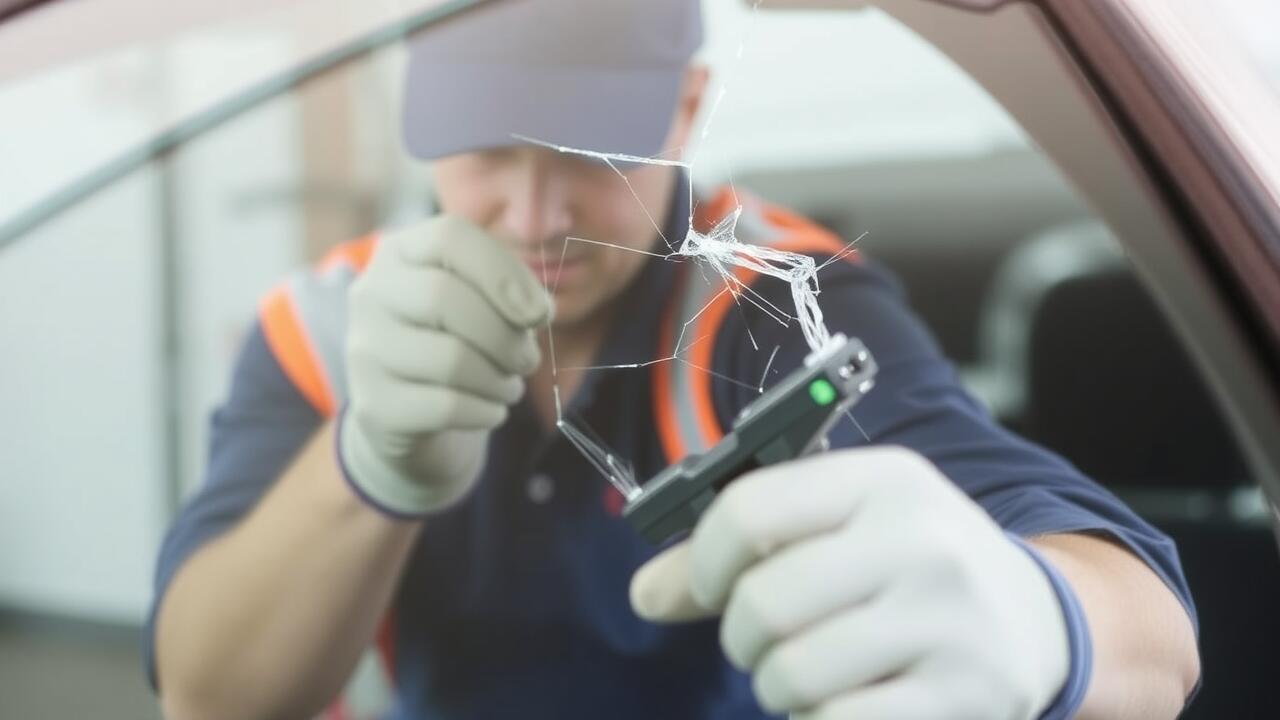
One of the common challenges faced during windshield repair is ensuring that the injected resin properly fills the crack. If the resin does not adequately penetrate all areas of the damage, it can lead to suboptimal results. This often occurs due to insufficient cleaning of the crack or improper application techniques. Additionally, environmental factors such as temperature and humidity can affect the curing process of the resin, potentially compromising the repair.
Another mistake often made in DIY windshield repair is misjudging the severity of the damage. A 12-inch crack may appear superficial, but it can have underlying issues that require a professional's attention. Attempting to repair damage that is too extensive can lead to further complications, including increased costs down the line. A thorough assessment of the crack before starting any windshield repair is crucial to ensure a successful outcome.
Costs Associated with Windshield Repairs
The costs associated with windshield repair can vary significantly based on several factors. The extent of the damage plays a critical role; minor chips and smaller cracks are generally less expensive to fix than larger or more complex issues. Additionally, the make and model of the vehicle can influence pricing, as some windshields are more costly due to their design or type of glass used. Professional services typically charge a fee that can range from a modest sum to larger amounts, especially if the crack is near the edge or affects the driver’s line of sight.
In contrast, opting for a DIY approach may save some money upfront, but it's essential to consider the potential risks involved. If the repair is not done correctly, it could lead to further damage, resulting in higher costs later if a full replacement becomes necessary. Furthermore, some insurance policies might cover part or all of the repair costs, which can alleviate financial burdens. Windshield repair often proves to be the most economical option when weighing the alternatives of repair versus complete replacement.
Comparing Repair and Replacement Expenses
When evaluating the financial aspect of windshield damage, understanding the costs associated with windshield repair compared to complete replacement is crucial. Repairing a small crack or chip tends to be significantly cheaper, often ranging from $100 to $200, depending on the extent of the damage and the service provider. Such repairs typically can be completed quickly, sometimes in under an hour, making them a convenient option for many drivers.
In contrast, replacement of a windshield can set you back anywhere from $300 to over $1,000, depending on the vehicle model and types of glass used. This price often includes not just the cost of the glass but also labour fees and any additional materials necessary for the installation. The decision to repair or replace should be based on the size and location of the crack, as well as the potential impact on safety and compliance with regulations. Windshield repair remains a preferred choice when feasible, offering a more budget-friendly solution for maintaining automotive safety and integrity.
FAQS
Can a 12 inch crack in a windshield be repaired without replacing it?
Generally, a crack of that length is too significant to be repaired effectively and may require a full replacement to ensure safety and structural integrity.
What are the risks of driving with a 12 inch crack in my windshield?
Driving with a large crack can impair your visibility, increase the risk of accidents, and may lead to further damage or shattering of the windshield.
What is the typical cost to replace a windshield with a 12 inch crack?
The cost of replacing a windshield can vary widely, but it typically ranges from AUD 300 to AUD 1,500, depending on the vehicle make and model.
Are there any DIY methods to fix a long crack in a windshield?
While there are DIY kits available for minor cracks and chips, a 12 inch crack is generally beyond the scope of effective DIY repair and is best handled by a professional.
How can I tell if my windshield can be repaired instead of replaced?
A professional technician can assess the damage, but as a rule of thumb, cracks longer than 15 cm or those that are deep or in the driver's line of sight typically require replacement.