Table Of Contents
Effectiveness of DIY Windshield Repair Kits
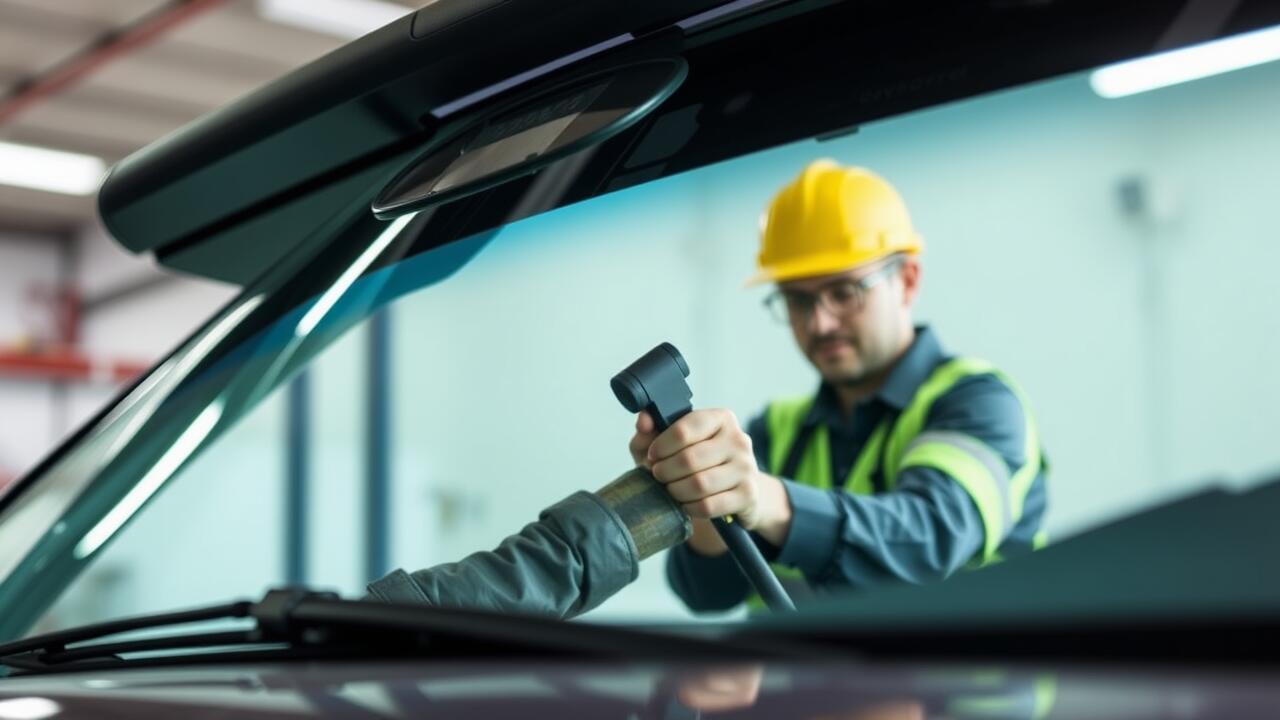
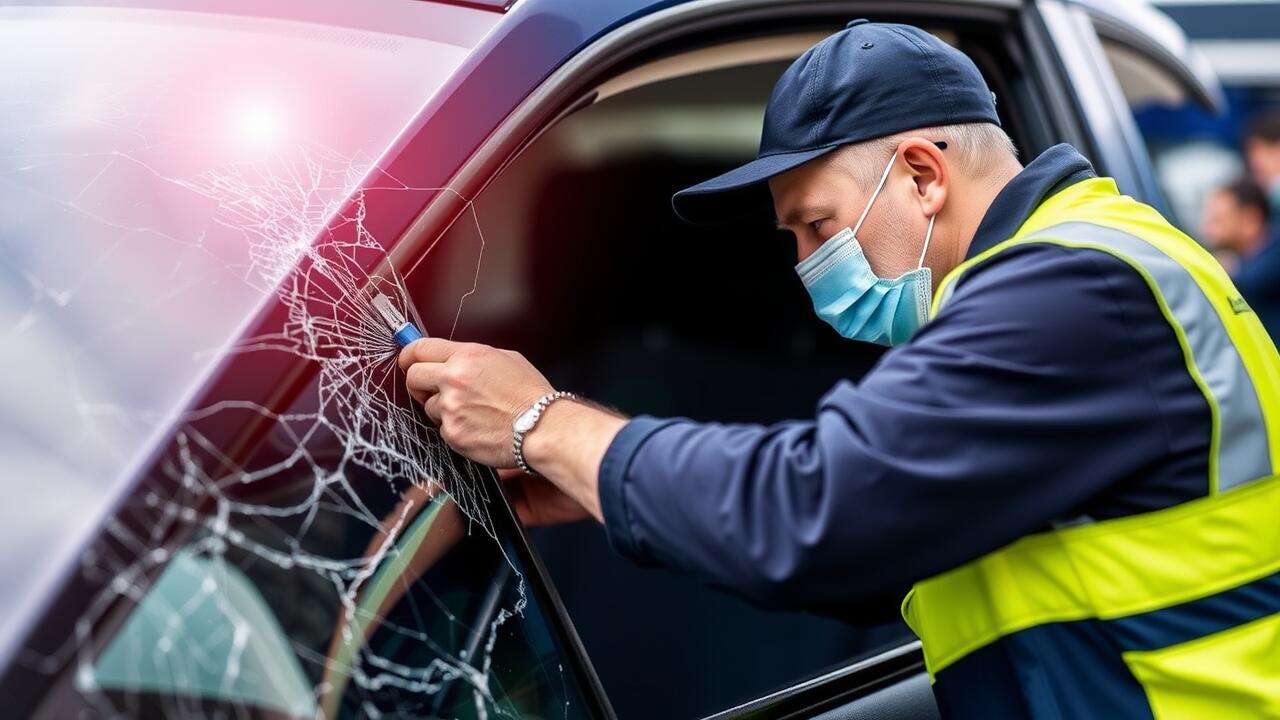
DIY windshield repair kits offer a practical solution for minor cracks and chips in your vehicle's glass. These kits generally contain a resin that fills the damaged area and, once cured, restores structural integrity to the windshield. Many users report noticeable improvements after application, often leading to enhanced visibility and preventing further damage. Effectiveness can depend on the size and location of the crack, as well as the skill of the person performing the repair.
User experiences highlight varying degrees of success with these kits. While some individuals achieve professional-looking results, others encounter issues such as incomplete filling or residual imperfections. Proper technique is essential for optimal results, which can make a significant difference in the effectiveness of the DIY windshield repair process. Additional factors like environmental conditions during application may also play a role in the overall outcome.
Success Rates and User Testimonials
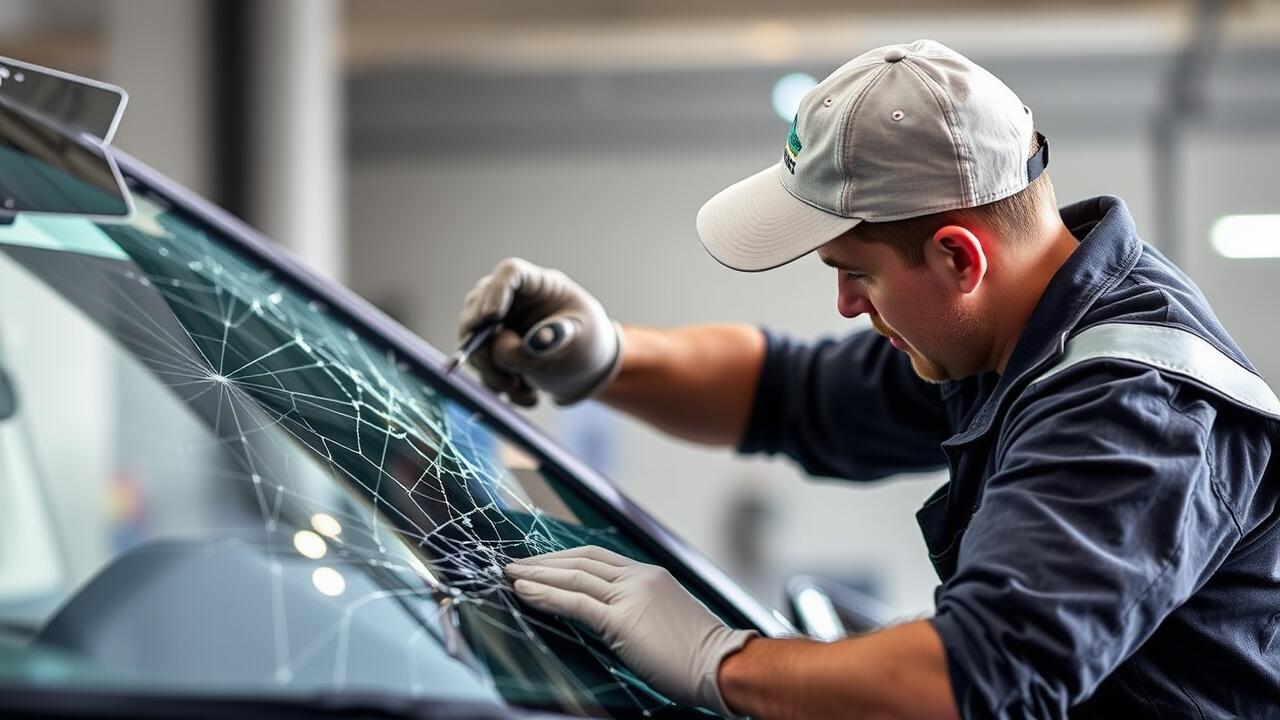
Many users have reported high success rates when using DIY windshield repair kits, often indicating that the kits effectively restore clarity and structural integrity to the glass. Testimonials highlight the ease of use and the cost-effectiveness compared to professional repair services. Several reviews show that the results can be impressive, with users describing their satisfaction after witnessing a reduction in the visibility of cracks and chips.
However, experiences do vary depending on the kit and the type of damage present on the windshield. Some users have mentioned that smaller chips responded better to the repair process, while larger cracks posed more challenges. Feedback suggests that while many achieve positive outcomes, users should manage their expectations based on the severity of the damage and the quality of the repair kit they choose.
Safety Considerations When Using Repair Kits
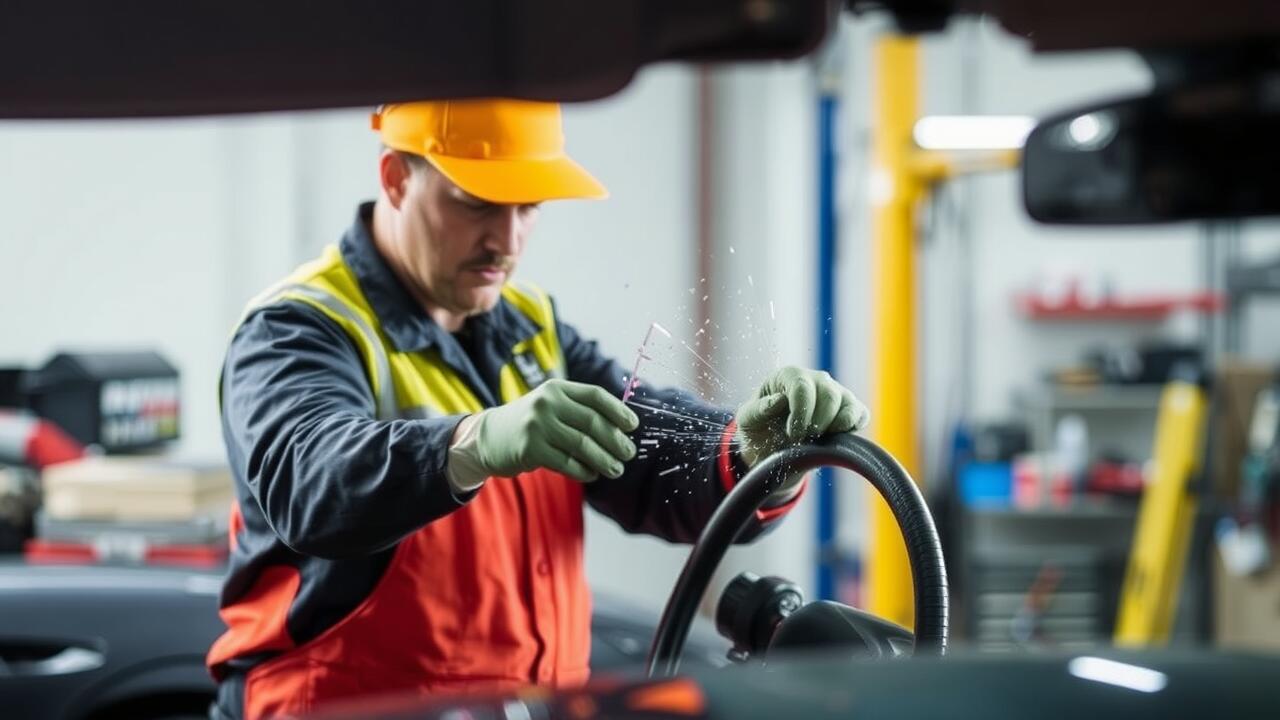
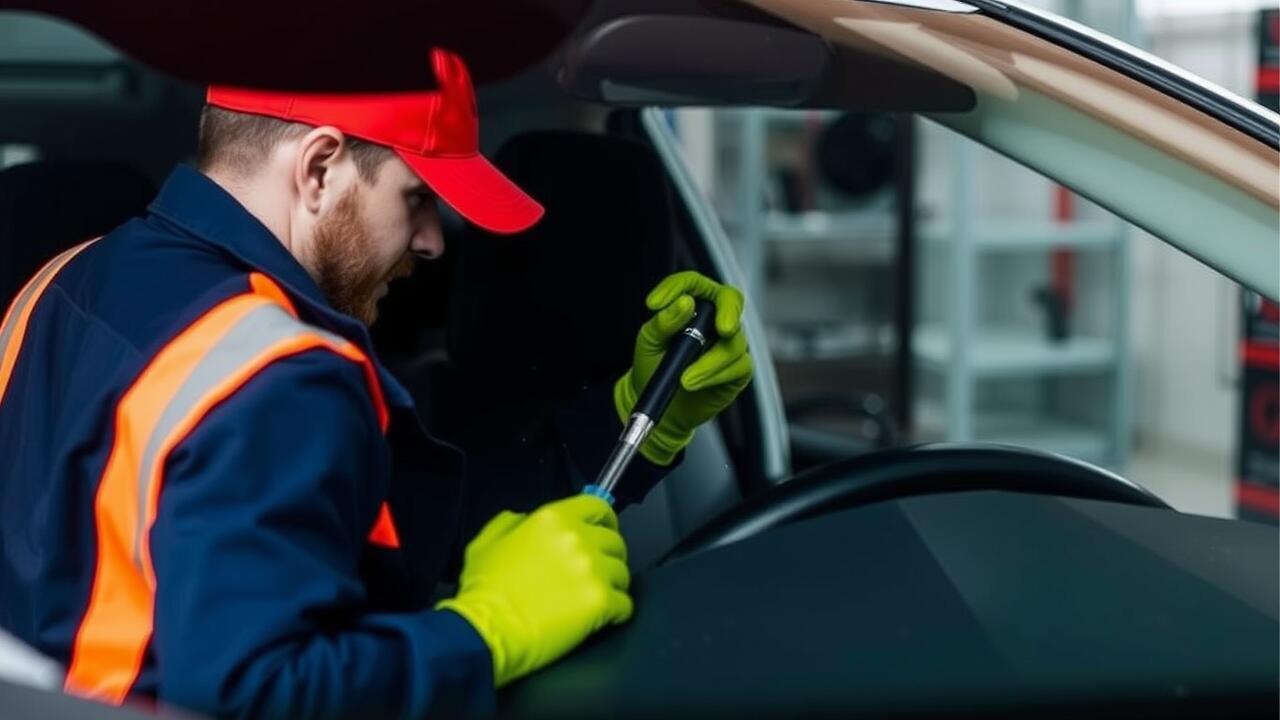
Using DIY windshield repair kits can provide a cost-effective solution, but safety must be a priority. Wear protective eyewear to shield your eyes from potential debris during the process. It's also essential to work in a well-ventilated area to avoid inhaling harmful fumes released from the resin used in the repair kit. Keeping children and pets away from the workspace is advisable, as tools and materials could pose hazards.
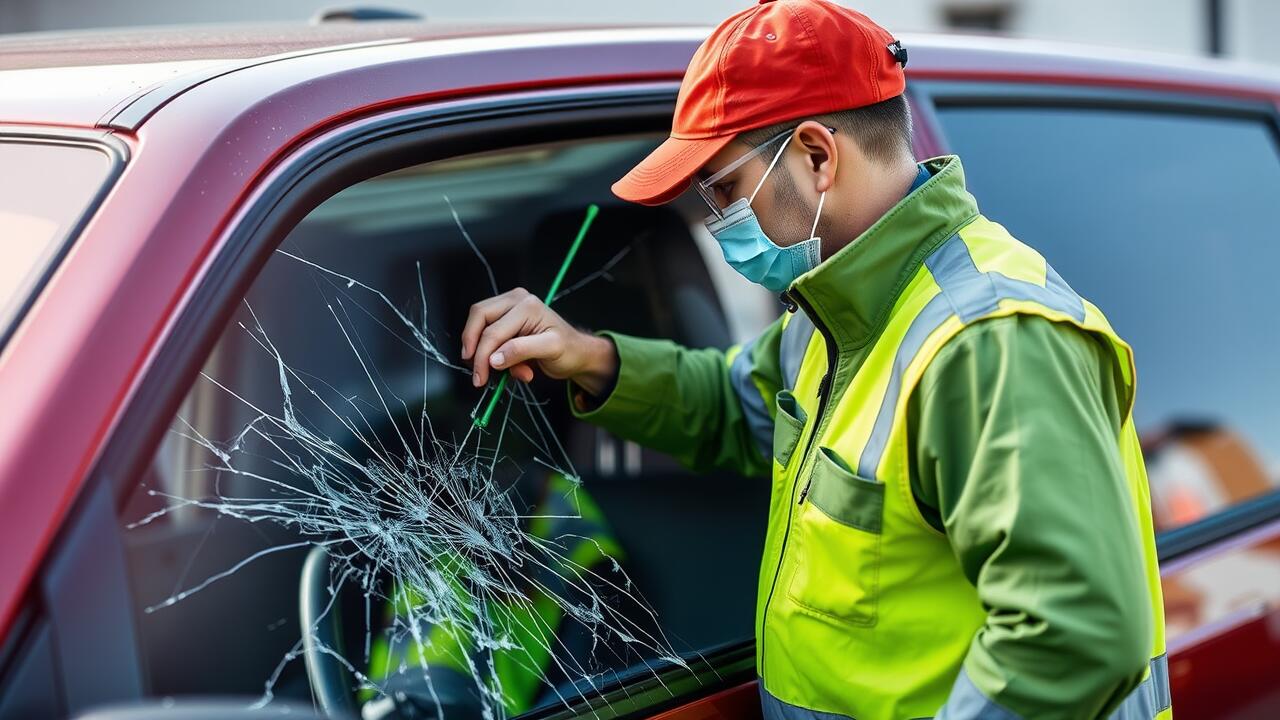
Before embarking on any windshield repair, ensure you assess the extent of the damage. Minor chips may be manageable with a DIY approach, but cracks that are larger or in the driver's line of sight may compromise safety and visibility. If the damage appears extensive, consulting a professional may be the safest option. Taking these precautions helps ensure a more secure and effective windshield repair experience.
Precautions to Take Before Starting
Before beginning any windshield repair, it is essential to assess the extent of the damage. Examine the crack or chip closely to determine whether it is within the repairable area, typically defined as a chip no larger than 25mm or a crack no longer than 15cm. If the damage extends beyond these dimensions, professional assistance may be required. Also, consider the location; cracks in the driver’s line of sight may pose safety hazards and may not be suitable for DIY windscreen repair.
Ensure that the weather conditions are ideal for performing the repair. Windshield repair should ideally be undertaken on a dry day with temperatures between 15°C and 30°C. Cold conditions can affect the adhesive’s curing time, while excessive heat may lead to a rapid cure, preventing proper dendritic flow of the resin. Additionally, park the vehicle in a shaded area to prevent direct sunlight from heating the glass, which can lead to further complications during the repair process.
Common Mistakes to Avoid During Repair
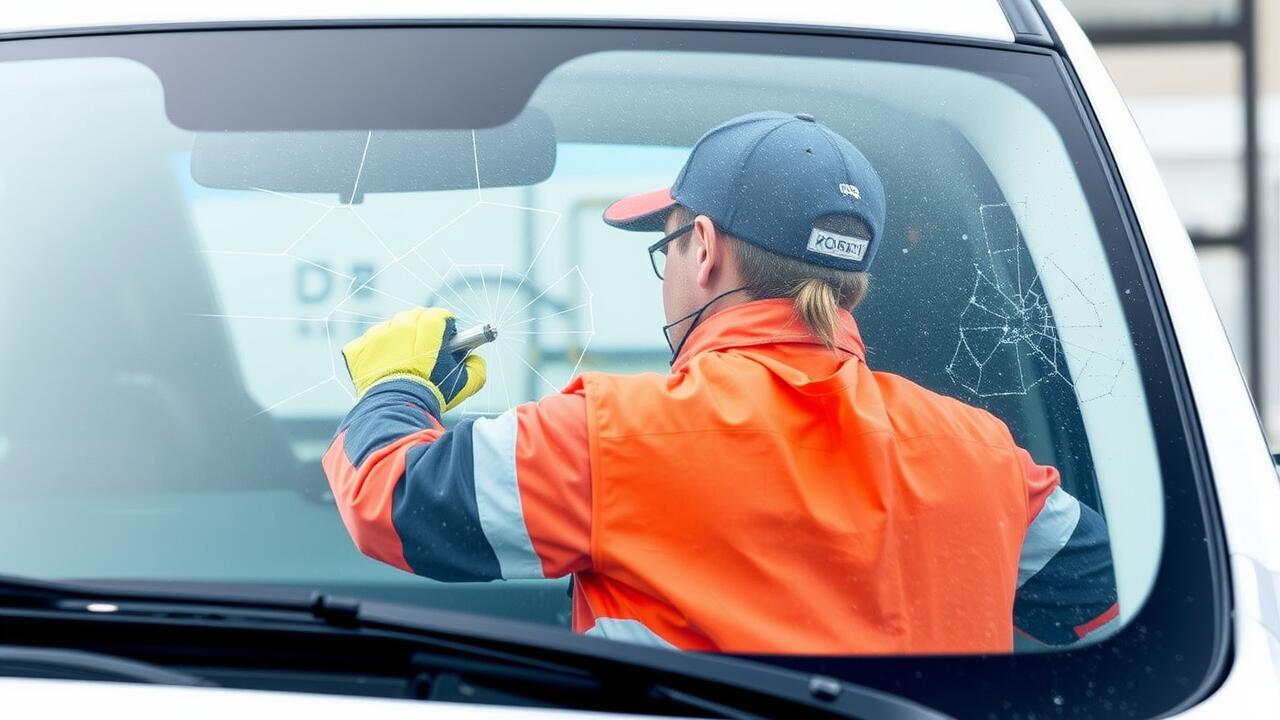
One of the most frequent mistakes when attempting windshield repair is not properly cleaning the damaged area before application. Dirt, dust, and moisture can inhibit the bonding process of the resin, leading to a less effective repair. Ensuring the surface is clean and dry is essential to achieve a durable result. Use a suitable cleaning solution and a lint-free cloth to prepare the area, taking care to remove any debris that could compromise the repair.
Another common error involves applying too much resin during the repair process. Overfilling can result in messy overflow, making the repair look unprofessional and potentially affecting visibility. It's important to follow the manufacturer's instructions regarding the amount of resin to use. Applying the resin in controlled, measured amounts ensures a smoother finish and enhances the overall effectiveness of the windshield repair.
Tips for a Flawless Application
Achieving a flawless application during a windshield repair can significantly impact the outcome. Begin by carefully cleaning the area around the crack or chip with a microfiber cloth to remove any dirt or debris. Proper cleaning ensures that the resin can bond effectively with the glass. Position the repair tool accurately over the damage, allowing for a precise application of resin without spills. Read the instructions thoroughly, as each kit might have specific requirements that can enhance the final result.
After applying the resin, monitor the curing process closely. Avoid moving the vehicle or exposing the repair to water during this time. It's advisable to check the weather conditions before beginning the repair, as extreme temperatures can affect the resin's effectiveness. Using a UV light or simply placing the vehicle in sunlight can help speed up the curing if the kit allows for it. Taking these precautions will increase the chances of a successful windshield repair and improve the overall appearance of the glass.
FAQS
What should I look for in a good windshield crack repair kit?
When choosing a windshield crack repair kit, look for features like a high-quality resin, an easy-to-follow instruction manual, a suction cup applicator, and positive user reviews. Additionally, ensure the kit is suitable for the type and size of the crack you need to repair.
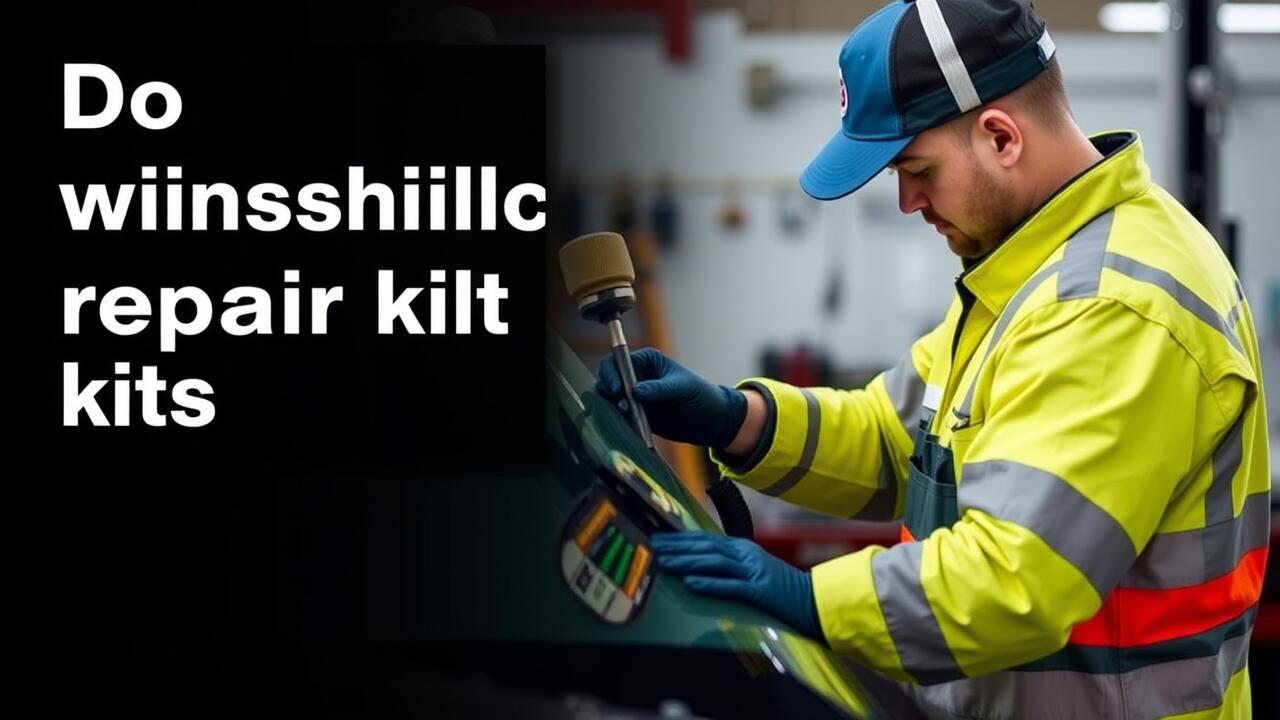
Are DIY windshield repair kits effective?
Yes, DIY windshield repair kits can be effective for minor cracks and chips. However, their success often depends on the severity and location of the damage, as well as the user's ability to follow the instructions properly.
Can I use a repair kit on any type of windshield damage?
Most repair kits are designed for small cracks and chips, typically those that are less than 6 inches long. For larger or more complex damages, such as those affecting the driver's line of sight or deep cracks, it’s recommended to consult a professional.
How long does it take to repair a windshield with a DIY kit?
The actual application of a DIY windshield repair kit usually takes about 30 minutes. However, you'll need to allow additional time for the resin to cure, which can vary depending on the product but typically ranges from 1 to 24 hours.
Are there any safety concerns when using a windshield repair kit?
Yes, there are safety considerations to keep in mind. Ensure you wear protective eyewear and gloves while handling the resin, and work in a well-ventilated area. It's also important to follow all instructions carefully to avoid injury or further damage to the windshield.