Table Of Contents
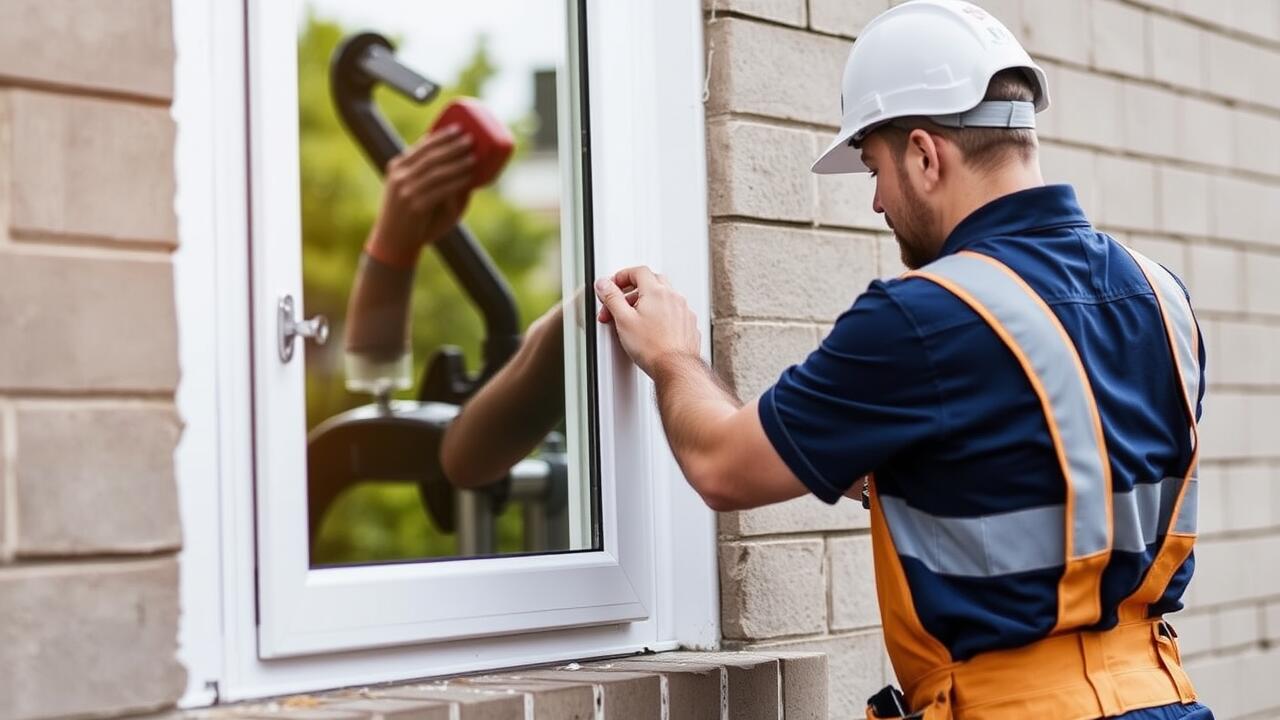
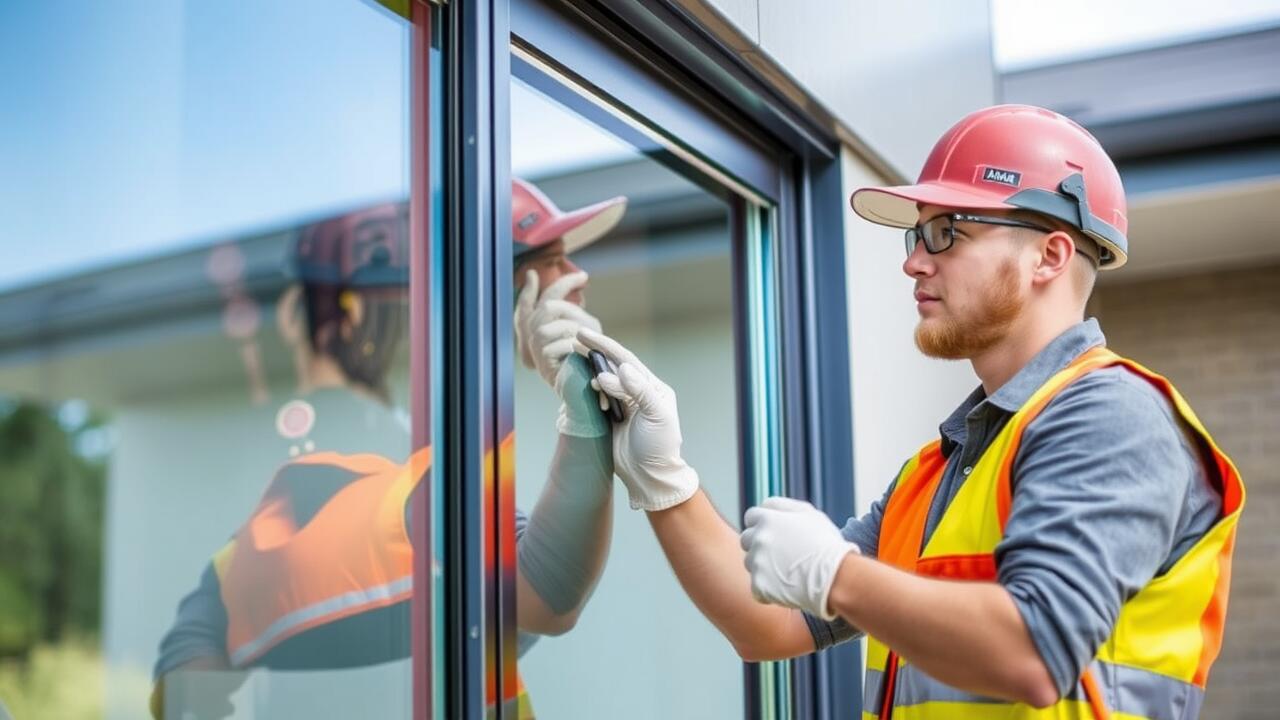
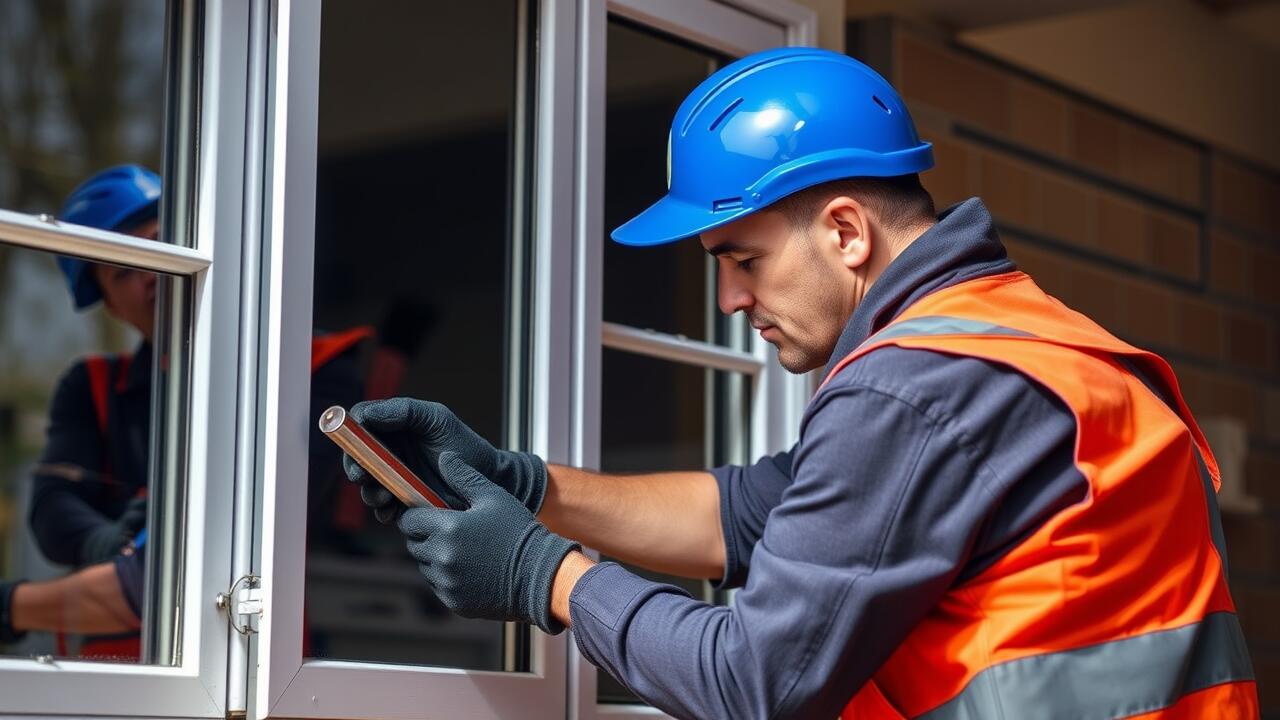
Removing the Damaged Window
Start by gathering the necessary tools for the side window replacement. You will need a flat screwdriver, a pair of pliers, a utility knife, and safety gloves. Remove any adhesive or trim securing the window in place. Carefully pry the door panel if needed. Ensure you disconnect any electrical connections related to power windows. Once the area is clear, inspect the existing window for how it is attached to the frame.
Next, use the flat screwdriver to gently create a gap between the window and the frame. This technique helps in loosening any remaining adhesive. Once you have created enough space, grab the window from the edges and slowly pull it out, being cautious of any shards of glass. If there are stubborn pieces of glass remaining in the frame, remove them with pliers or the utility knife. Completing this step ensures that the frame is ready for the installation of the new window.
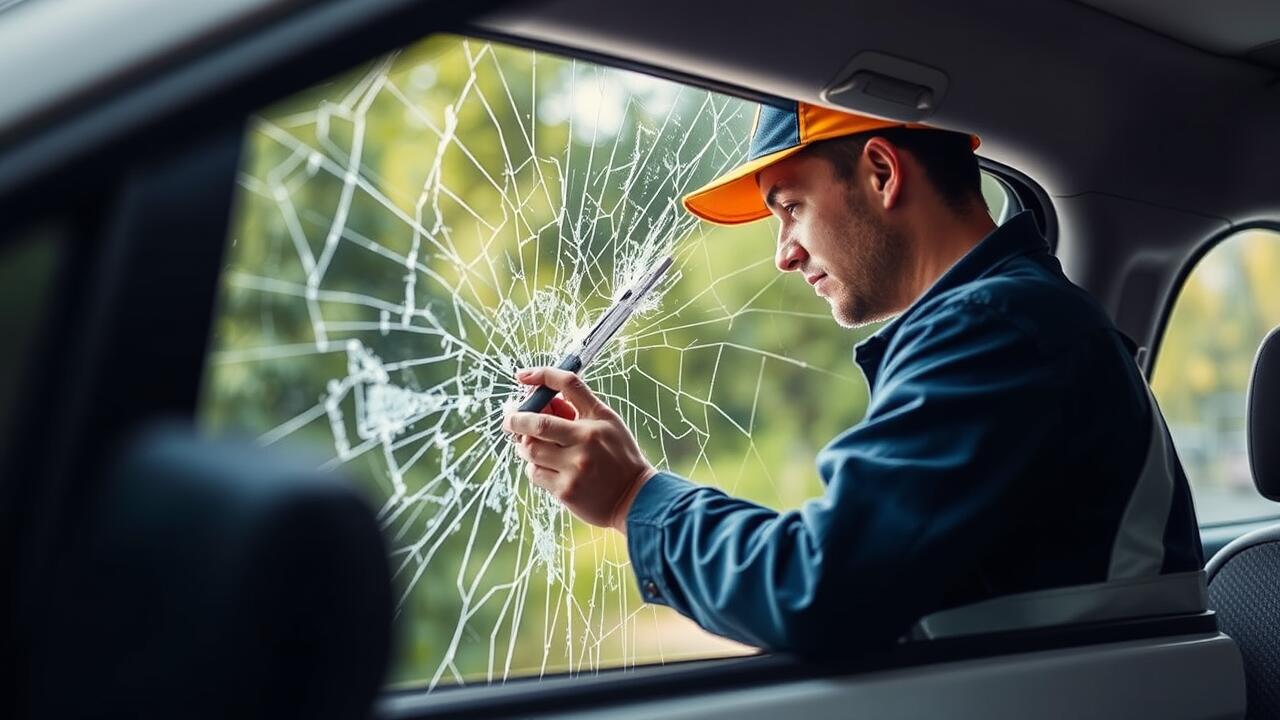
Techniques for Safe Removal
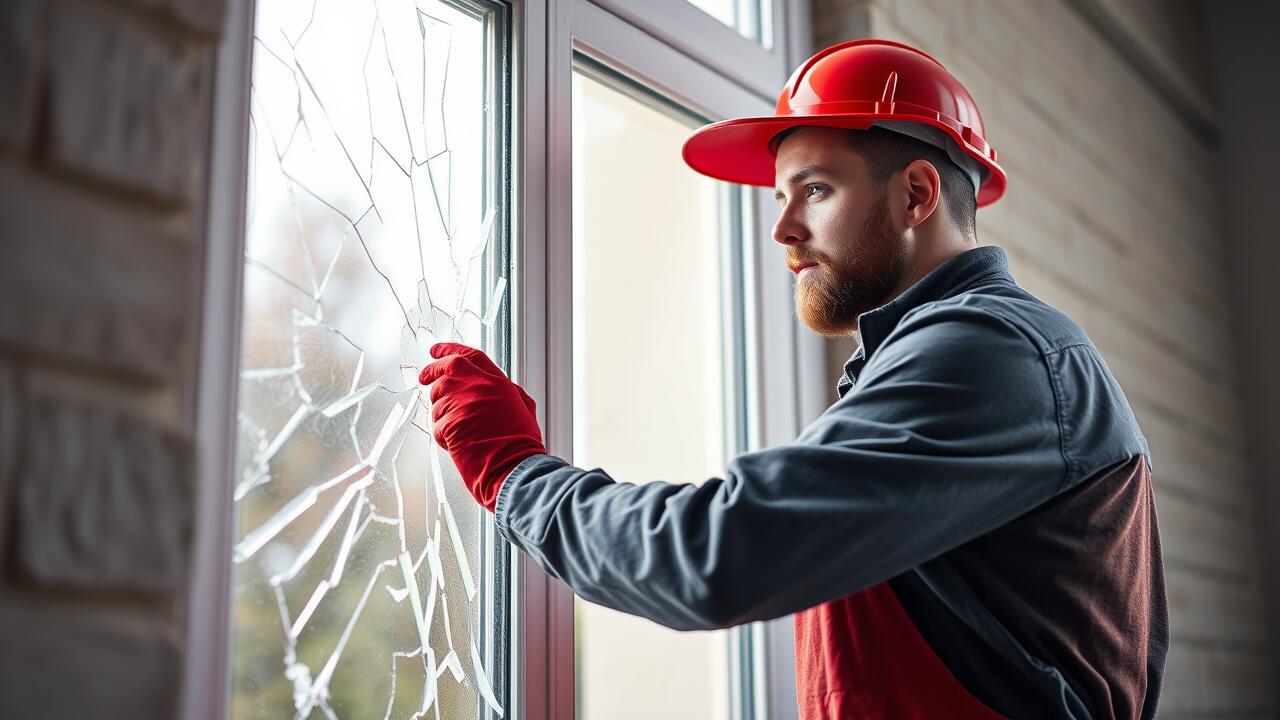
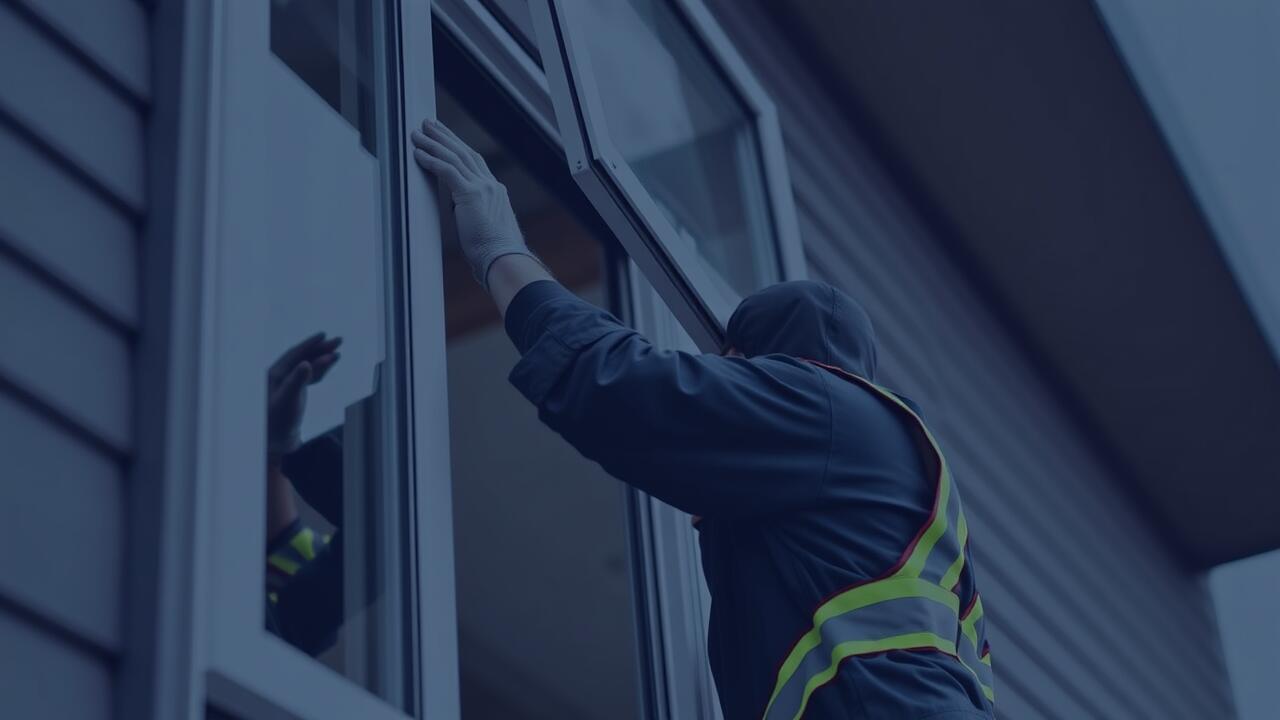
Removing a damaged side window requires careful attention to detail to avoid injury and ensure a clean removal. Begin by wearing safety gloves and goggles to protect yourself from glass shards. Use a utility knife to carefully cut through any adhesive around the window’s perimeter. It’s important to take your time during this step to prevent damage to surrounding paint or trim. Using a flat-head screwdriver can help gently pry the window loose once the adhesive is cut.
After initially breaking the seal, apply consistent pressure using your hands or a suction cup tool to pull the window away from the frame. Make sure to support the weight of the glass evenly to prevent it from cracking further or injuring yourself as it comes free. Once the window is out, ensure that all remaining adhesive is removed from the frame prior to starting the side window replacement. This preparation will create a clean surface for the new window to adhere to, facilitating a more effective and professional installation.
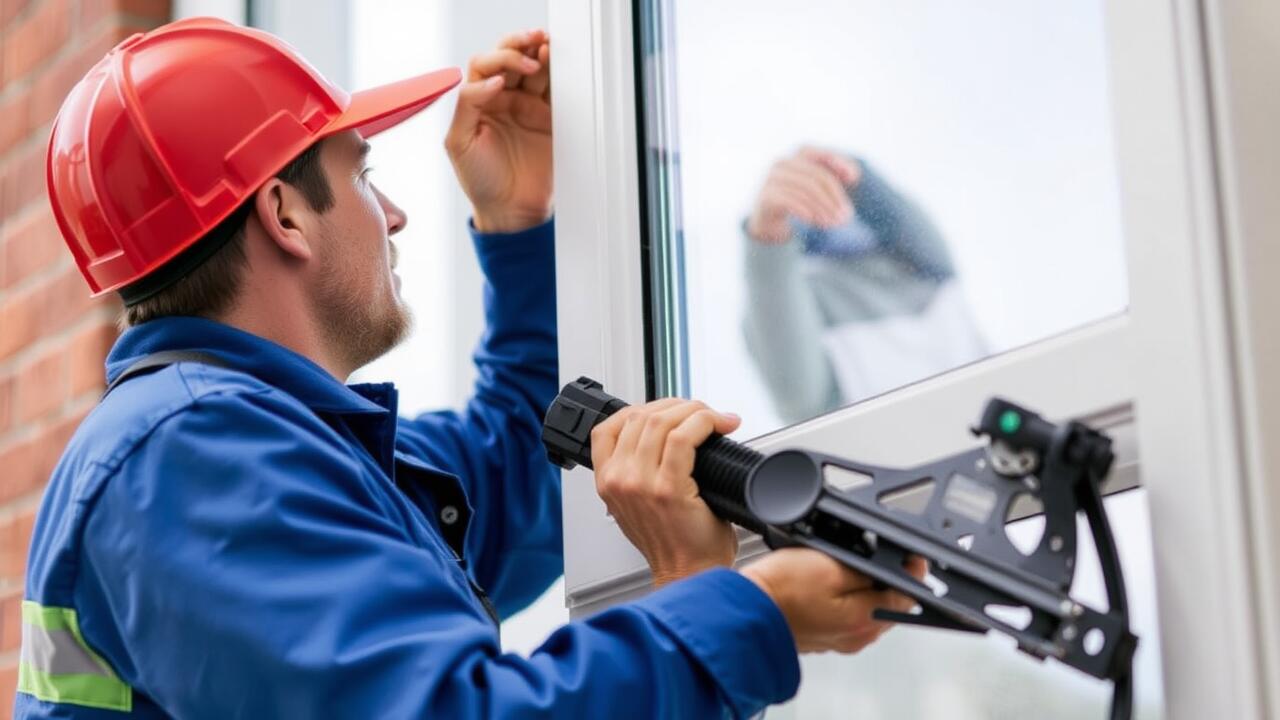
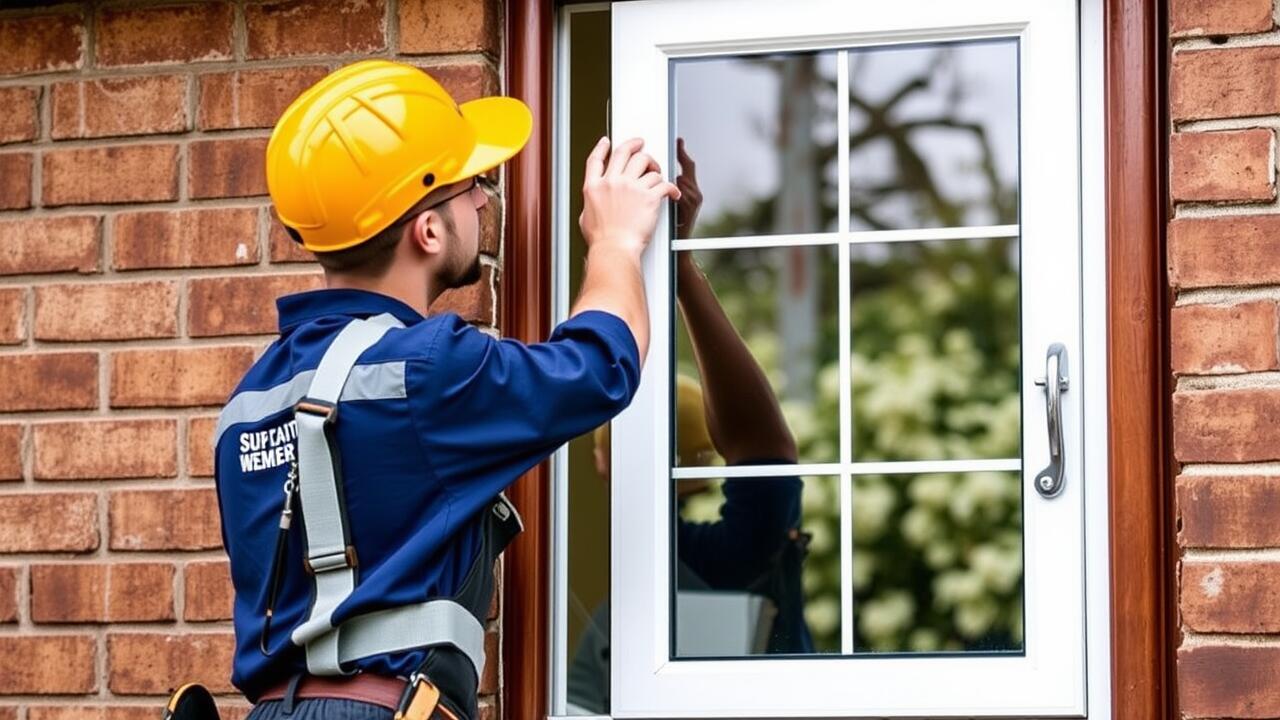
Installing the New Window
When undertaking a side window replacement, it is crucial to ensure that the new window is properly aligned and fitted within the frame. Begin by carefully positioning the replacement glass into the opening, making sure it sits evenly along the edges. This step often requires a supporting hand to maintain balance while you check for proper alignment. It is essential to handle the glass carefully to prevent any potential breakage during this delicate phase.
After placing the new window, apply a suitable adhesive designed for automotive glass. Use a caulking gun for an even application around the edges, ensuring no gaps remain that could allow moisture ingress. Once the adhesive is applied, gently press the window into place and secure it momentarily with tape if necessary. This provides stability while the adhesive sets, which usually takes several hours. Continue to monitor the installation for any adjustments during this waiting period to guarantee a flawless side window replacement.
Step-by-Step Installation Process
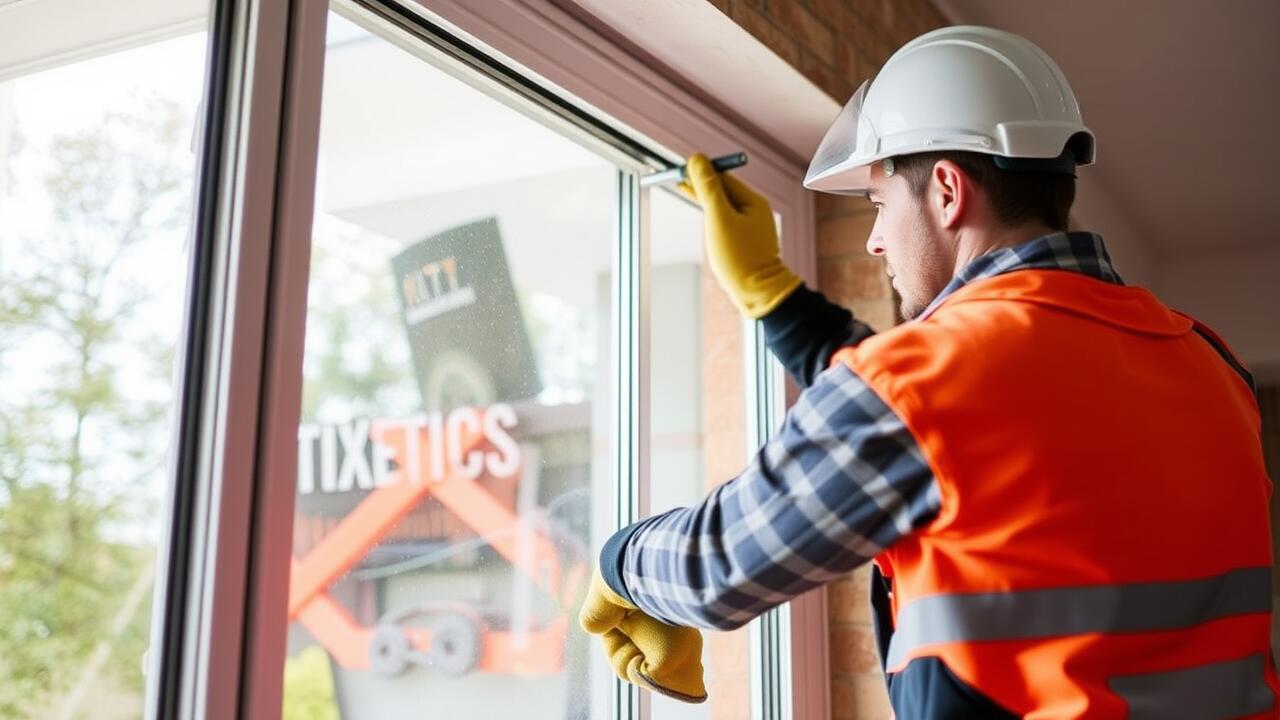
Begin by preparing the new side window. Ensure that it is clean and free from any dust or debris. Take a moment to check that it matches the specifications of your vehicle. Next, position the window carefully within the frame. It should align with the guides and the body of the car. This initial placement is crucial as it sets the foundation for a proper installation.
Once the window is aligned, gently press it into place. A rubber seal or adhesive may be required to ensure it fits snugly within the frame. Follow the manufacturer’s instructions for applying adhesive if applicable. After securing the window, allow ample time for the adhesive to cure. This step is vital for a durable side window replacement that can withstand various elements and prolong the longevity of the installation.
Sealing and Finishing Touches
Proper sealing is crucial for ensuring the longevity of the new side window. Begin by applying a suitable adhesive around the edges of the window frame. This adhesive will bond the glass firmly and help prevent water leaks. Make sure to follow the manufacturer's instructions for curing times and application techniques. A clean and even seal will enhance the window's integrity and improve its overall performance.
After the adhesive has cured, it's time for finishing touches. Reattach any trim that was removed prior to the installation. Double-check the alignment and functionality of the window mechanism to ensure smooth operation. A thorough inspection will confirm that everything is secured properly. By paying attention to these sealing and finishing details, you can achieve a successful side window replacement that meets safety standards and aesthetic expectations.
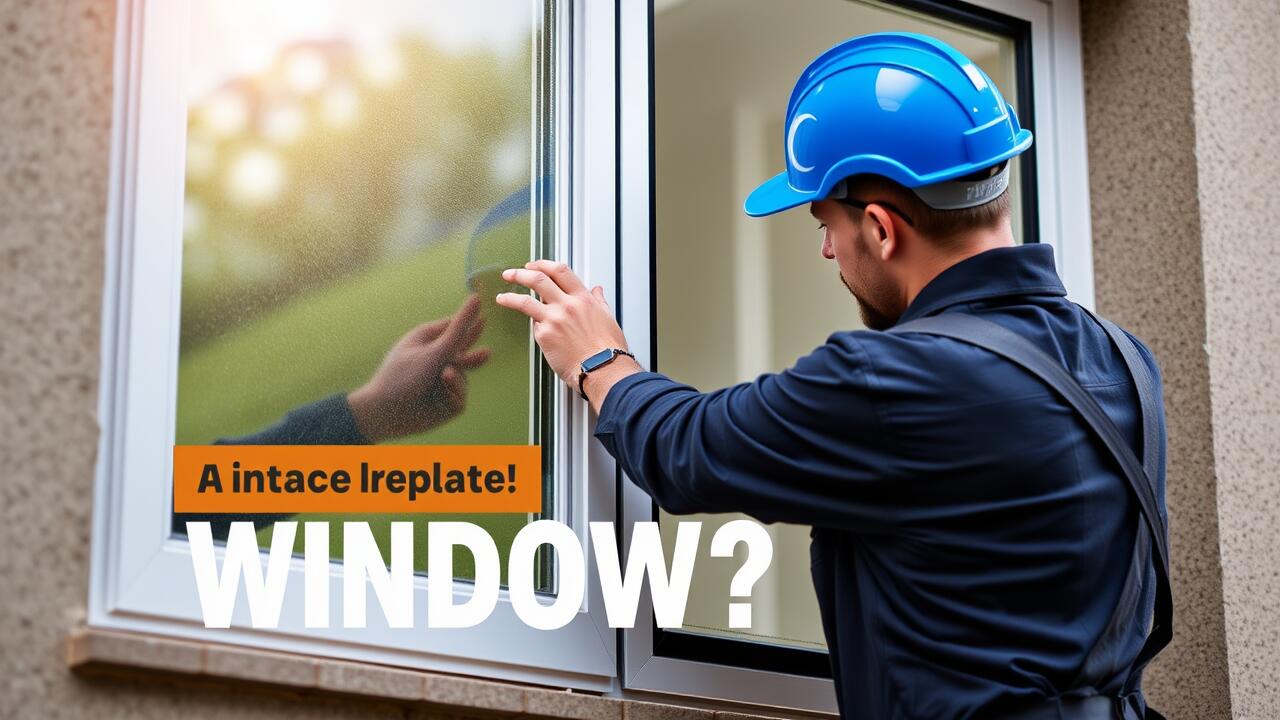
Ensuring a Secure Fit
Once the new side window is in place, it's essential to ensure a secure fit. Carefully inspect the edges where the glass meets the frame. Any gaps can compromise the integrity of the installation and lead to leaks or wind noise. Adjust the positioning of the window as needed to achieve a snug fit against the surrounding area.
After confirming the window's placement, apply a high-quality automotive sealant around the edges. This not only helps to secure the glass but also provides protection against the elements. Ensure that the sealant is evenly spread and properly adheres to both the glass and the vehicle frame. This process is crucial in achieving a successful side window replacement that will withstand daily use and environmental challenges.
FAQS
How do I know if my side window needs to be replaced?
If your side window is cracked, shattered, or has significant scratches that obstruct your view, it is advisable to replace it for safety and visibility.
Can I replace a side window myself, or should I hire a professional?
While it's possible to replace a side window yourself if you have the right tools and skills, hiring a professional is recommended for optimal results, especially if you're unsure about the process.
What tools do I need to replace a side window in my car?
You will typically need tools such as a screwdriver, a flat pry tool, adhesive remover, glass cleaner, a new window, and a sealant or adhesive for securing the window in place.
How long does it take to replace a side window?
The time it takes to replace a side window can vary, but generally, it can take anywhere from 1 to 3 hours, depending on your experience and the specific vehicle.
Will replacing a side window affect my car's warranty?
Replacing a side window should not affect your car's warranty, provided that the work is done correctly and does not cause any additional damage. However, it's always best to check with your warranty provider for specific details.