Table Of Contents
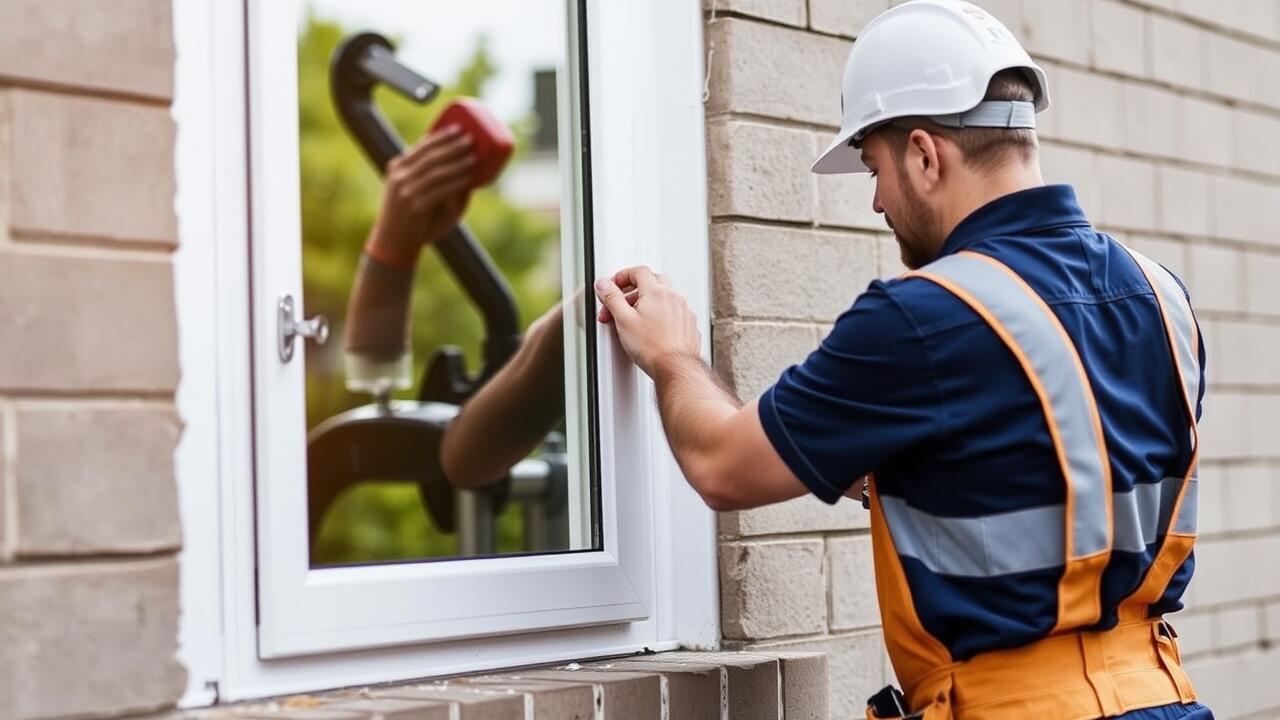
Preparing the Replacement Window
When preparing for a side window replacement, the first step involves gathering the necessary tools and materials. You will need a replacement quarter window, adhesive specifically designed for automotive glass, a utility knife, weather stripping, and a set of screwdrivers. It's essential to have safety glasses and gloves on hand to protect yourself during the process. Make sure you work in a clean and well-lit area to ensure optimum visibility while handling the new window and tools.
Next, check the condition of the surrounding area of the quarter window. Remove any old adhesive, glass fragments, or debris left from the previous installation. Inspect the window frame for rust or damage, as this might require attention before fitting the new window. Having a clean, smooth surface ensures better adhesion and longevity for the side window replacement, contributing to a well-finished look.
Choosing the Right Quarter Window
When selecting the appropriate quarter window for your vehicle, it’s essential to consider factors such as the make, model, and year of your car. This ensures that you find a window with the correct dimensions and curvature to fit seamlessly into the existing frame. In addition to compatibility, choose a window that is made from quality materials for durability and resistance to the elements. A proper fit will not only enhance the aesthetic appeal of your vehicle but also ensure its structural integrity.
Review options from reputable manufacturers offering side window replacement parts. It’s advisable to read customer reviews and check warranty terms before making a purchase. Genuine parts may be pricier, but they often guarantee a better fit and longevity. After establishing your priorities, compare different choices to ensure you select the best possible quarter window for your specific needs. Taking the time to make an informed decision can save you from potential issues down the line.
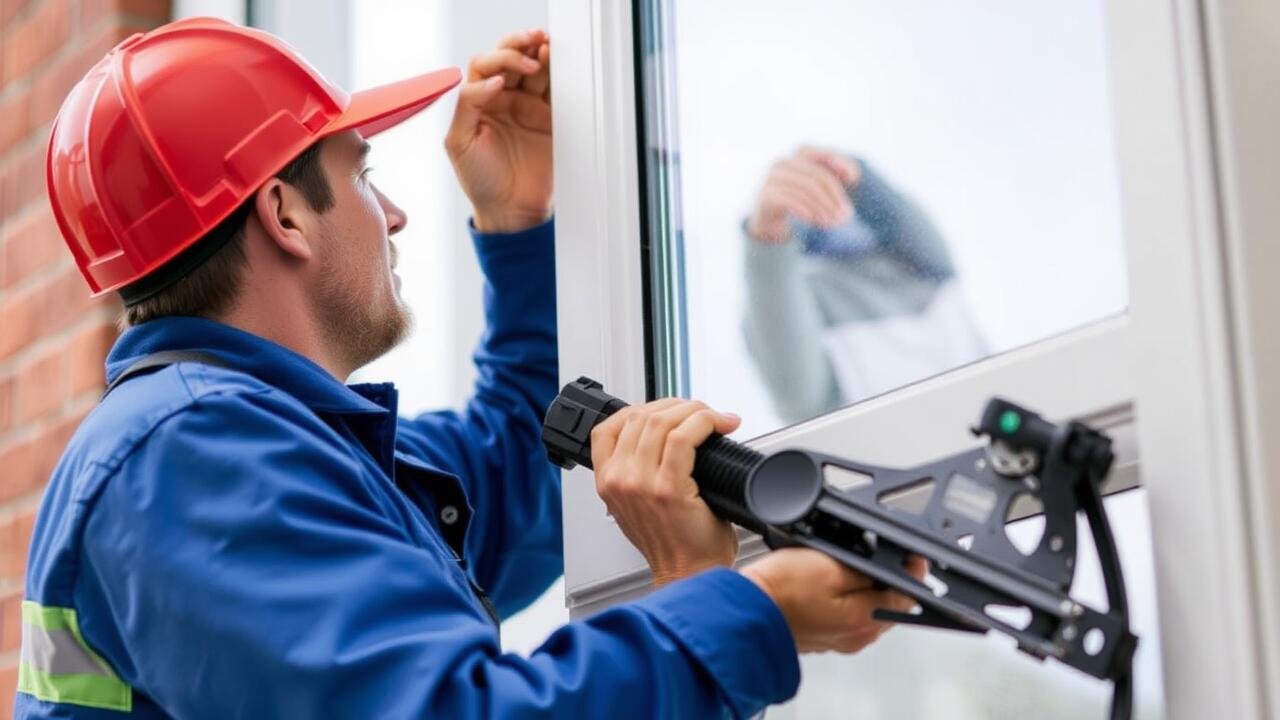
Installing the New Quarter Window
Begin by positioning the new quarter window into the designated opening. Make sure to align it with the pre-drilled holes to facilitate a smooth installation. Use a soft cloth to avoid scratches on the glass surface while you adjust its placement. Once satisfied with the fit, secure the window using the provided mounting hardware. Tighten each screw firmly but avoid over-tightening, as this may lead to stress on the glass.
After securing the window, apply a bead of sealant around the edges to ensure a proper seal. This step is critical for weatherproofing and preventing leaks during rain or car washes. Allow the sealant to cure as per the manufacturer’s instructions, providing the necessary time for optimal adhesion. With the side window replacement completed, double-check that the window operates smoothly and all hardware is secure.
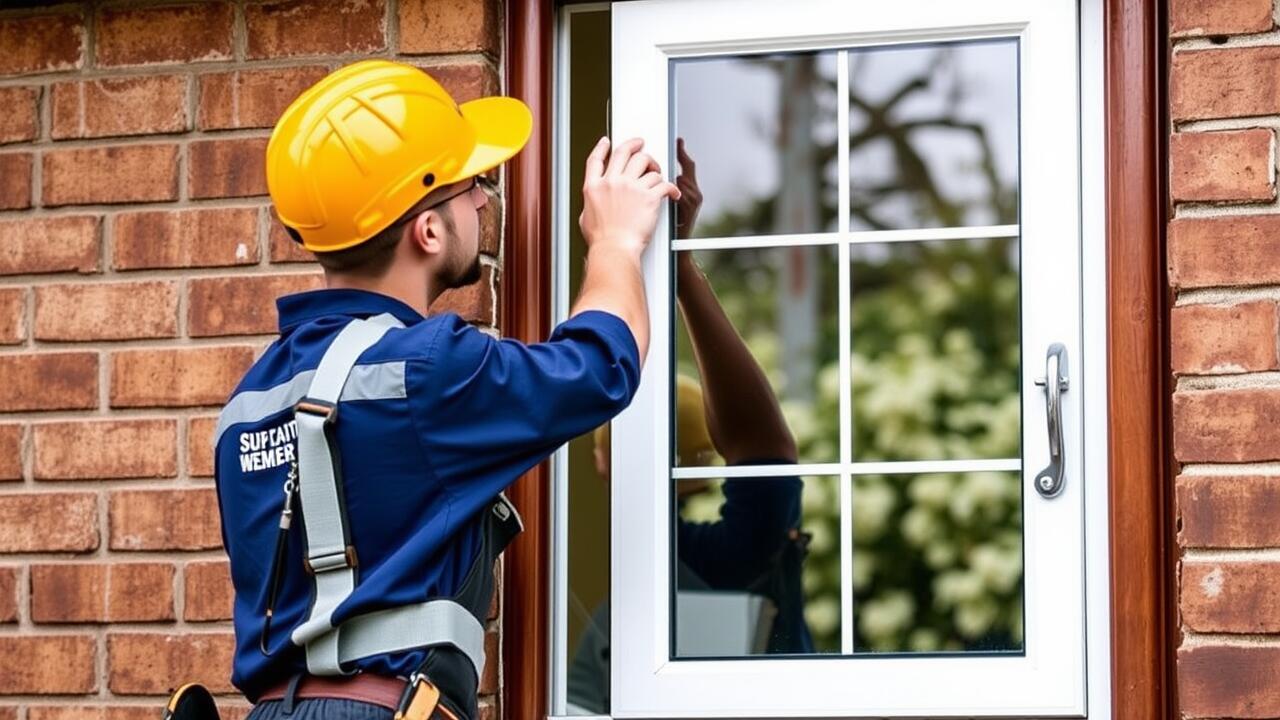
Detailed Installation Instructions
Begin by carefully removing any trim or moulding surrounding the quarter window frame to expose the adhesive and the window itself. Use a utility knife to cut through any existing sealant. It is essential to work slowly to avoid damaging the paint or surrounding components. Once the trim is out of the way, gently pry out the old window with a flat-head screwdriver, taking care not to use excessive force.
After the old quarter window is removed, clean the area thoroughly to ensure a good bond for the new window. Inspect the frame for any signs of rust or damage that might need to be addressed before proceeding. Apply a generous amount of automotive adhesive around the edge of the frame. Position the replacement window, ensuring it fits snugly into place. Secure it according to the manufacturer's specifications for a successful Side Window Replacement.
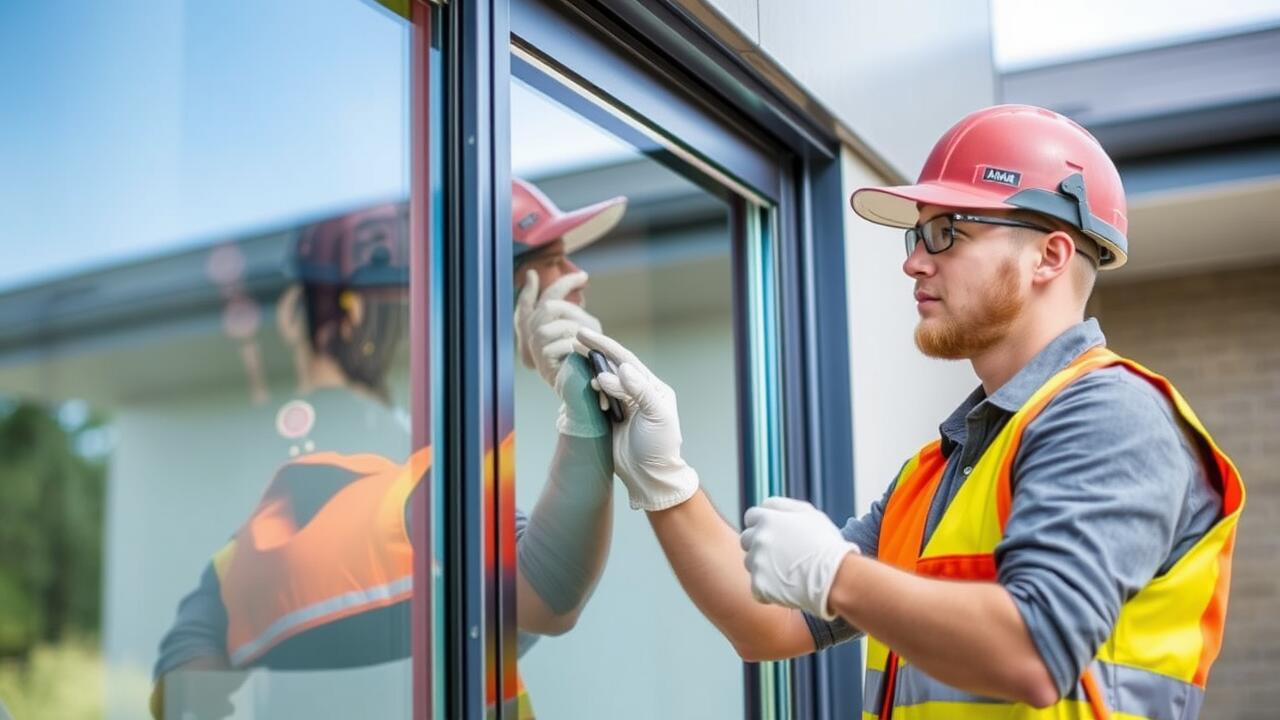
Sealing and Finishing Touches
After installing the new quarter window, the next step involves ensuring it is properly sealed to prevent leaks and secure insulation. Use a high-quality weatherproof sealant designed for automotive applications around the edges of the window frame. Be generous with the application, but ensure it does not create excessive overflow. This will help in achieving a tight seal that keeps moisture and dirt out, essential for maintaining the window’s longevity.
Once the sealant is in place, check for any gaps or imperfections. A smooth and even finish is crucial for both aesthetics and functionality. Allow the sealant to cure according to the manufacturer's instructions before exposing it to water or extreme conditions. The final touch involves cleaning the window thoroughly. With the right approach to Side Window Replacement, your vehicle can enjoy improved performance and a visually appealing finish.
Ensuring a Weatherproof Seal
After installing your new quarter window, ensuring a weatherproof seal is crucial for maintaining the integrity of your vehicle. Begin by applying a high-quality automotive sealant around the edges of the window frame. This prevents water ingress which could lead to rust or mould within the vehicle. Pay attention to any gaps where the window meets the body of the car, as these are potential weak points in the seal.
Once the sealant is applied, it’s important to follow the manufacturer’s recommendations regarding drying time. Avoid any stress on the window during this period. After the sealant has cured, check the seal’s effectiveness by spraying water over the area and observing for any leaks. Proper sealing is essential for a successful side window replacement, contributing both to aesthetics and functionality.
FAQS
What tools do I need to replace the driver side quarter window?
To replace the driver side quarter window, you will typically need a flathead screwdriver, a socket set, a trim removal tool, adhesive or sealant, and safety glasses.
How do I choose the right quarter window for my vehicle?
To choose the right quarter window, you should check your vehicle’s make, model, and year. It’s advisable to consult your owner’s manual or contact a reputable auto parts supplier to ensure compatibility.
Can I replace the quarter window myself, or should I hire a professional?
If you have basic mechanical skills and are comfortable working on your vehicle, you can replace the quarter window yourself. However, if you're unsure or lack experience, hiring a professional is recommended to avoid potential damage.
How long does it usually take to replace a driver side quarter window?
The time it takes to replace a driver side quarter window can vary, but typically it takes about 1 to 3 hours, depending on your skill level and the specific vehicle model.
What should I do if I notice leaks after replacing the quarter window?
If you notice leaks after replacing the quarter window, check the seals and adhesive for any gaps or improper application. You may need to reapply sealant or consult a professional for further inspection.