Table Of Contents
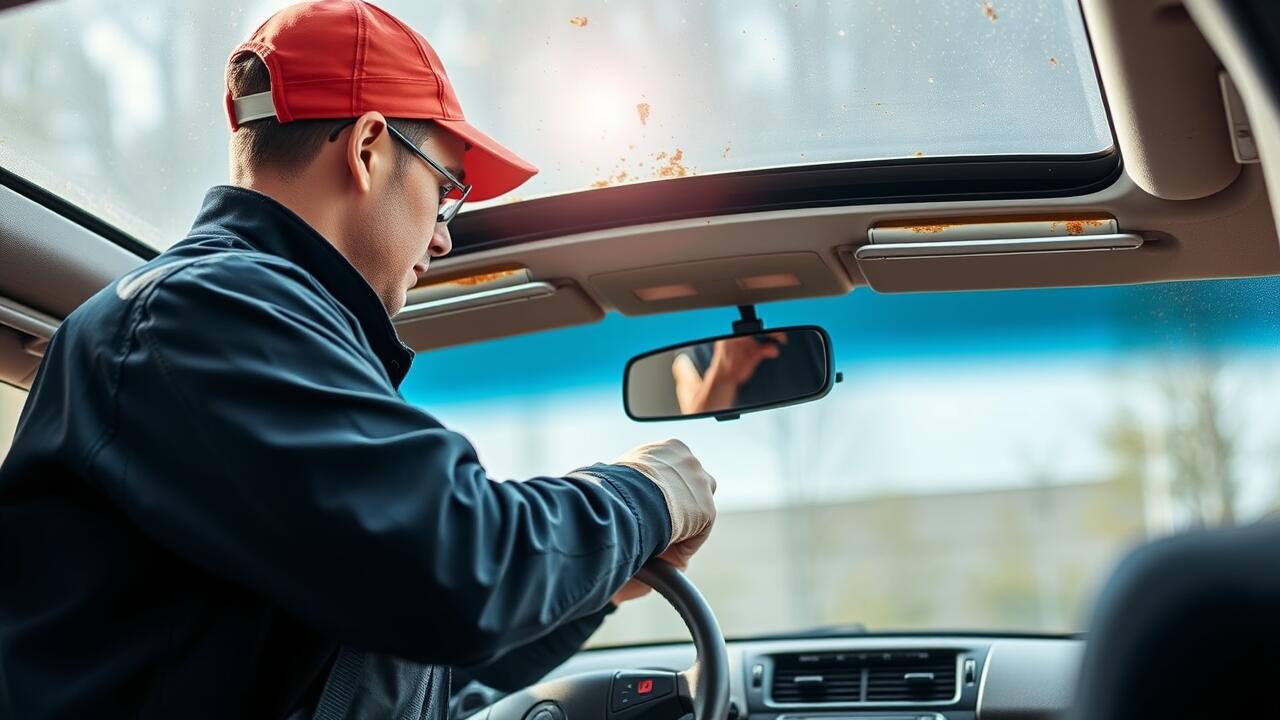
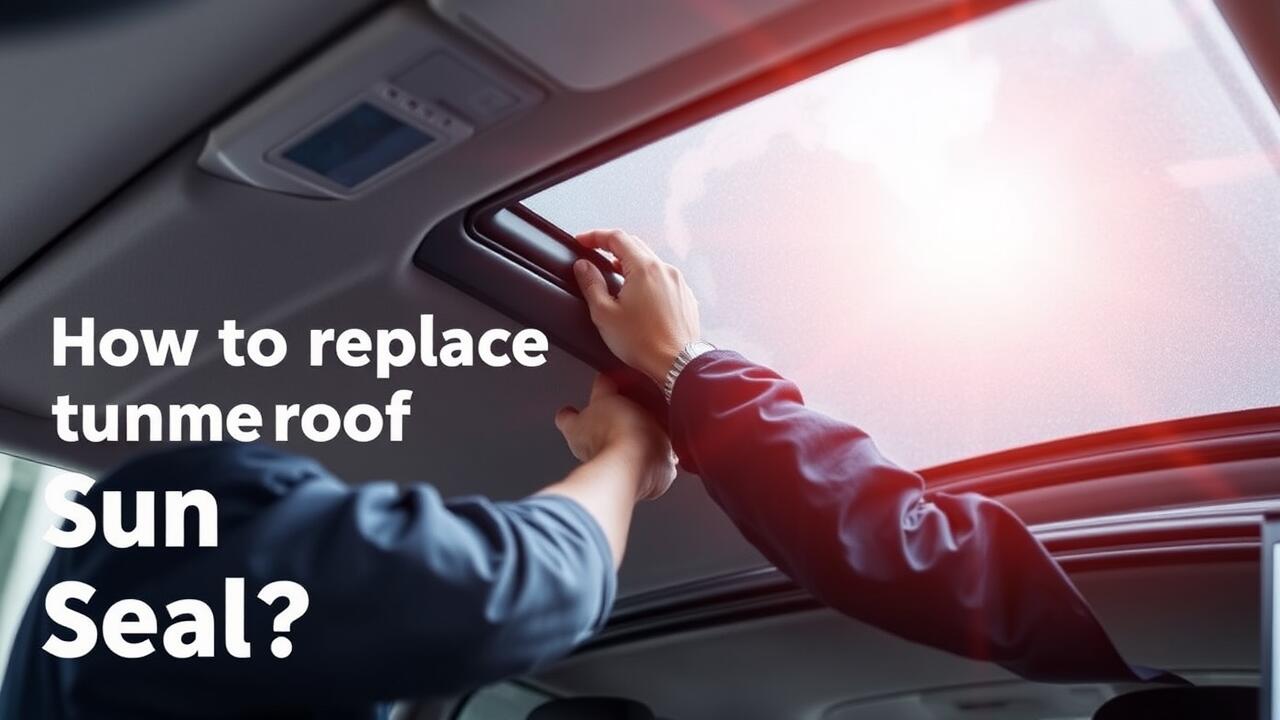
Installing the New Sunroof Seal
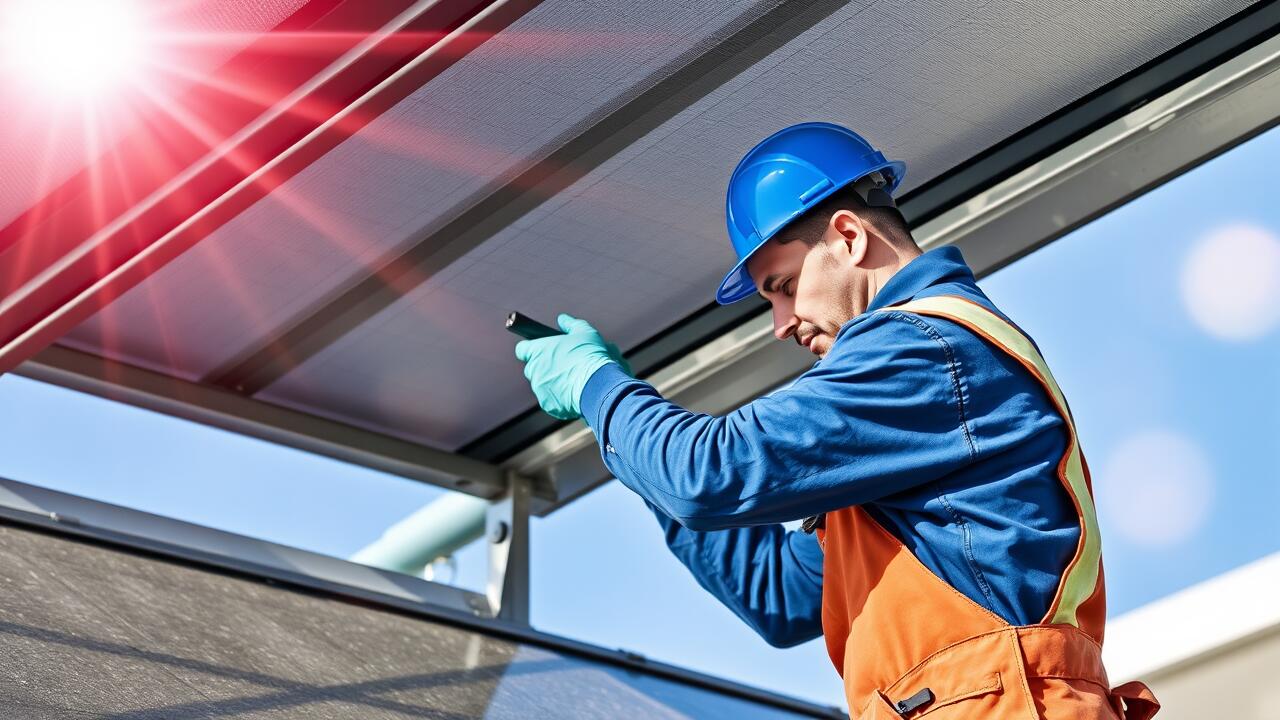
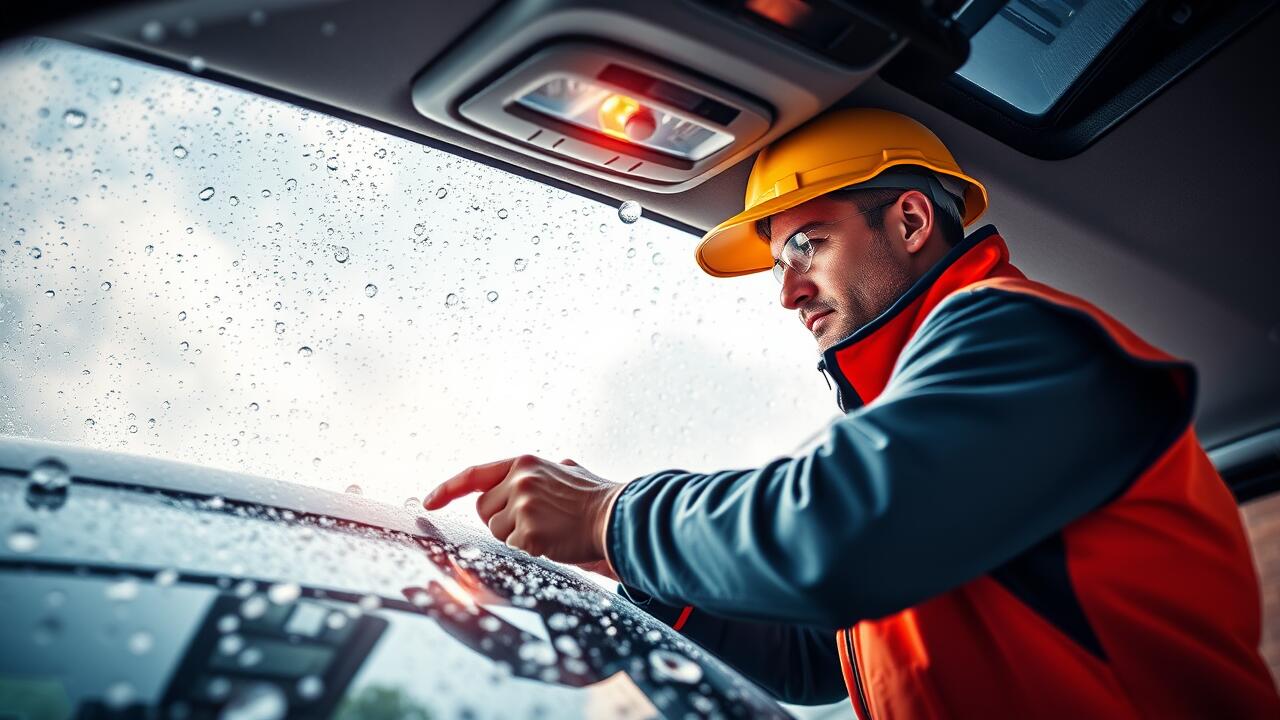
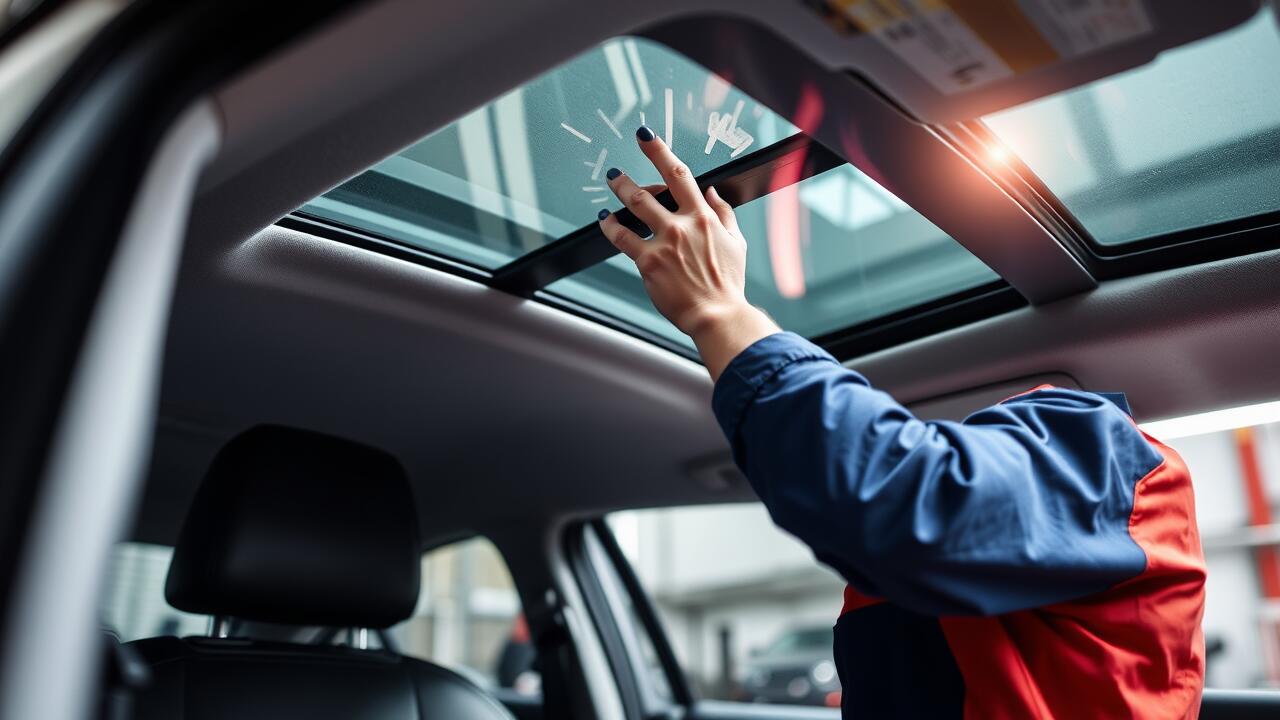
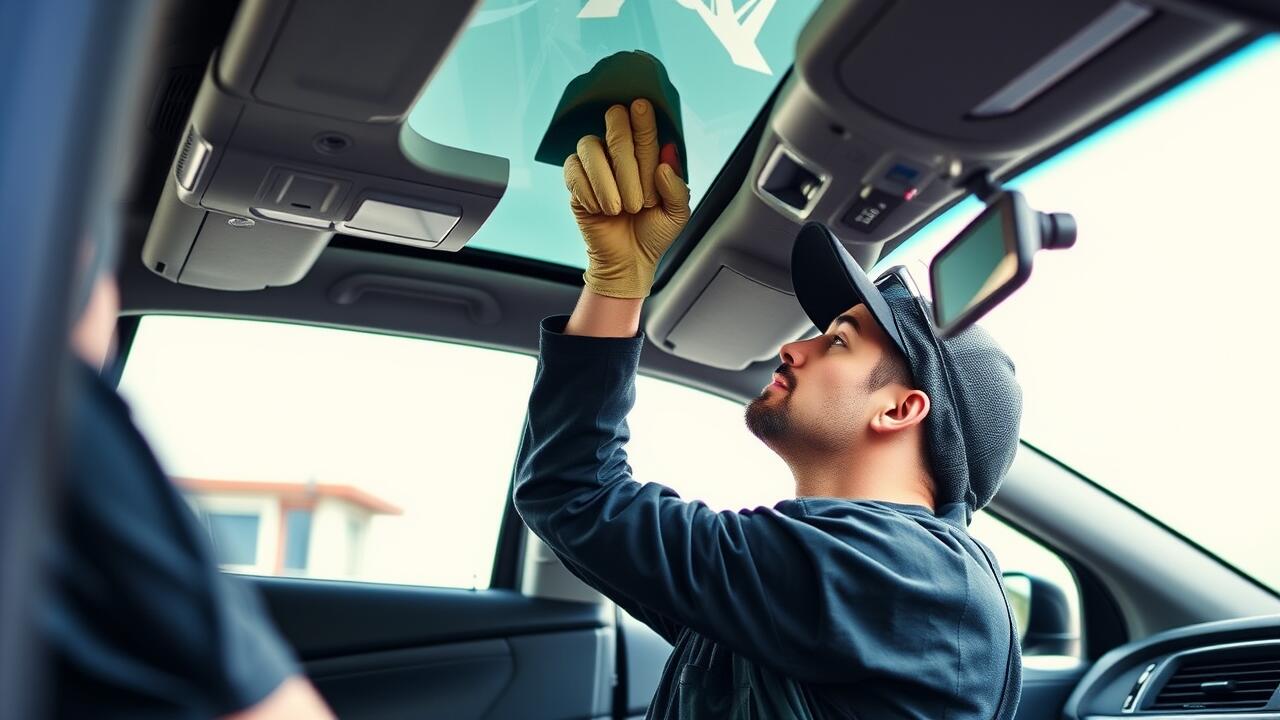
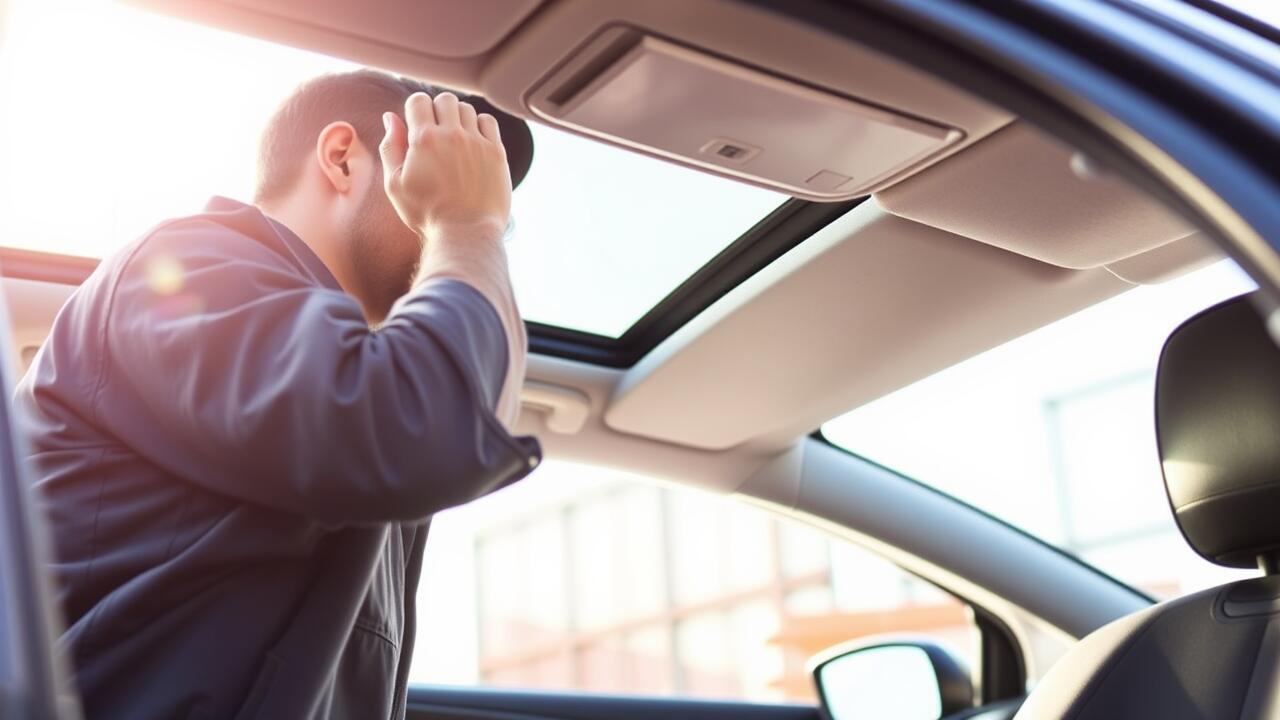
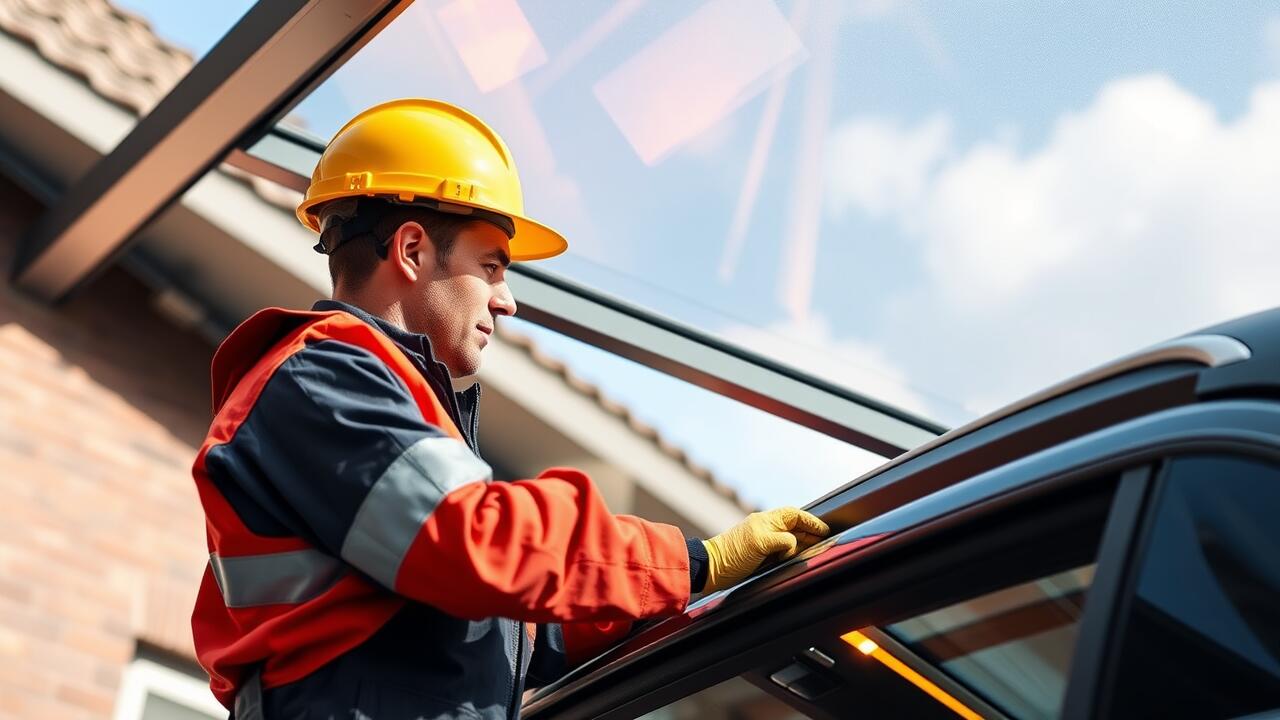
To begin the process of installing the new sunroof seal, gather the necessary tools, including a flathead screwdriver, a utility knife, and adhesive specifically designed for car interiors. Ensure the surface is clean and free from old adhesive or debris. Lay the new seal in the channel to assess the fit, making any adjustments if required. This step will help in achieving a tight fit that can prevent leaks, an essential aspect of any sunroof repair.
Once the seal is properly positioned, apply the adhesive according to the manufacturer’s instructions. Firmly press the seal into place, ensuring there are no gaps or overlaps. It is crucial to maintain even pressure along the entire length of the seal to facilitate a secure bond. Allow the adhesive to set for the recommended time before operating the sunroof to ensure durability and longevity of the installation.
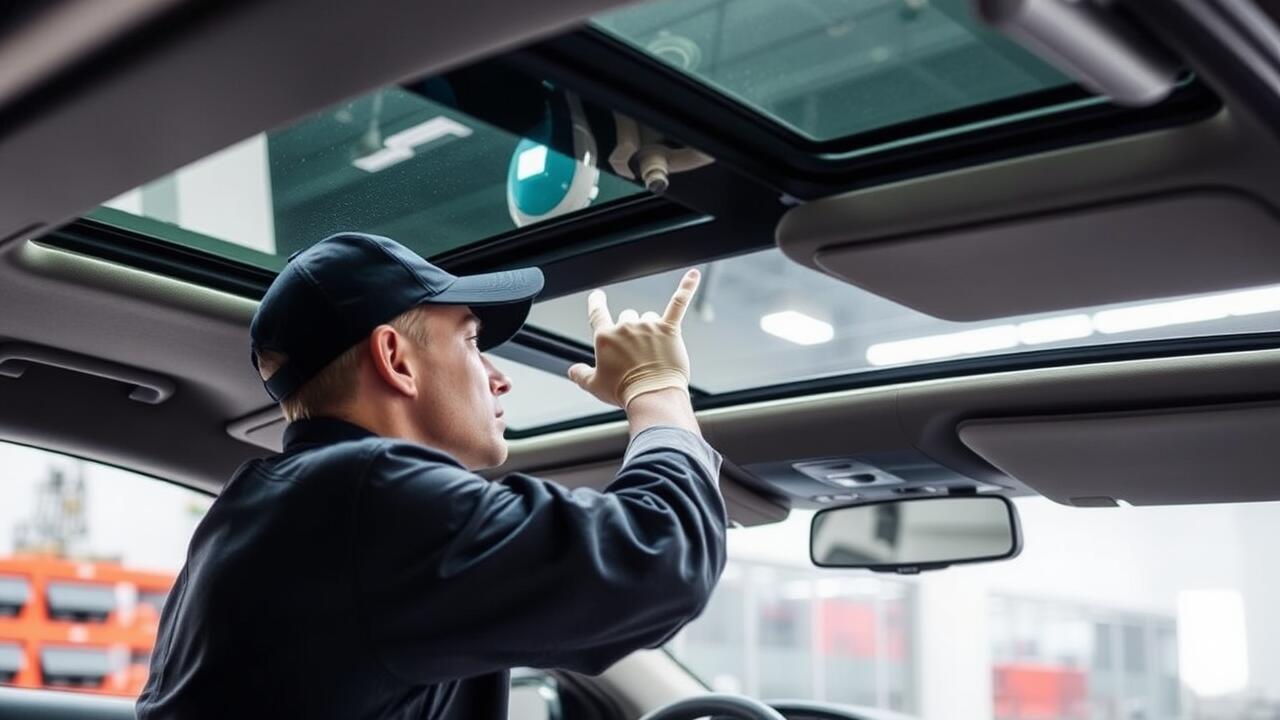
Detailed Instructions for Proper Placement
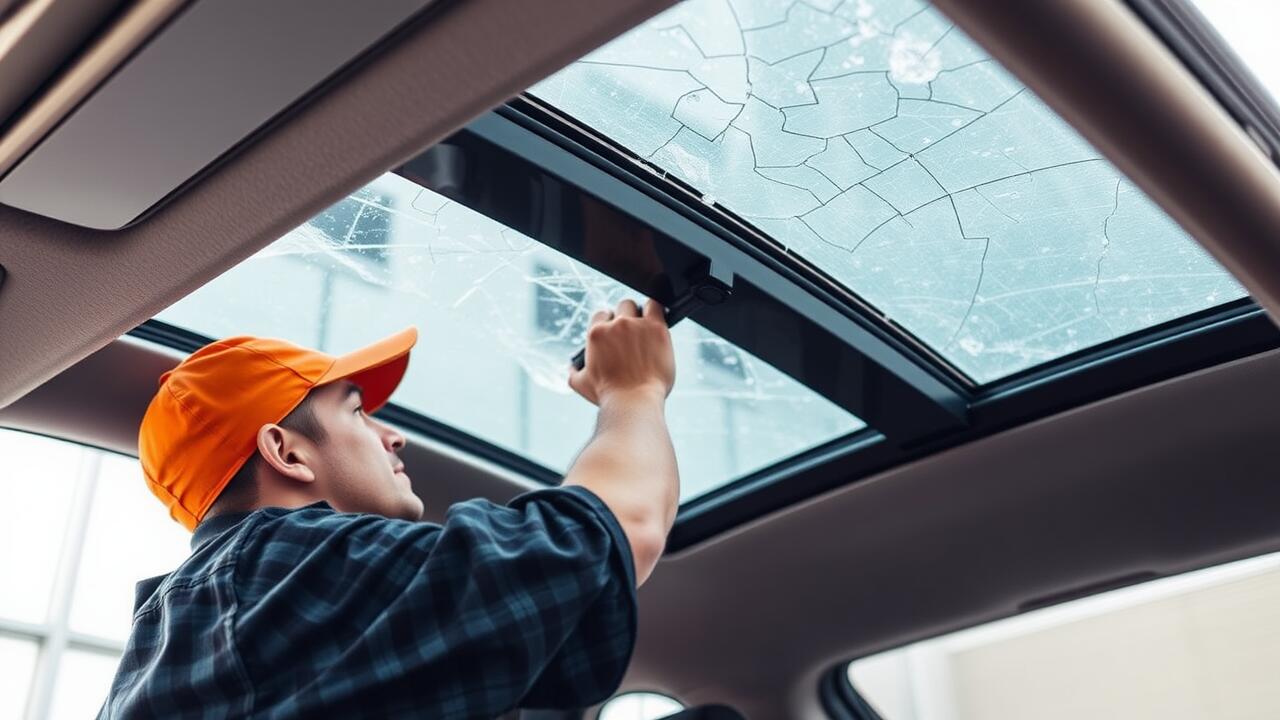
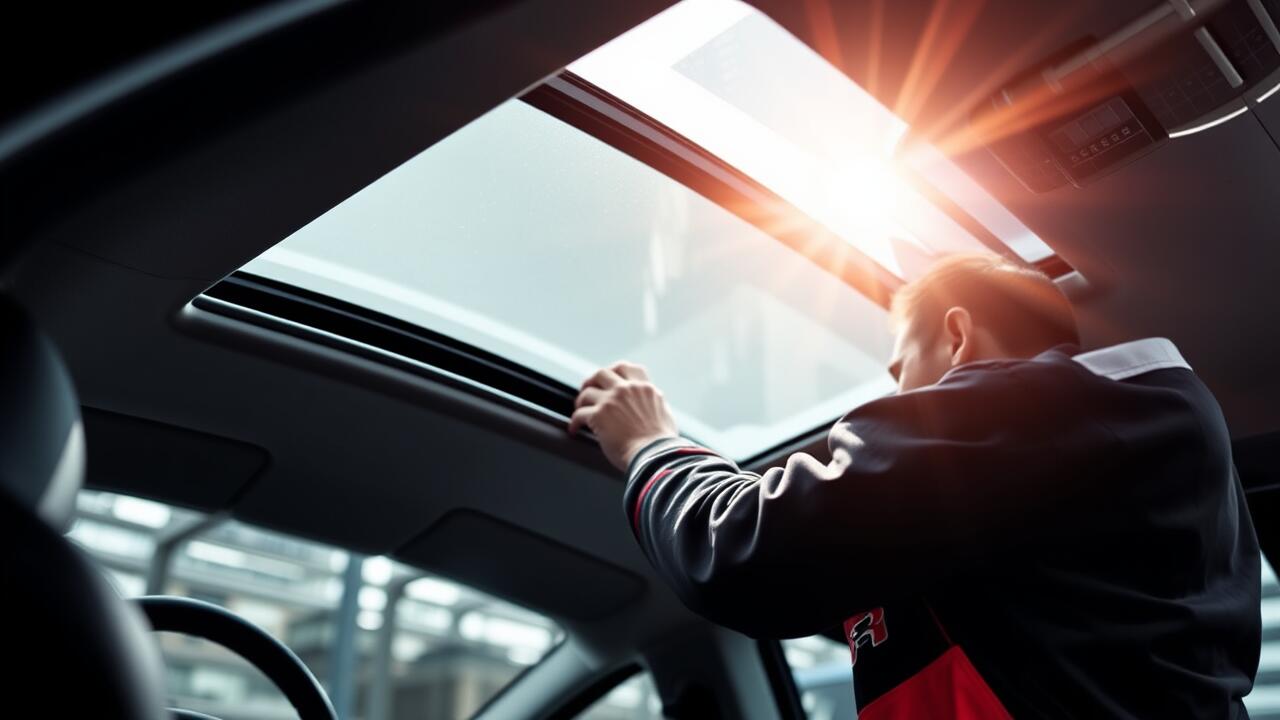
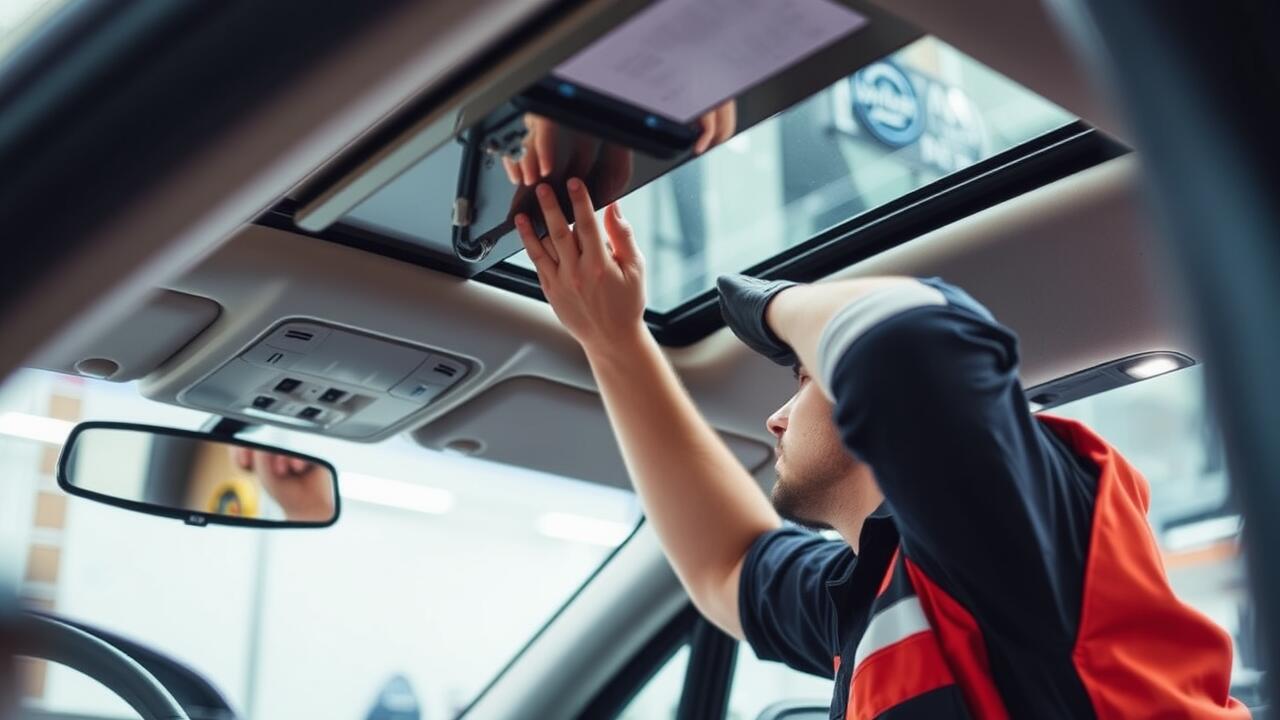
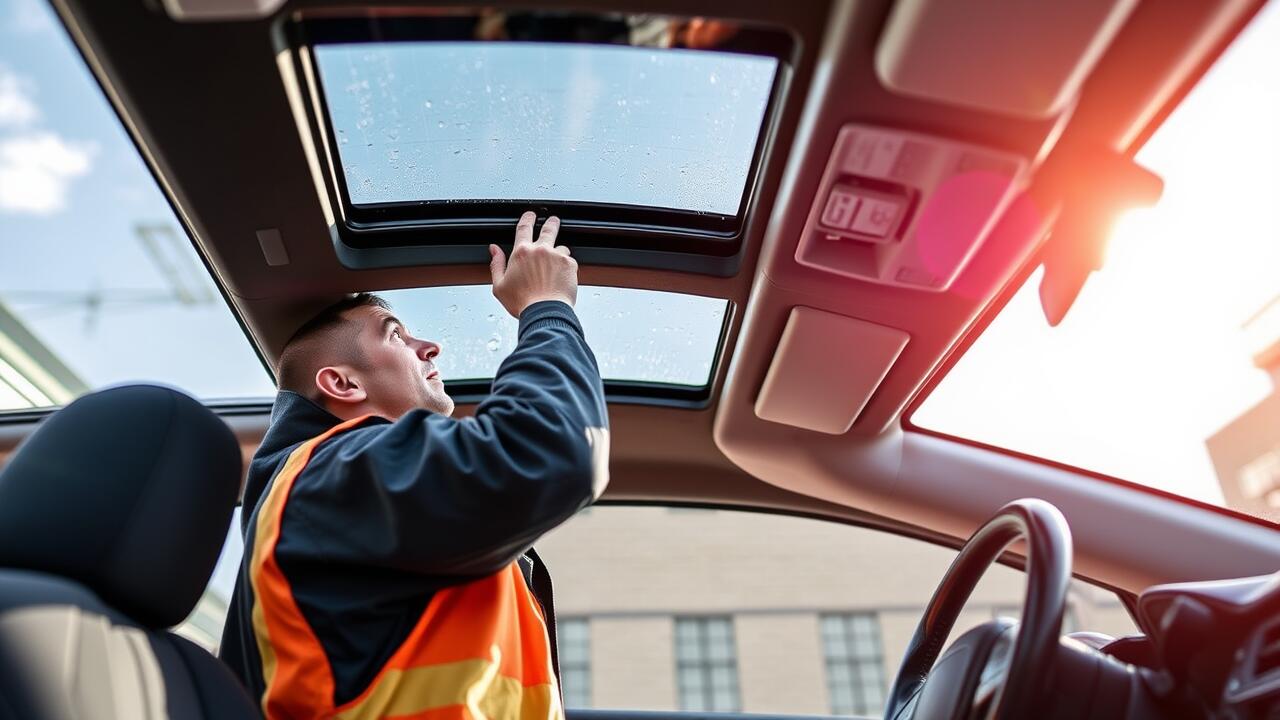
Begin the installation by removing any debris or old adhesive residue from the sunroof frame. Use a soft cloth and a suitable cleaner to ensure a clean surface for the new seal. Proper placement is crucial for an effective seal, so carefully align the new sunroof seal with the frame, ensuring it fits snugly without pressure. Start at one corner, pressing the seal into place, and work your way around the entire perimeter, adjusting as necessary to maintain alignment.
Once the seal is in position, apply even pressure along its length to ensure that it sticks properly. Make sure there are no gaps or overlaps, as these can lead to leaks and hinder the efficiency of the sunroof. After installing, allow the adhesive to set according to the manufacturer's instructions. Conducting a sunroof repair effectively hinges on meticulous attention to detail during this phase to guarantee long-lasting functionality.
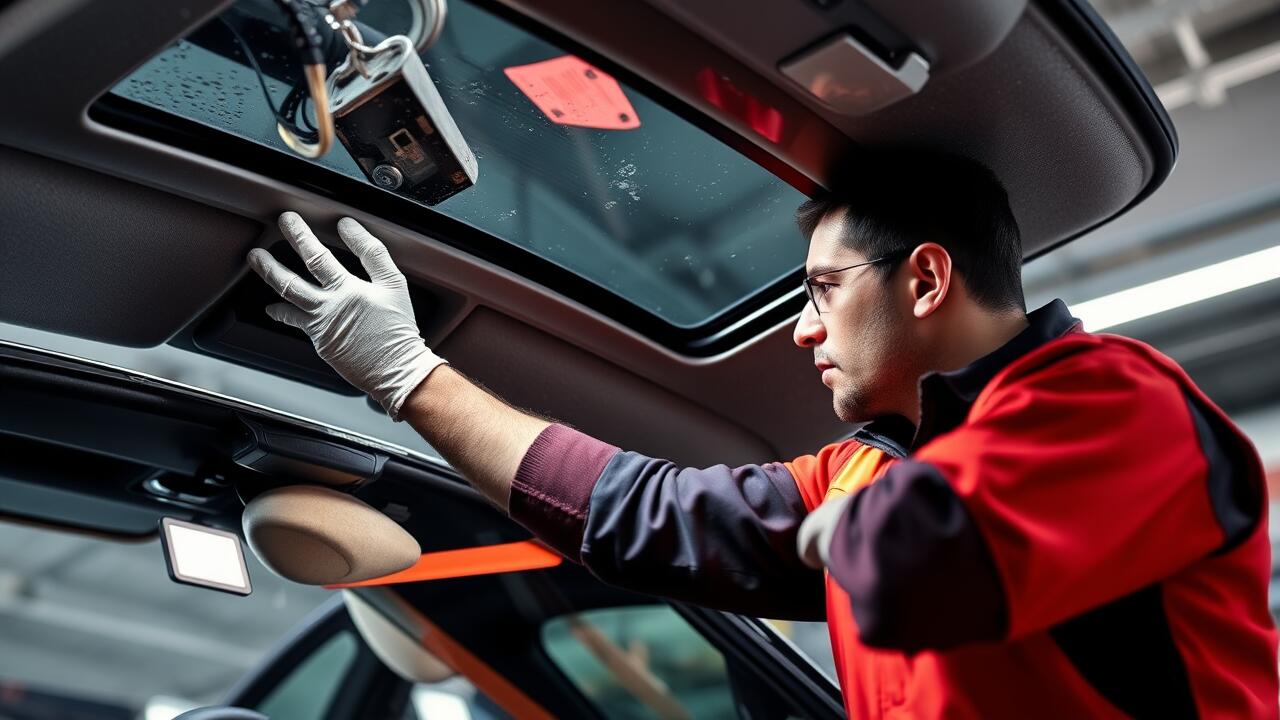
Tips for a Seamless Installation
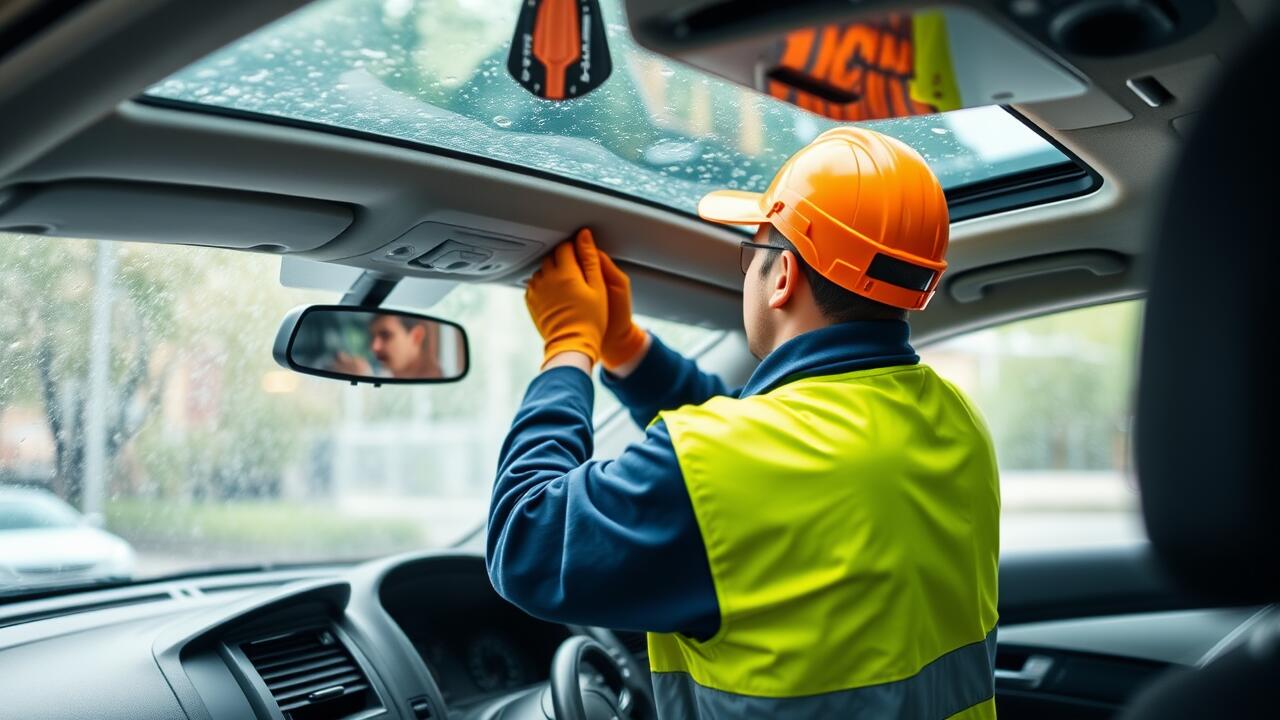
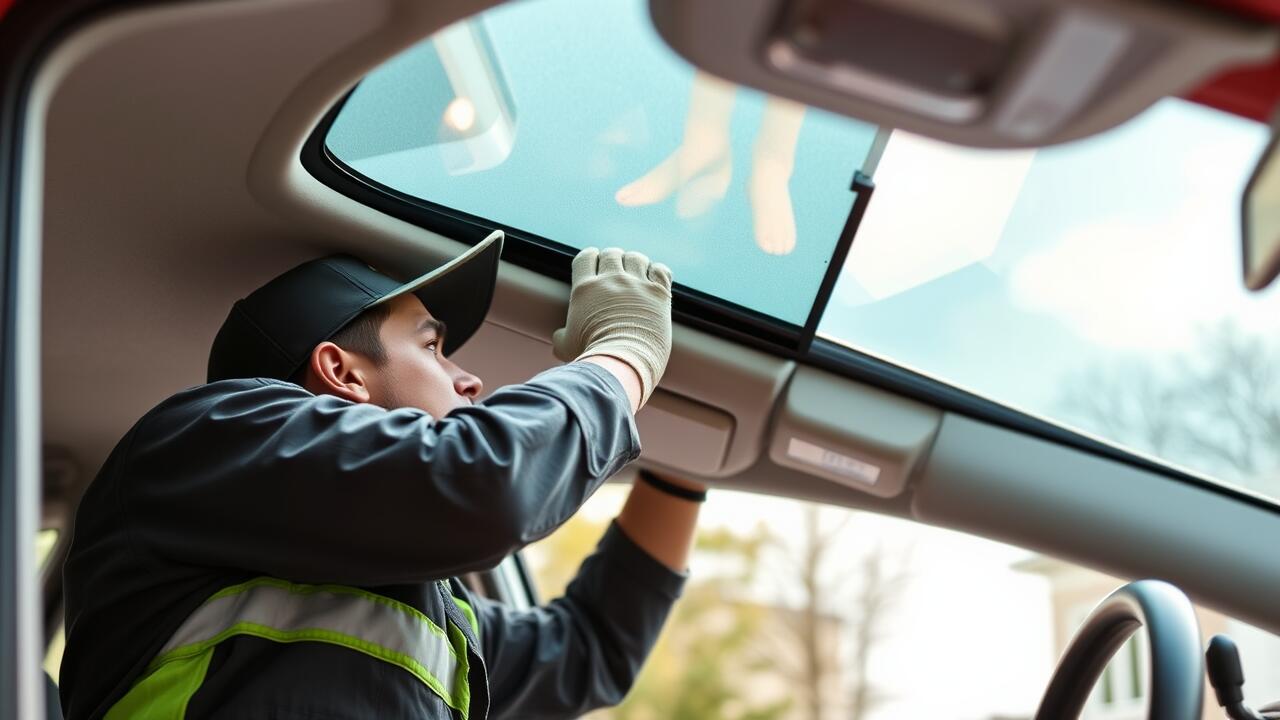
A seamless installation starts with the right preparation. Begin by gathering all necessary tools, including a flathead screwdriver, adhesive cleaner, and a soft cloth. Cleaning the sunroof area is crucial; residues can hinder the effectiveness of the new seal. Take the time to inspect both the old seal and the sunroof frame for any damage. If you notice significant wear or cracking, consider a more comprehensive sunroof repair.
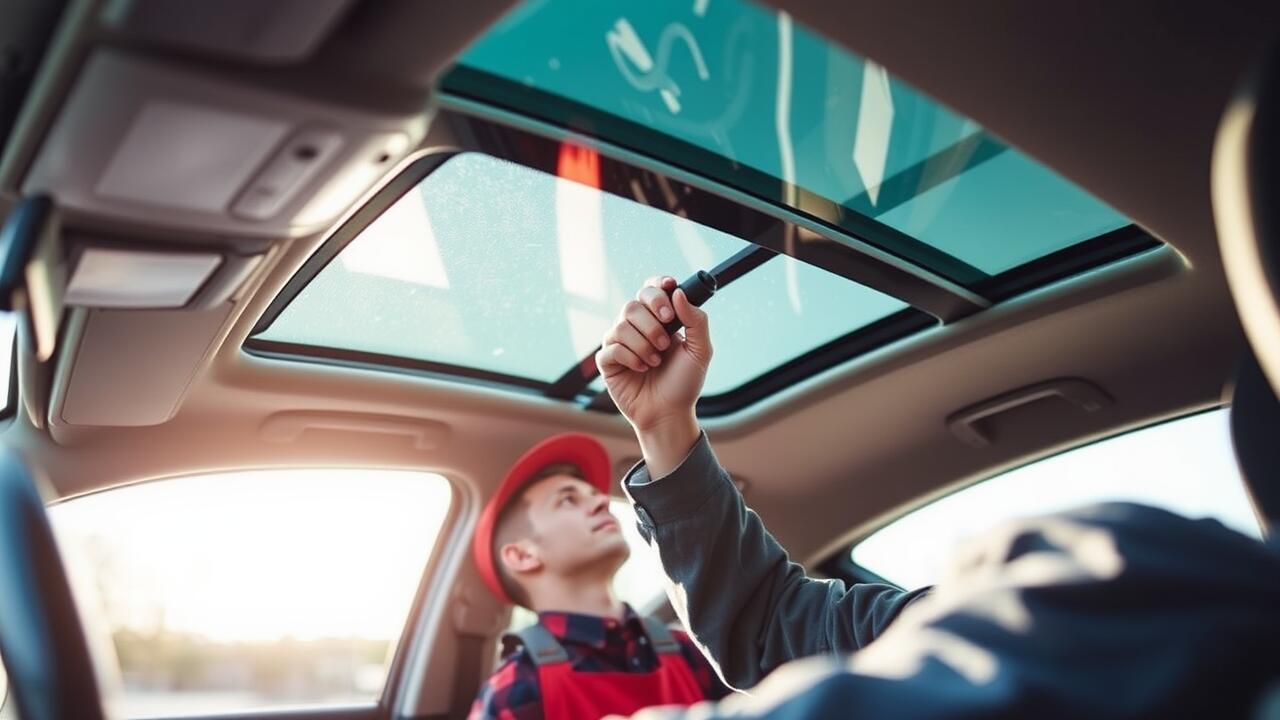
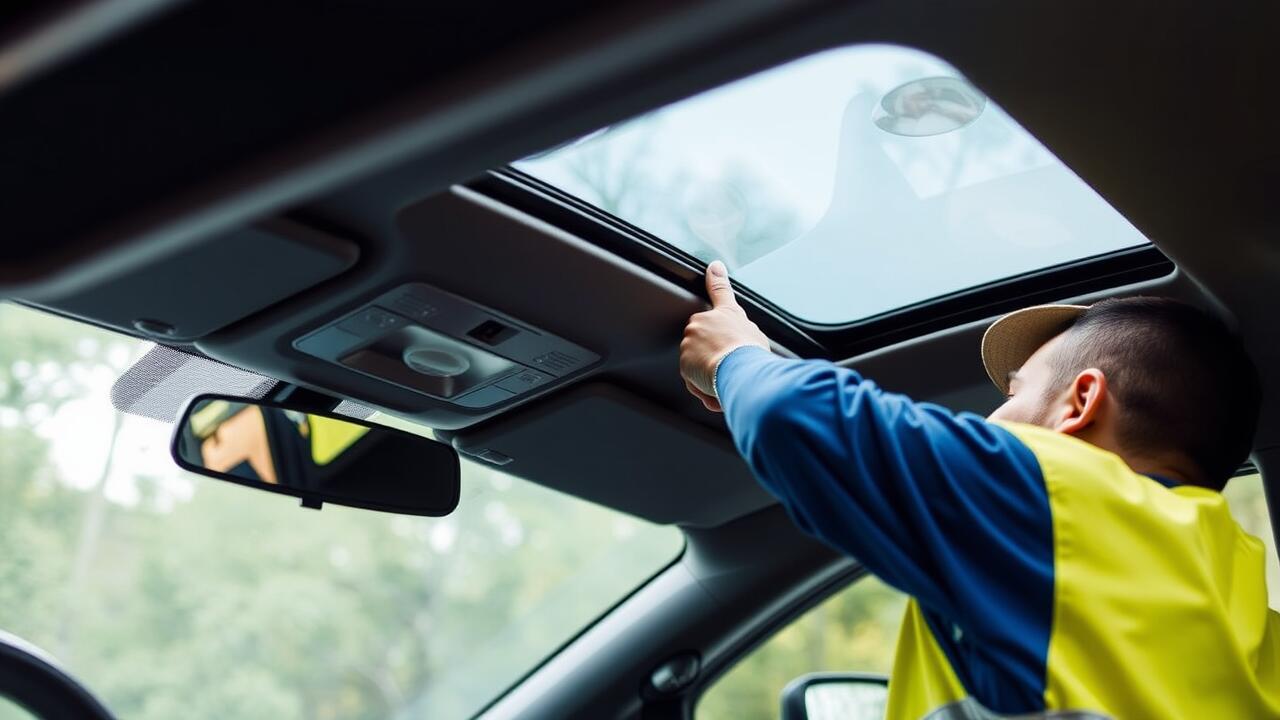
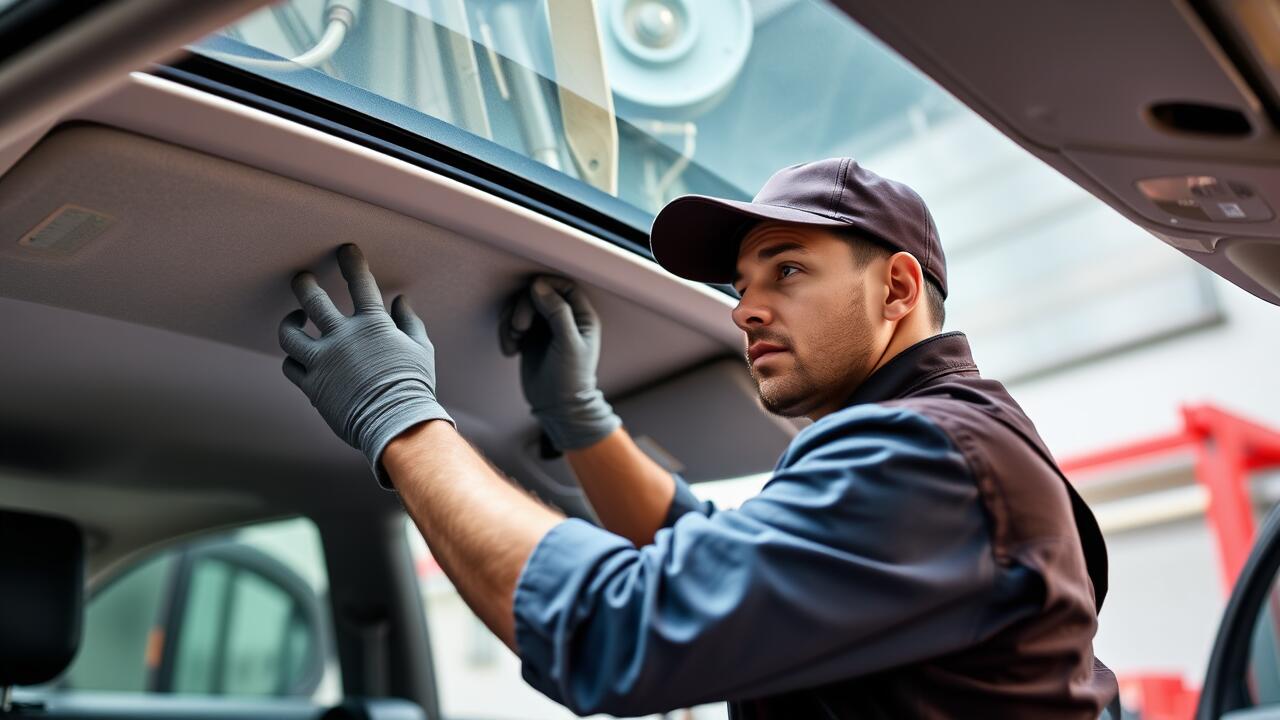
When applying the new seal, ensure it lines up correctly with the sunroof's edge. Press firmly but not excessively to avoid distortion. Carefully remove any air bubbles, as these can lead to leaks later. It may be helpful to have an extra pair of hands to assist in holding the seal in place while you work. Proper alignment and pressure will result in a more durable bond, enhancing the longevity of your sunroof repair.
Common Mistakes to Avoid
When replacing the sunroof seal, one common mistake is failing to thoroughly clean the surface before installation. Any remnants of old adhesive, dirt, or grime can lead to improper sealing. This not only diminishes the effectiveness of the new seal but could also necessitate future sunroof repair if water leaks or air drafts occur. A meticulous cleaning process ensures a smooth surface for the new seal to adhere effectively, promoting longevity and reliability.
Another frequent error is neglecting to align the seal correctly during installation. An incorrectly positioned seal can result in uneven closure, leading to leaks and other issues down the line. It's crucial to take your time, double-check the placement, and follow the manufacturer's guidelines closely. Overlooking these details may turn your sunroof repair into a more extensive and inconvenient project.
Testing the New Sunroof Seal
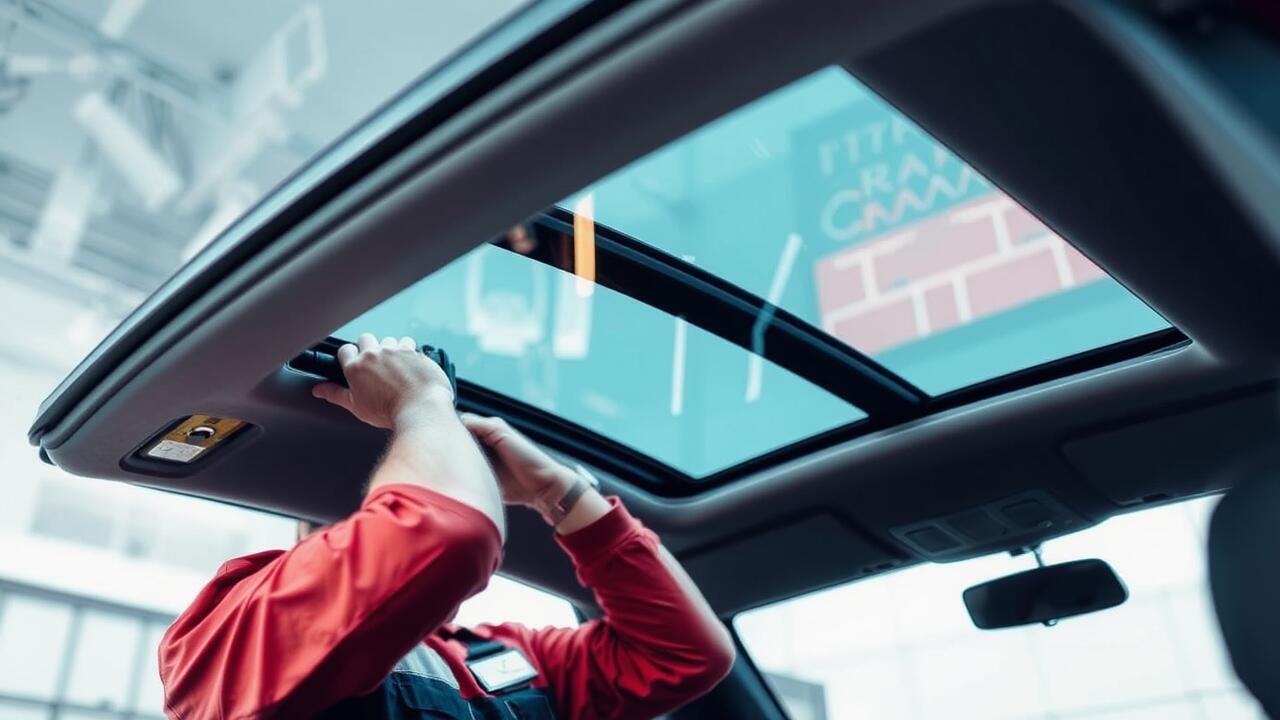
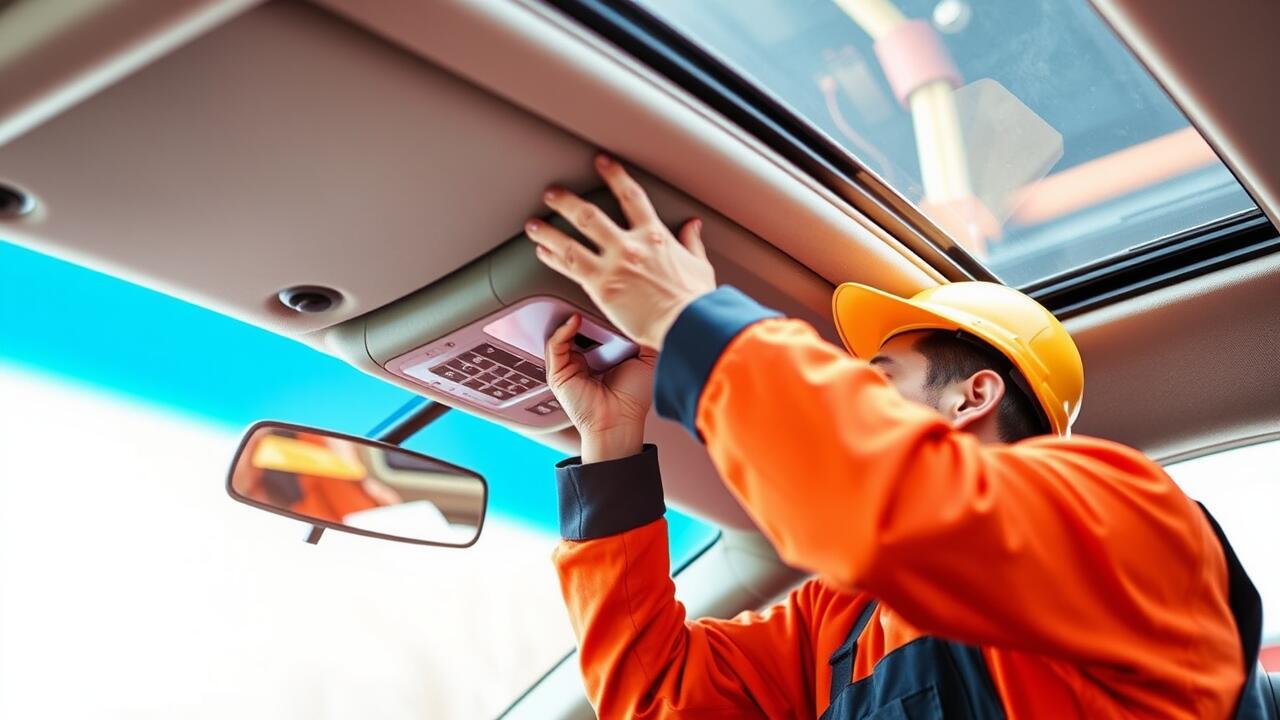
After installing the new sunroof seal, it is essential to test its functionality to ensure everything operates smoothly. Begin by opening and closing the sunroof several times. Listen for any unusual noises that may indicate misalignment or an improperly fitted seal. Observe the movement of the sunroof as it slides open and closed. A properly installed seal should not hinder this process, and the sunroof should operate quietly without resistance or sticking.
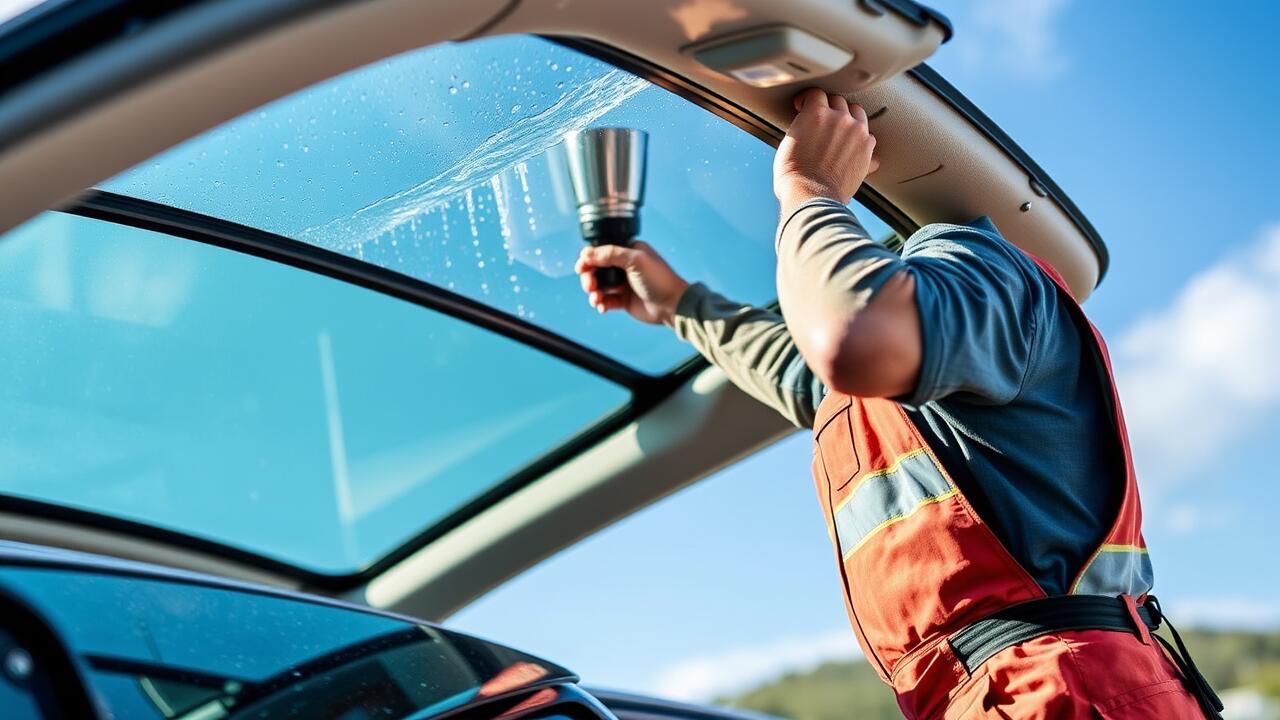
Next, conduct a water leak test to confirm the effectiveness of the new seal. Use a hose to simulate rainfall by directing water over the sunroof and surrounding frame. Check the interior of the vehicle for any signs of leakage. If water penetrates the cabin, this may suggest an issue with the seal placement. Address any concerns immediately, as unresolved problems can lead to further damage and may require more extensive sunroof repair.
How to Verify Proper Functionality
After installing the new sunroof seal, it is crucial to verify its functionality to prevent future leaks and ensure optimal performance. Start by closing the sunroof fully and observing how well it fits against the glass and frame. There should be an even gap with no visible misalignment. If you notice any irregularities, this may indicate the seal is not seated correctly. A proper installation is fundamental in sunroof repair to avoid water ingress.
Next, conduct a water test by pouring a small amount of water over the closed sunroof. Watch for any signs of leaks inside the vehicle. If water seeps through, further adjustments or reinstallation of the seal may be necessary. Checking the drainage channels can also be part of this process. Ensure they are clear of debris to facilitate water flow away from the sunroof area.
FAQS
What tools do I need to replace the sunroof seal?
To replace the sunroof seal, you will typically need a flathead screwdriver, a utility knife, a soft cloth, and a suitable adhesive if the seal requires bonding.
How do I know if my sunroof seal needs to be replaced?
Signs that your sunroof seal needs to be replaced include water leaks inside the vehicle, visible cracks or tears in the seal, and excessive wind noise while driving.
Can I replace the sunroof seal myself, or should I hire a professional?
You can replace the sunroof seal yourself if you have basic DIY skills and tools, but if you're unsure or uncomfortable with the process, it may be best to hire a professional.
How long does it typically take to replace a sunroof seal?
Replacing a sunroof seal can take anywhere from 1 to 3 hours, depending on your experience level and the specific vehicle model.
What should I do if the new sunroof seal still leaks after installation?
If the new sunroof seal still leaks, check for proper placement and ensure that the adhesive (if used) has cured fully. If issues persist, consider consulting a professional for further inspection.