Table Of Contents
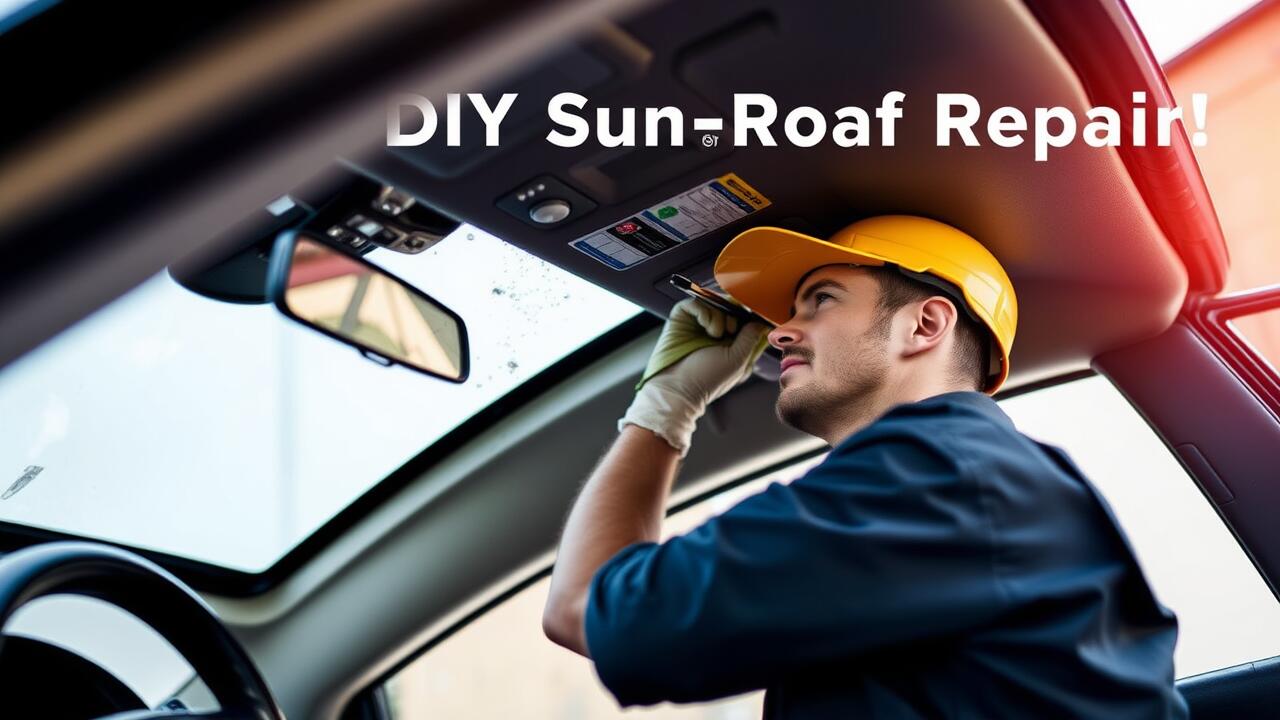
Applying Sealant to the Sunroof
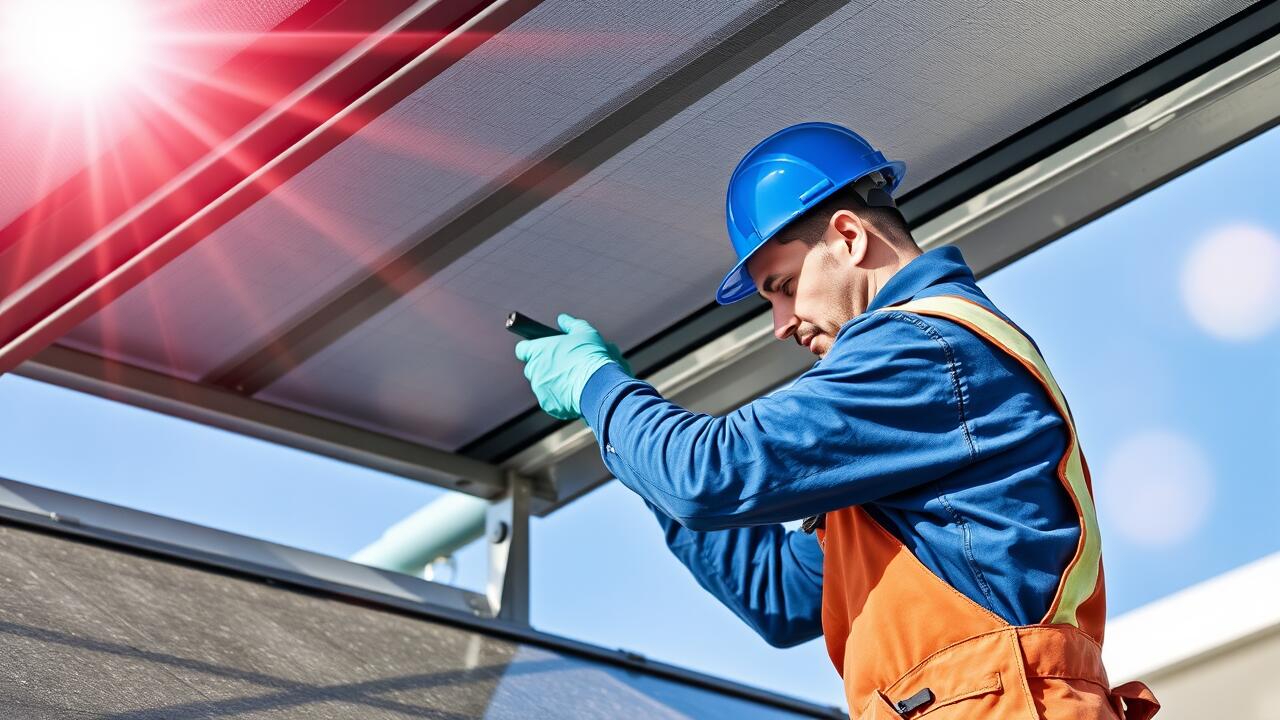
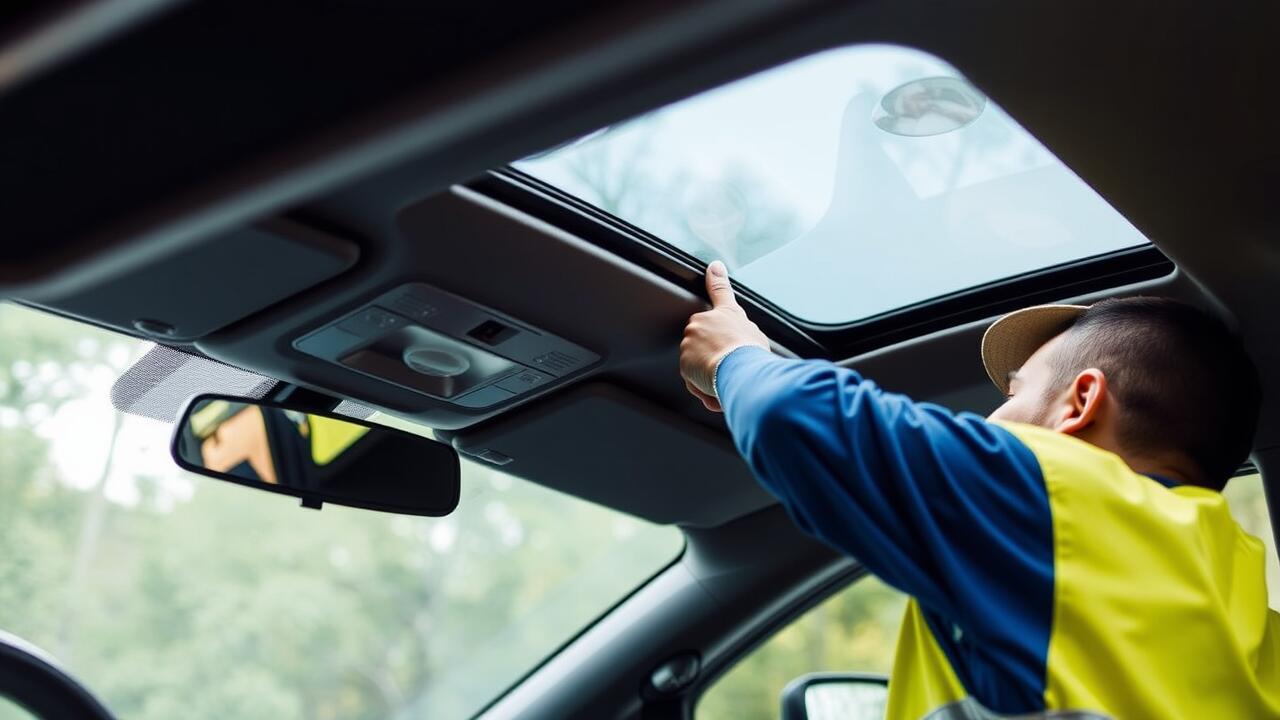
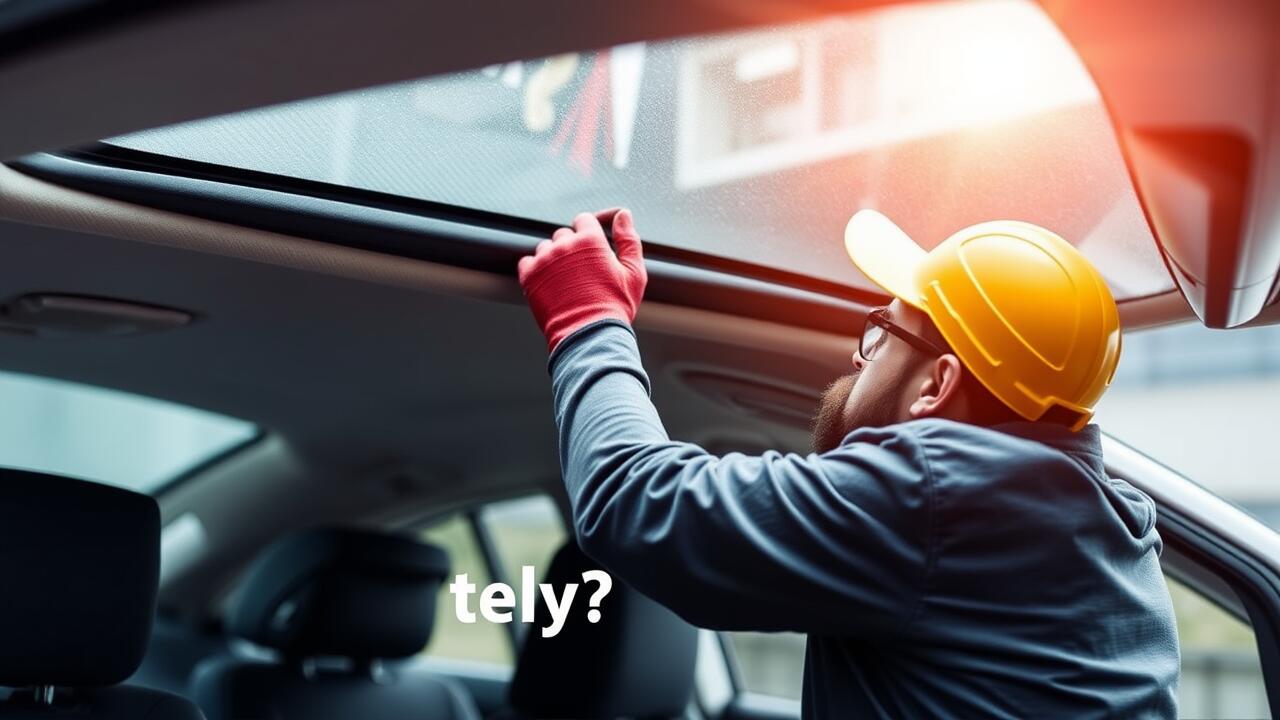
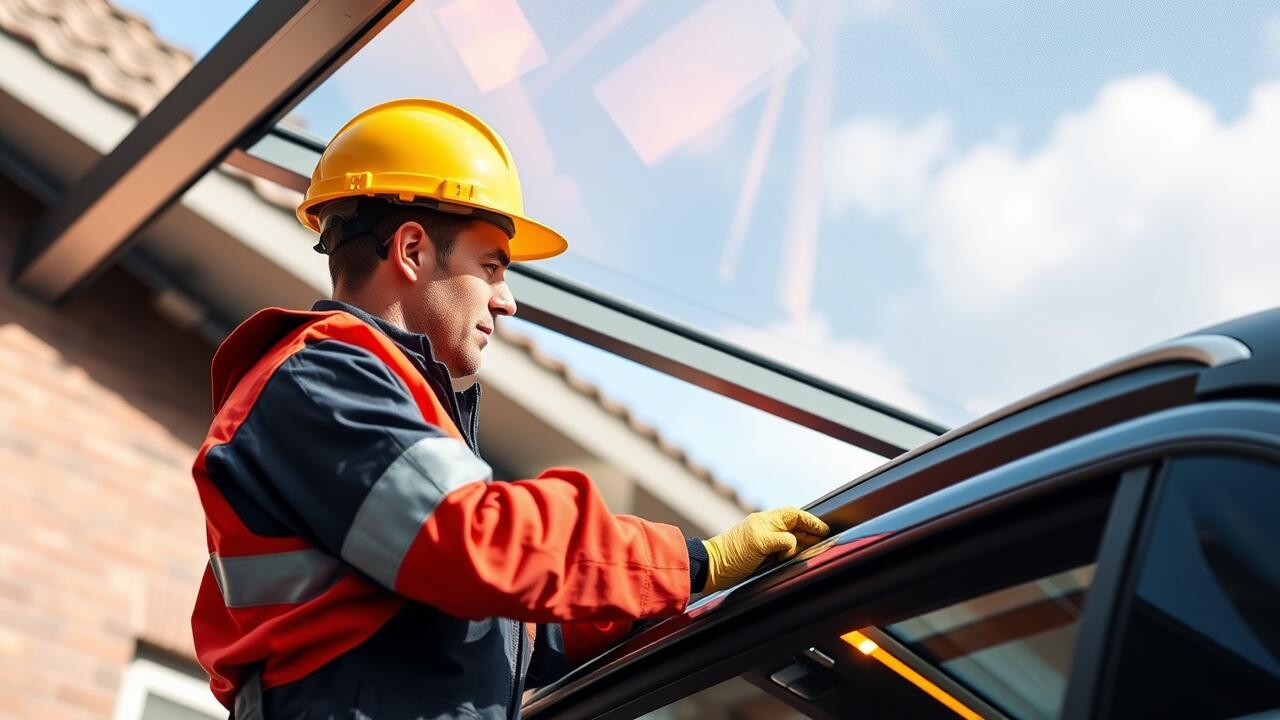
Applying sealant to a sunroof is an essential step in ensuring it remains watertight. Begin by selecting a high-quality, automotive-grade sealant designed specifically for sunroofs. Clean the sunroof area thoroughly to remove any dirt, debris, and old adhesive. This preparation will foster better adhesion of the new sealant. When applying, place an even bead along the existing seam or joint. It's crucial to avoid excess, as this can create a mess and potentially obstruct the sunroof's operation.
Once the sealant is applied, allow it to cure according to the manufacturer's instructions. Curing time may vary based on the product and weather conditions. Afterward, conducting a Sunroof Repair check involving a simple water test can confirm the seal's effectiveness. Pour a small amount of water over the sunroof to observe if any leaks occur. This method will help determine if the sealing has been successful and whether further adjustments or applications are necessary.
Step-by-Step Guide to a Successful Application
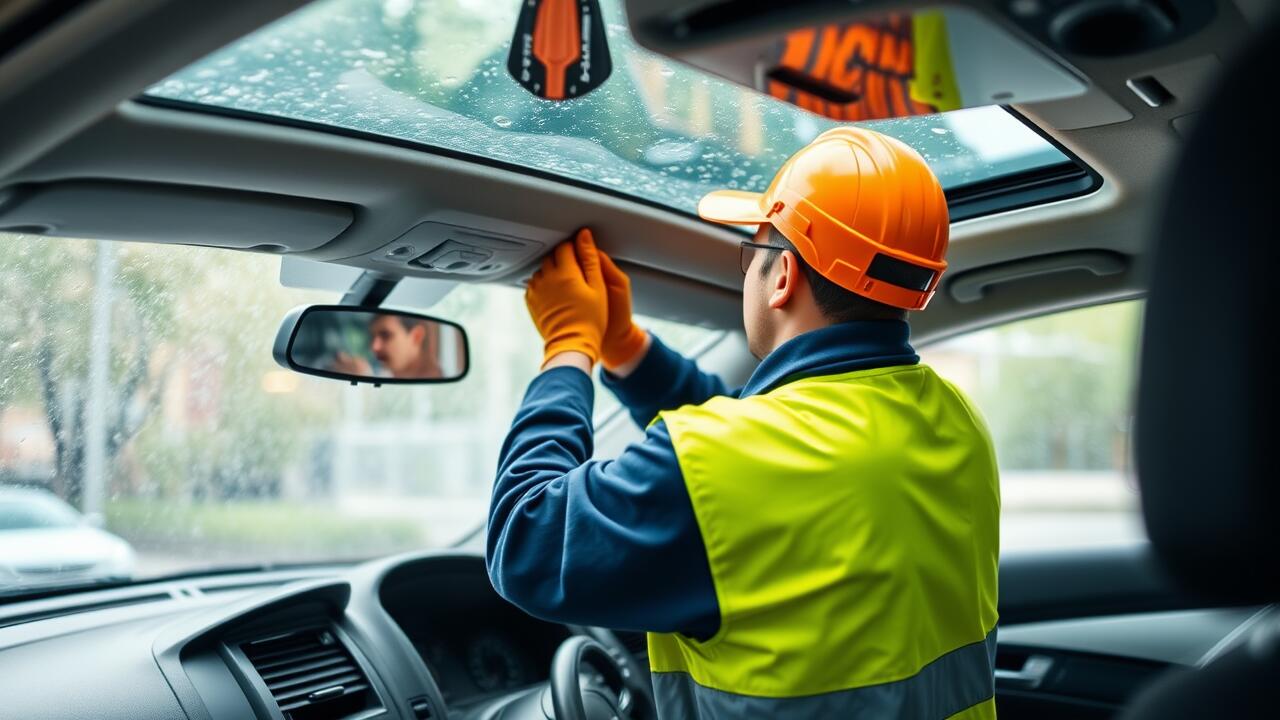
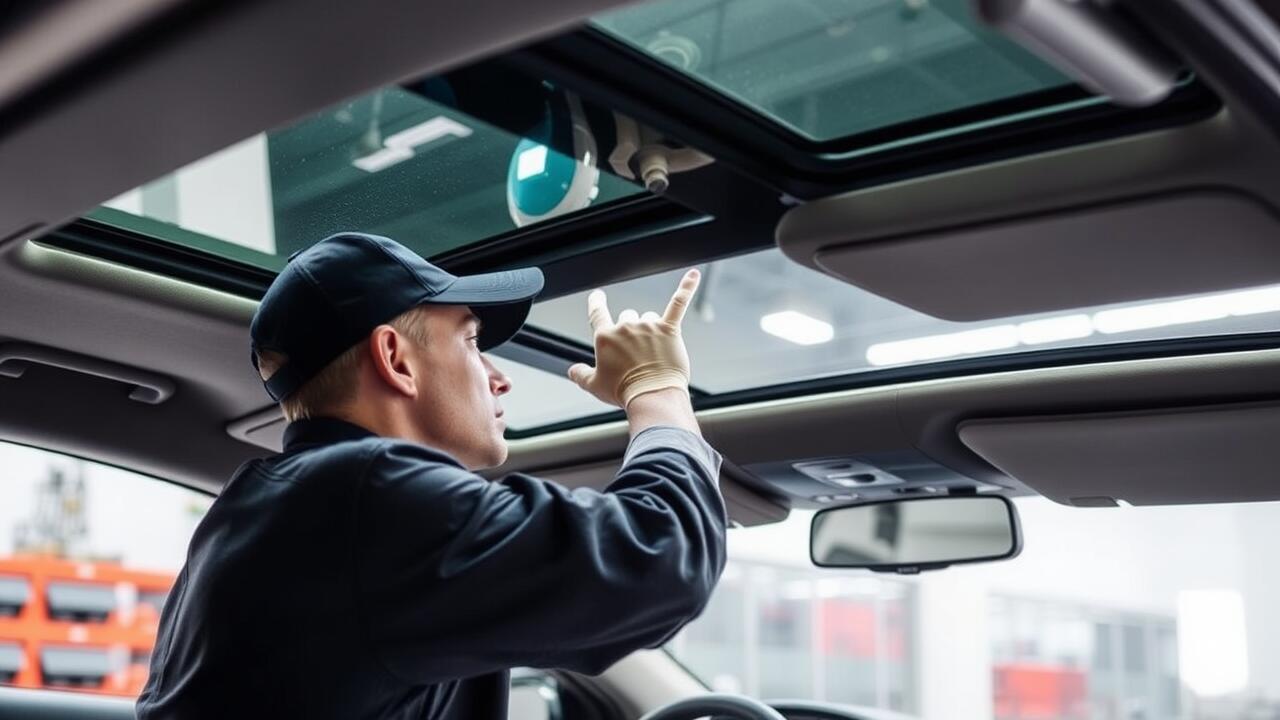
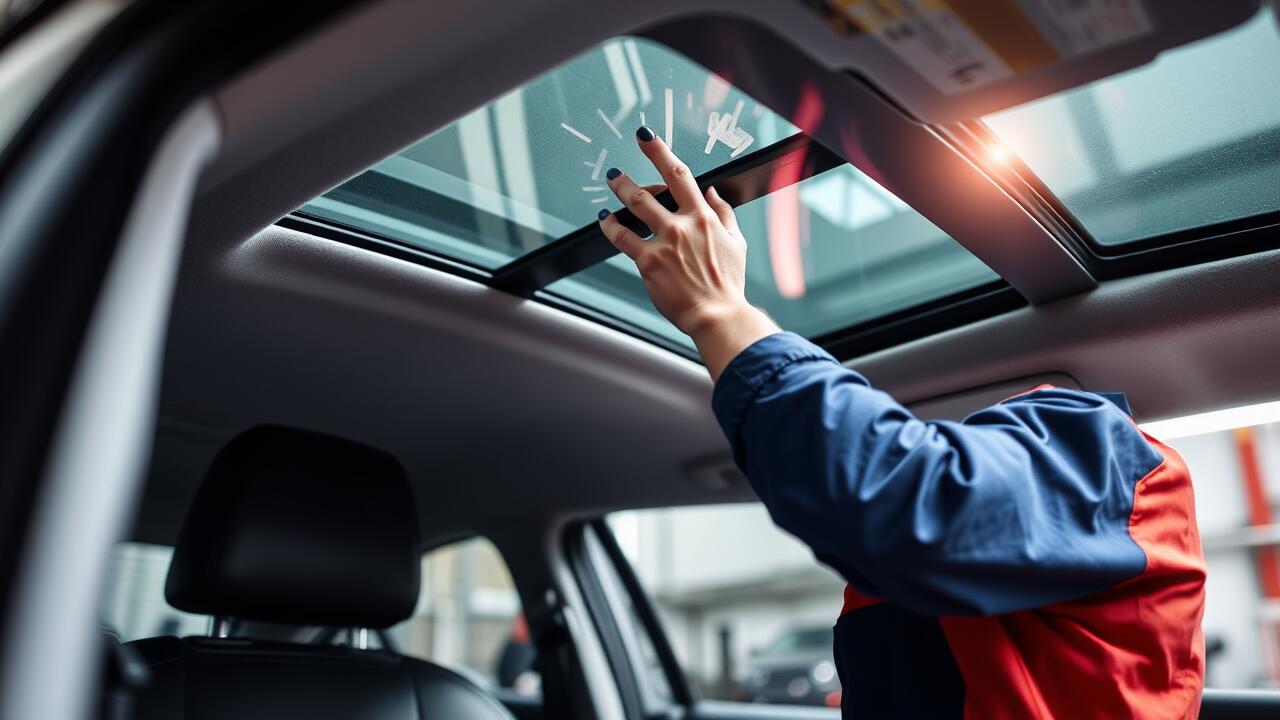
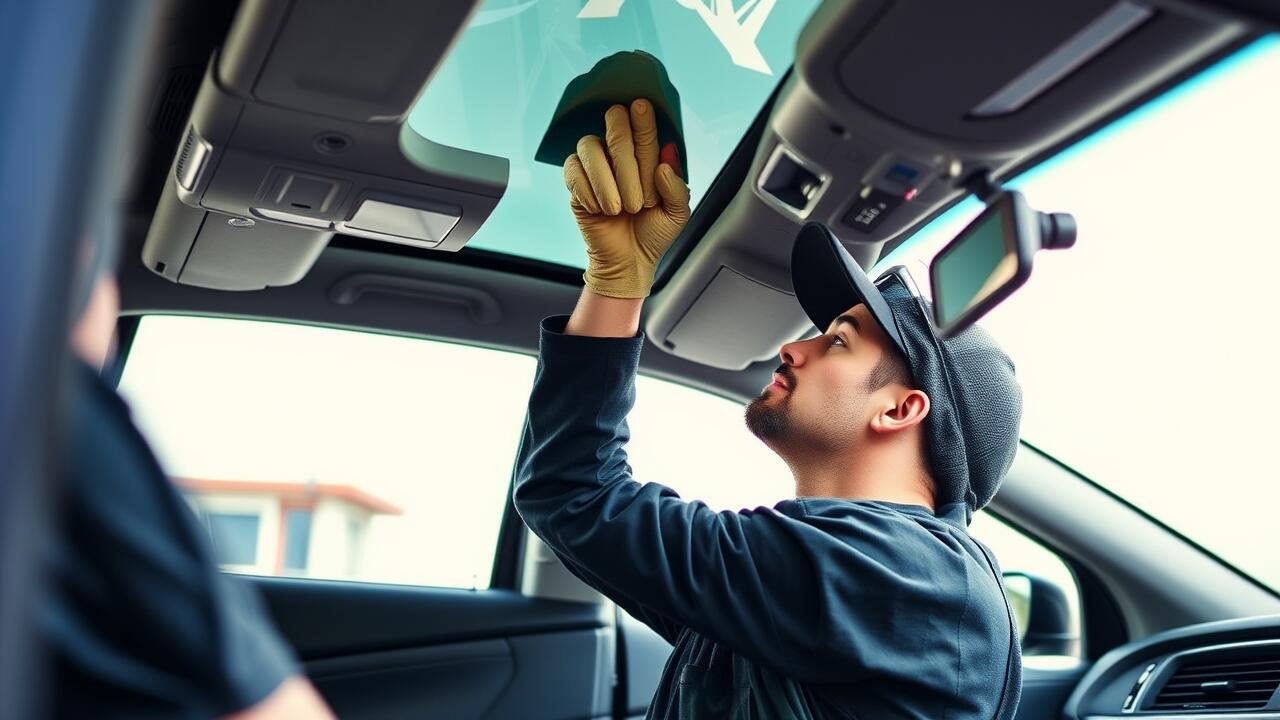
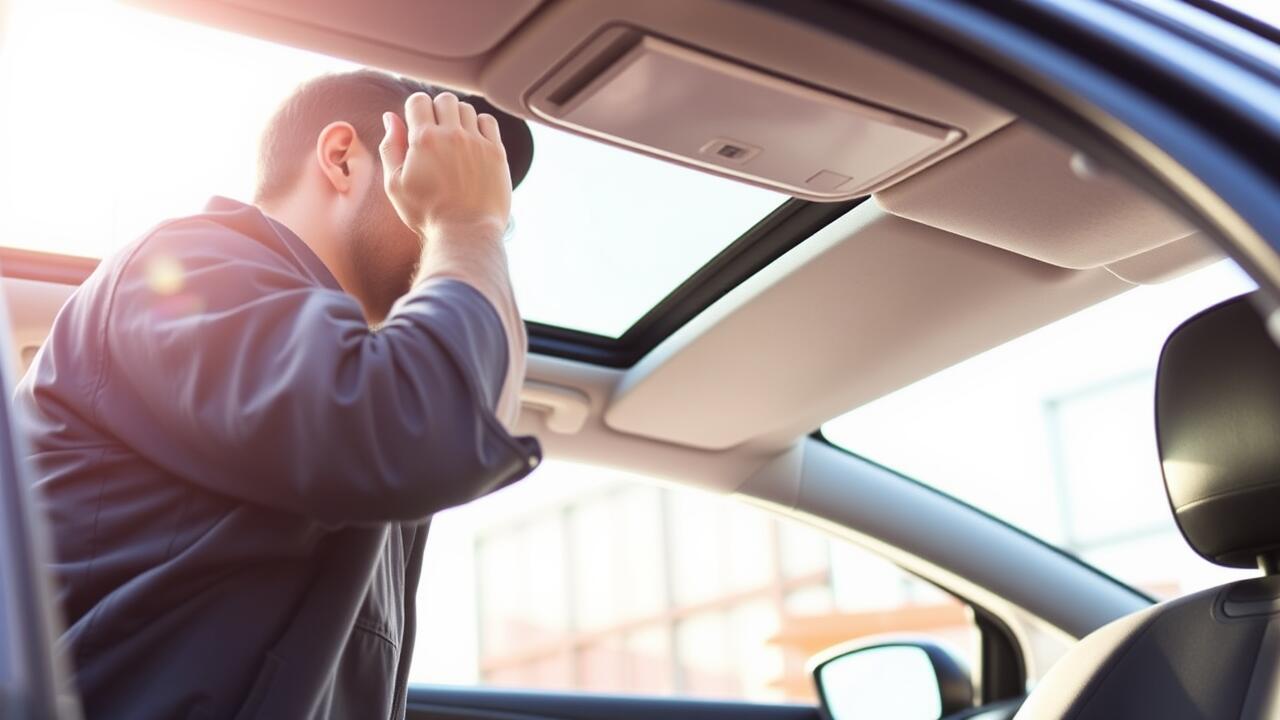
Before starting the sunroof repair, it is crucial to gather all necessary materials. You will need a compatible sealant designed for automotive use, a clean cloth, and a scraper for removing old sealant. Begin by thoroughly cleaning the area around the sunroof, ensuring that there is no dirt or debris that could interfere with the bond of the new sealant. It is advisable to pay particular attention to any existing cracks or gaps in the seals, as these are likely the source of leaks.
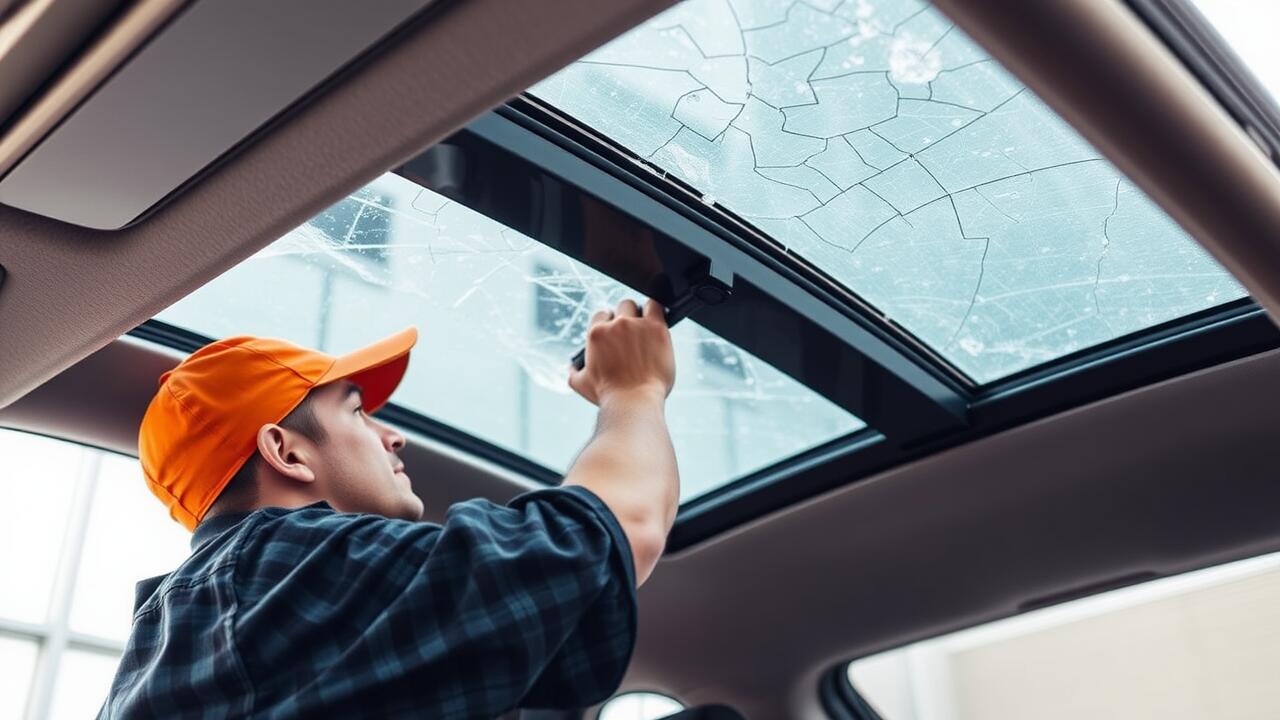
Once the area is prepared, apply the sealant in a continuous bead around the perimeter of the sunroof frame. Ensure the sealant fills all gaps adequately for maximum water protection. Use the scraper if necessary to smooth out any uneven areas and promote a better seal. After application, allow the sealant to cure as per the manufacturer's instructions before testing the sunroof for water tightness. Taking these careful steps will help to extend the life of your sunroof and prevent future water leaks.
Testing for Water Tightness
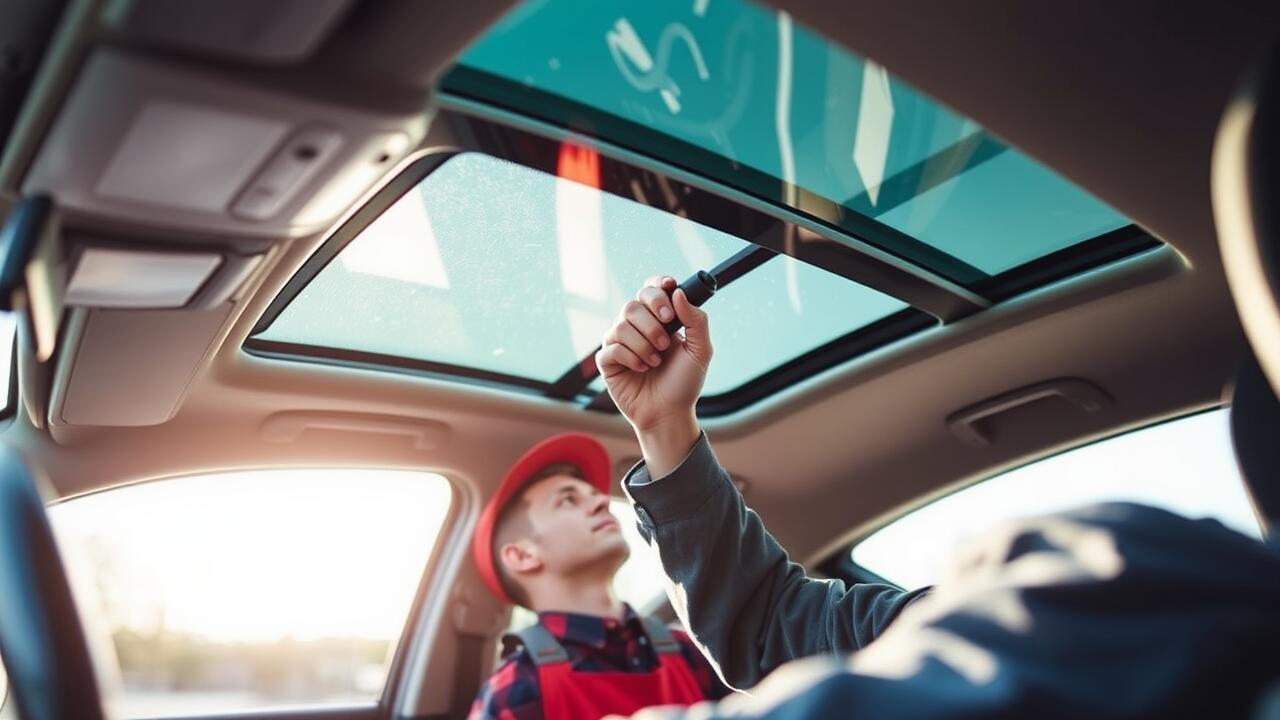
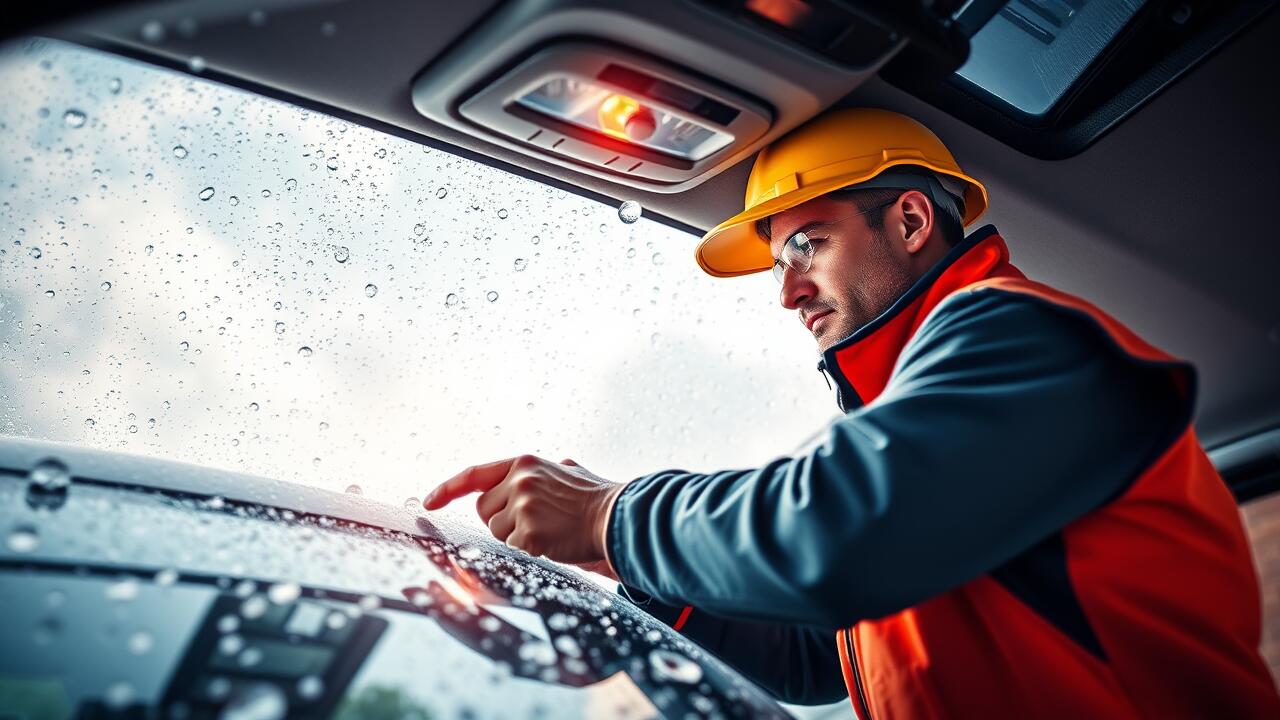
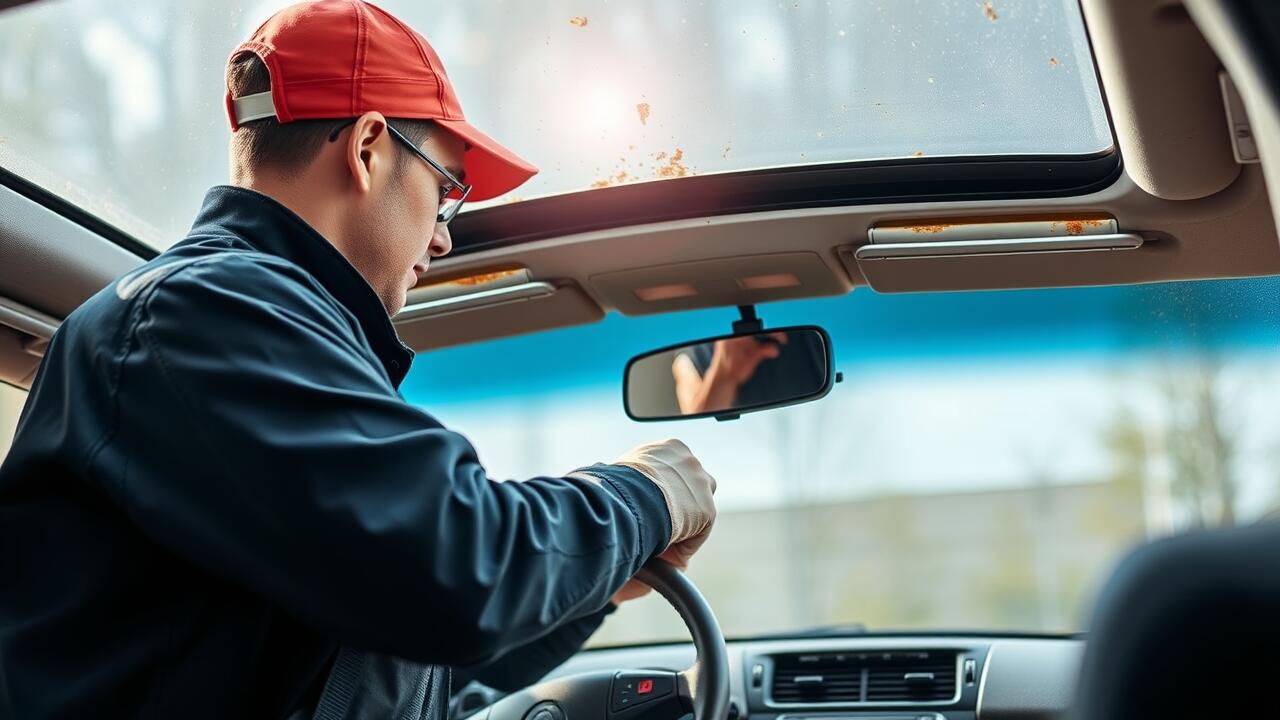
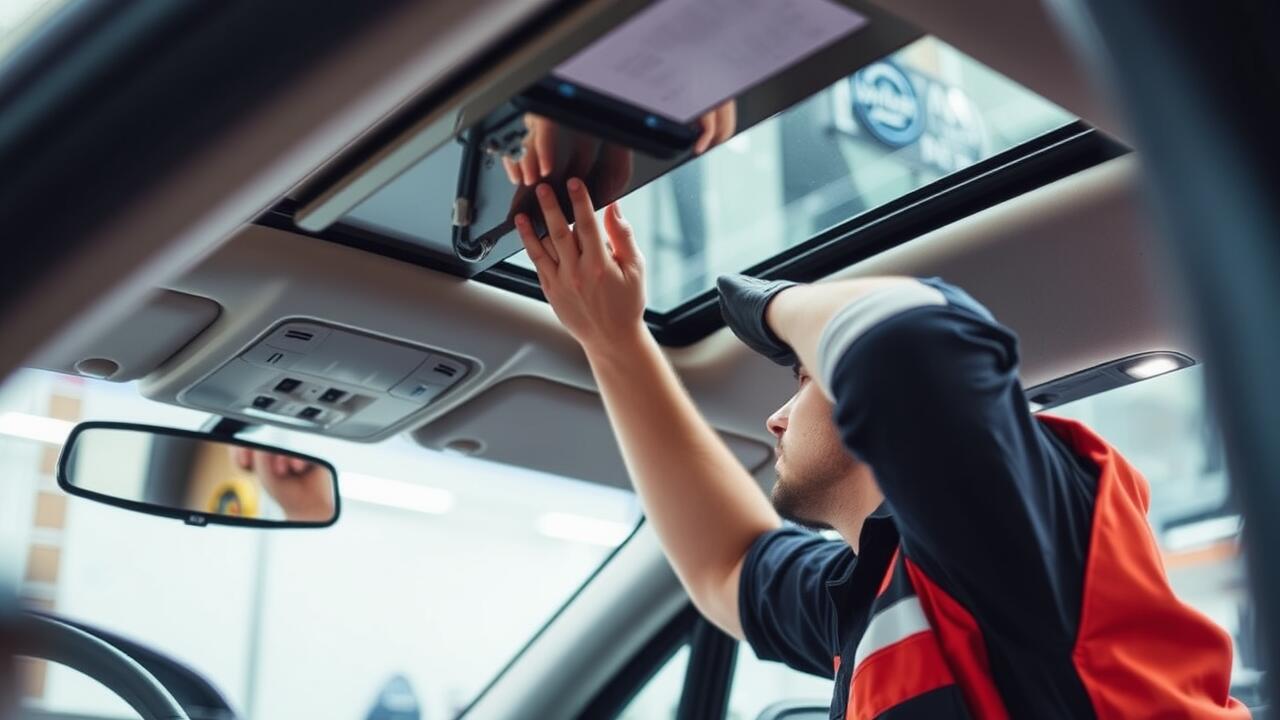
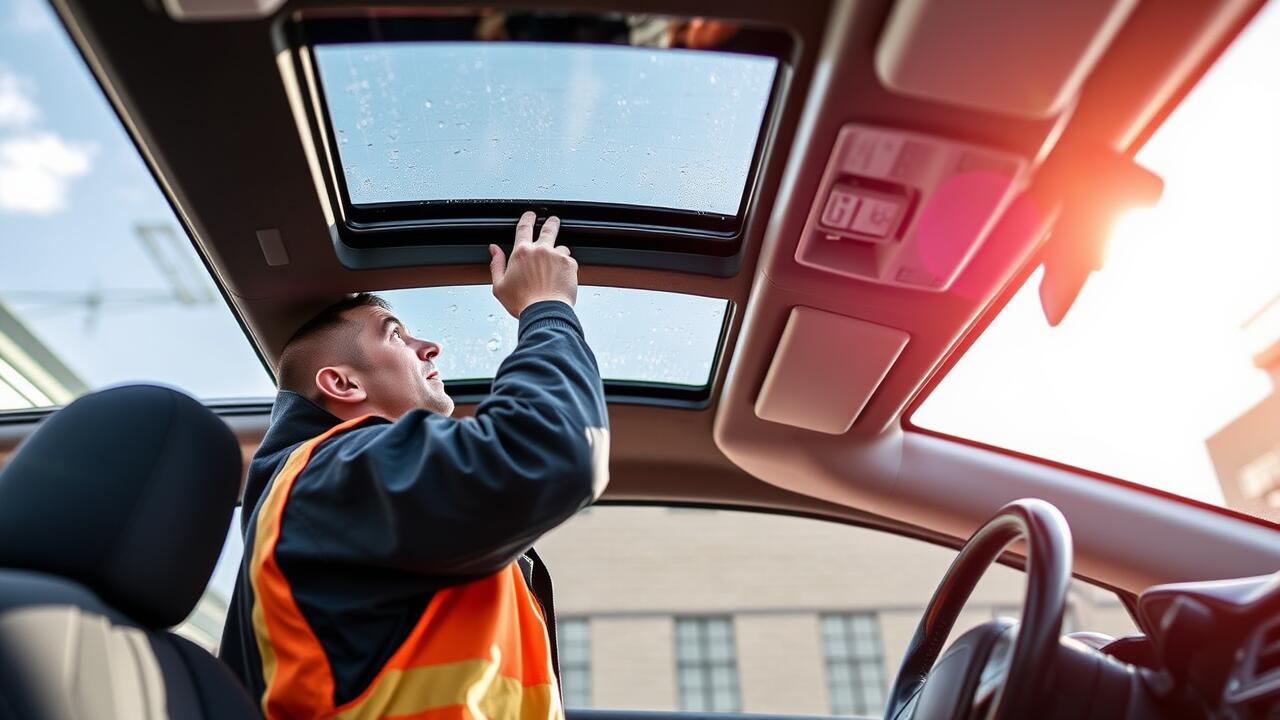
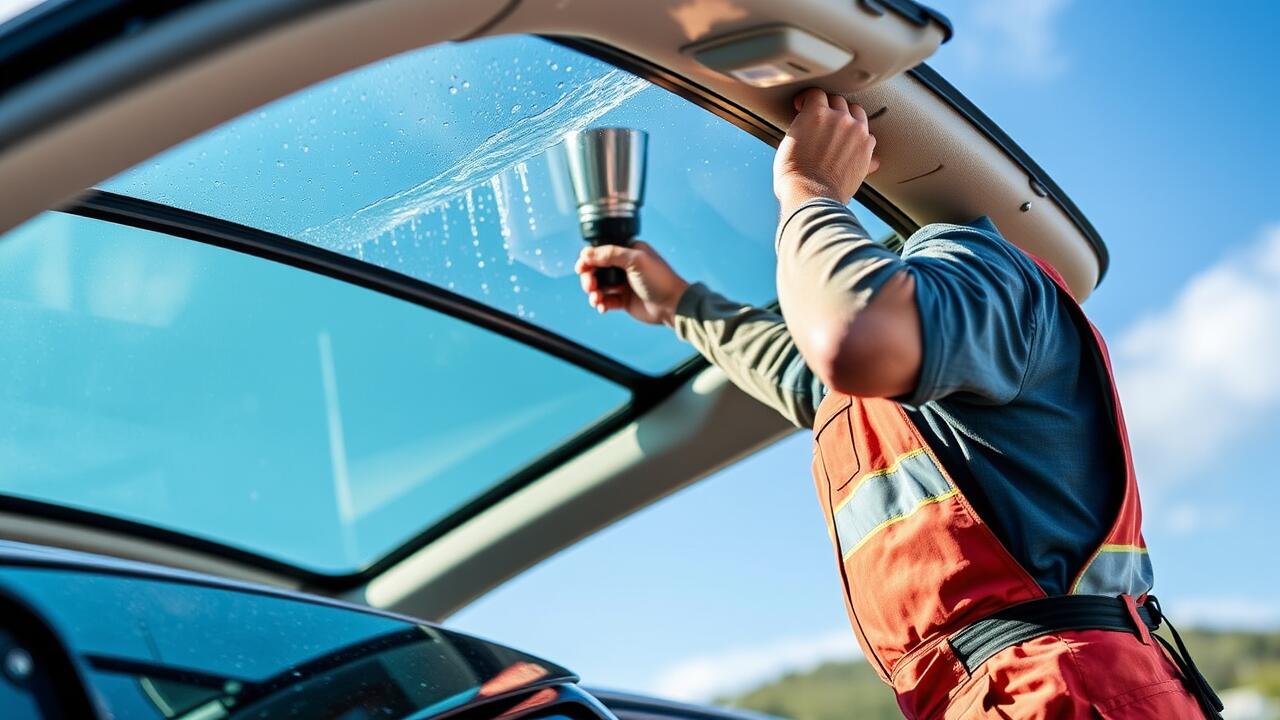
After applying the sealant, it is crucial to test the sunroof for water tightness to ensure that your efforts have been effective. One of the simplest methods involves using a garden hose to simulate rainfall. Start by spraying water around the sunroof area, focusing on the edges and corners where leaks are most likely to occur. Ensure that you do this gradually, allowing time for any potential leaks to become apparent. If water seeps through the seals, it indicates the need for further sealing or possibly a more extensive sunroof repair.
Another effective way to check for leaks is to observe the interior of your vehicle during a rainfall. This method allows you to see if any moisture collects inside. Prepare a dry cloth or tissue and place it near the sunroof’s interior edges. If the cloth becomes damp after a rain, there might be a leakage issue. Regular inspections after heavy rain can help maintain your sunroof’s integrity and reduce the need for frequent sunroof repair.
Methods to Check for Leaks Post-Sealing
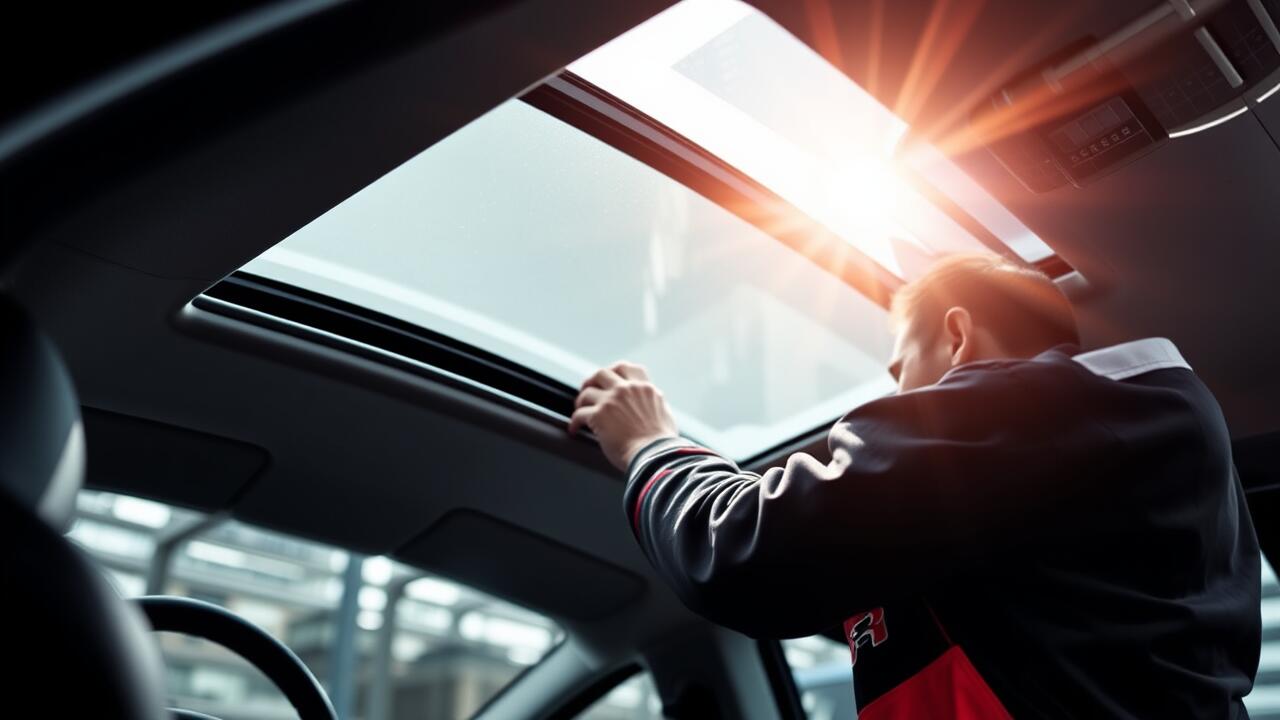
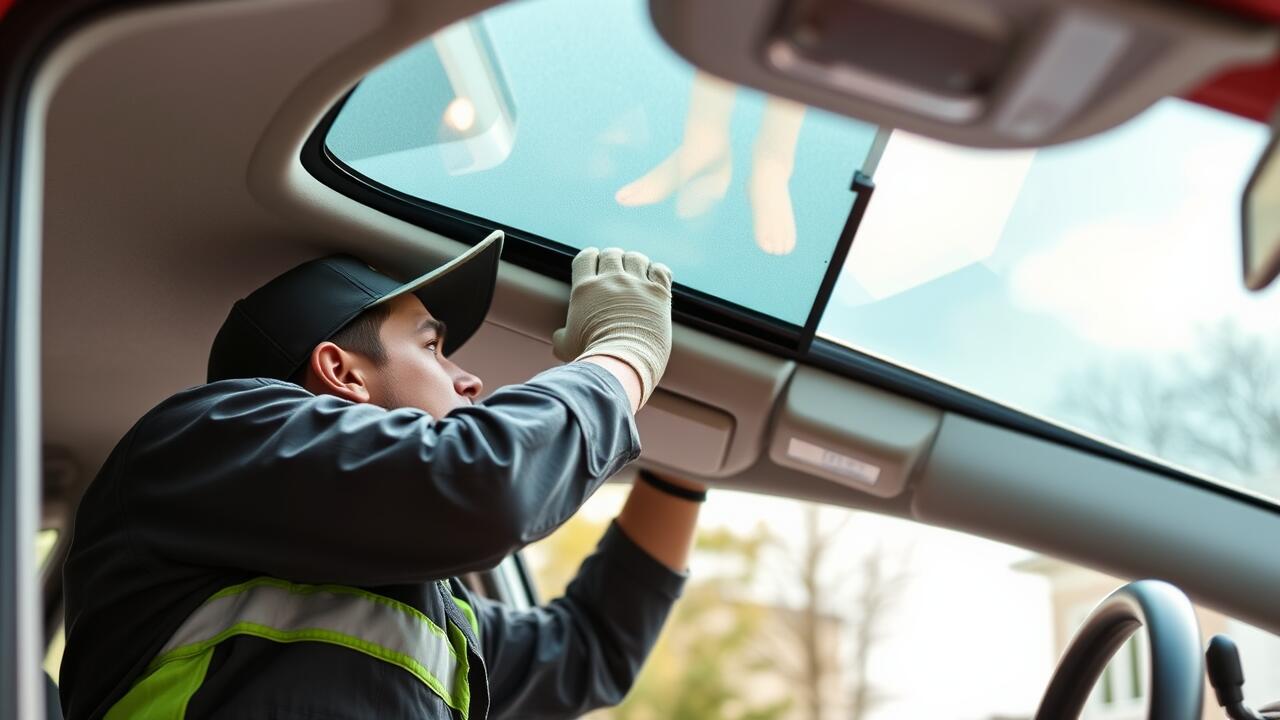
After applying a sealant to your sunroof, it’s crucial to ensure that the sealing is effective. One straightforward method involves using a hose to simulate rain. Simply pour water over the sunroof and carefully observe the interior for any signs of leakage. If water starts to seep inside, it indicates that the seal needs further attention or additional sealant. This hands-on approach is often recommended in guides related to sunroof repair.
Another reliable technique involves creating a controlled environment. Parking the vehicle in a dry area, covering the sunroof with a waterproof tarp, and then waiting for heavy rainfall can also reveal any flaws in the sealing. If leaks occur, noting the specific areas where the water penetrates can provide valuable insights for targeted repairs. Regular checks after sealing are key to maintaining the integrity of your sunroof and preventing costly damages.
Maintaining Your Sunroof Seals
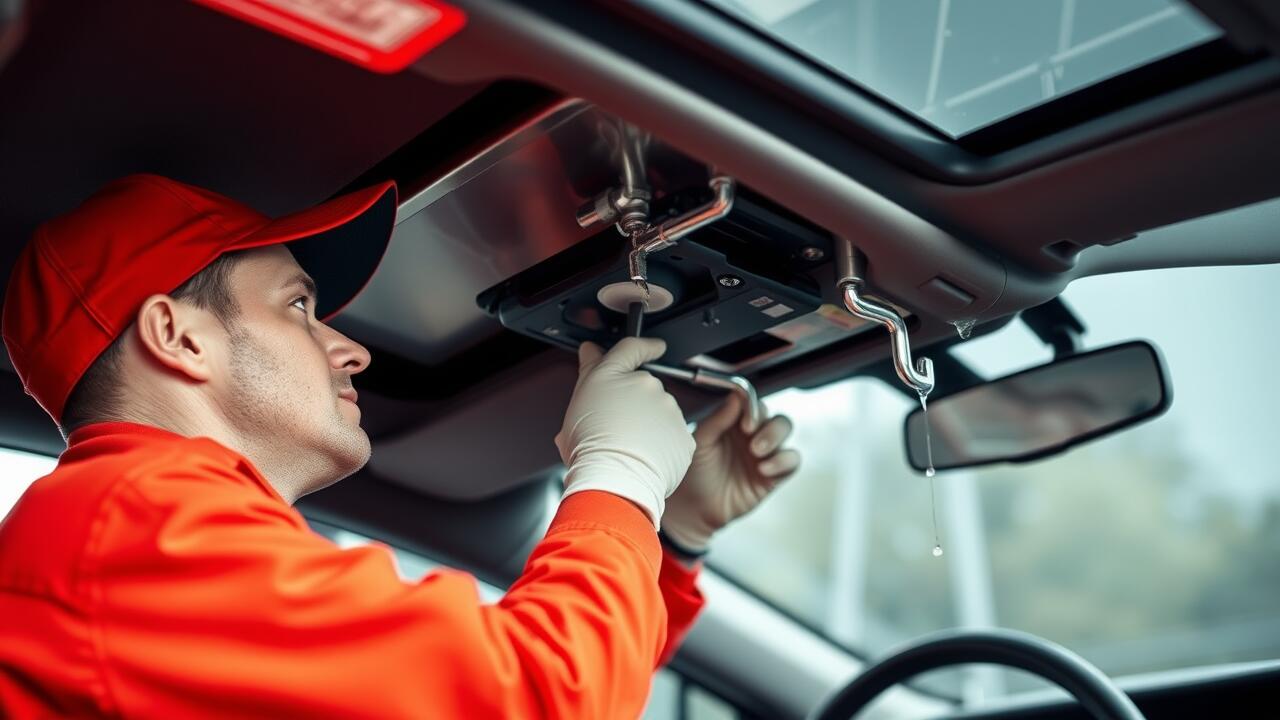
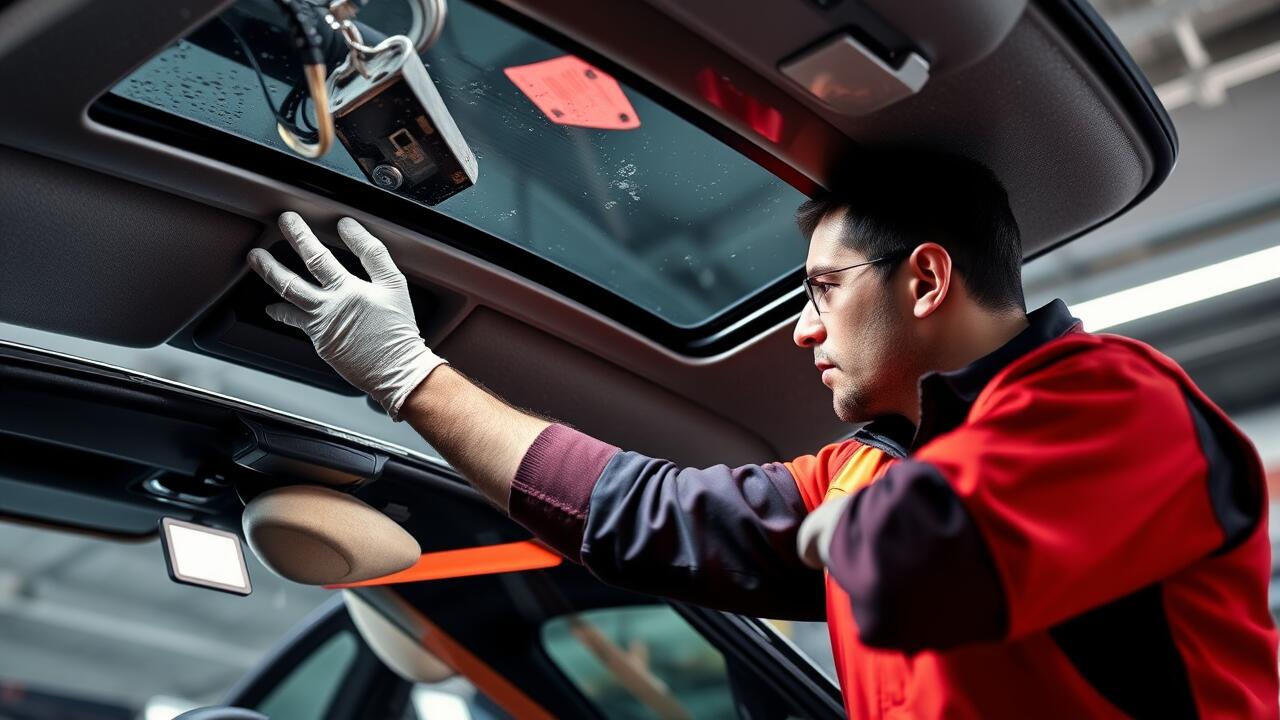
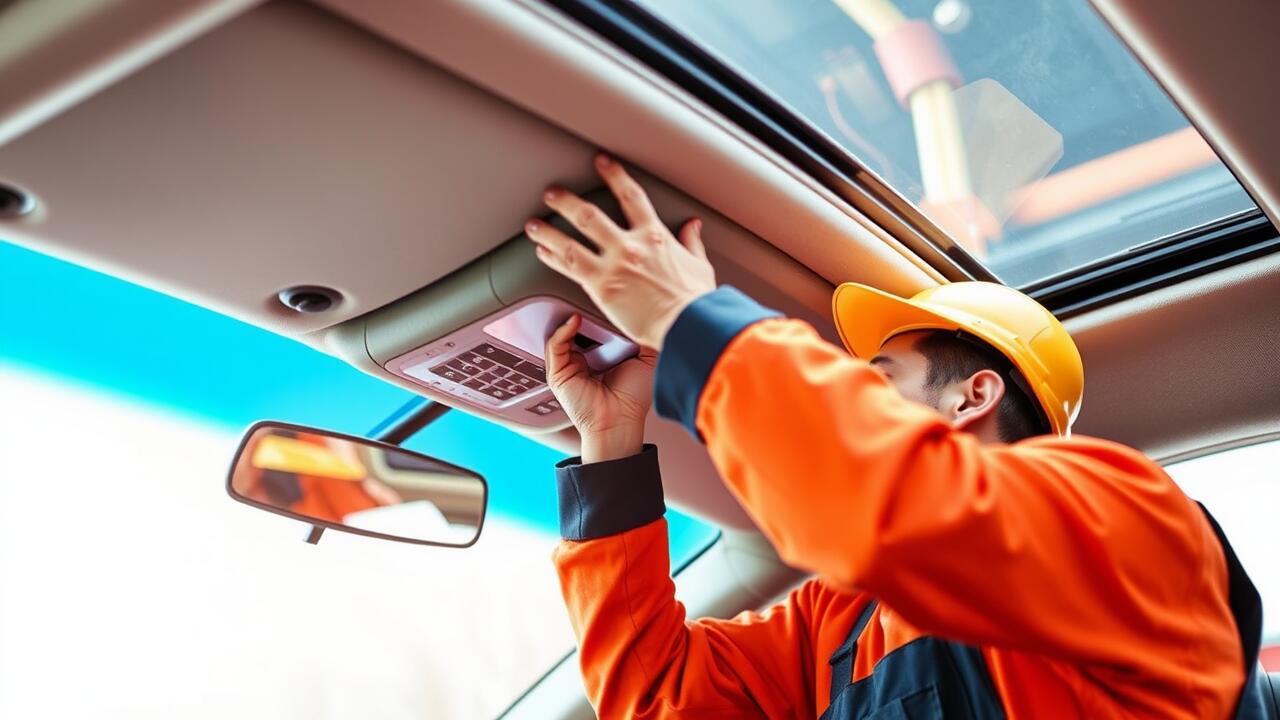
Proper maintenance of your sunroof seals is essential to ensuring they function effectively and prevent leaks. Regularly inspect the seals for signs of wear and tear, such as cracking or brittleness. Debris can accumulate in the tracks, hindering the sunroof's ability to close tightly. Cleaning these areas can extend the lifespan of the seals, reducing the need for premature Sunroof Repair.
In addition to visual inspections, consider the environmental factors that may affect the seals. Extreme temperatures can cause materials to degrade over time. When driving in regions with heavy rain or harsh sun exposure, keep an eye on how well the sunroof performs. If issues arise, addressing them promptly may prevent more extensive repairs in the future, saving you time and money.
Tips for Prolonging the Life of the Seal
Regular maintenance is essential for ensuring the longevity of your sunroof seals. Frequent cleaning of the sunroof and its surrounding area helps prevent debris build-up that can cause wear and tear. Use a soft cloth to wipe down both the glass and the rubber seals, removing any dirt, leaves or grime. It’s advisable to inspect the seals for signs of damage or deterioration regularly. Any cracks or splits should be addressed promptly, as they can lead to more significant issues down the line.
Additionally, consider applying a silicone-based lubricant to the seals every few months. This not only aids in maintaining flexibility but also creates a barrier against the elements. Keep an eye out for signs of water ingress, as early detection can save you from costly sunroof repair. Ensuring that drainage channels are clear will also help in preventing water accumulation, which contributes to seal deterioration.
FAQS
What type of sealant should I use for sealing a sunroof?
It's best to use a high-quality silicone or polyurethane sealant specifically designed for automotive use, as these are durable and offer excellent waterproofing properties.
How often should I check my sunroof for leaks?
It's a good idea to inspect your sunroof at least twice a year, particularly before and after the rainy season, to ensure that the seals are intact and functioning properly.
What signs indicate that my sunroof is leaking?
Common signs include water stains on the headliner, a musty smell inside the car, or visible water pooling in the sunroof area after rainfall.
Can I seal my sunroof myself, or should I hire a professional?
Sealing a sunroof can be a DIY task if you’re comfortable with basic automotive maintenance, but if you’re unsure or the leak is severe, hiring a professional is recommended to ensure proper sealing.
How can I maintain my sunroof seals to prevent future leaks?
Regular cleaning of the sunroof tracks and seals, avoiding the use of harsh chemicals, and applying a protectant can help prolong the life of your sunroof seals and prevent leaks.