Table Of Contents
Securing the Edges
When securing the edges of a broken rear window, it is essential to use high-quality tape to ensure maximum adherence. Begin by cleaning the area around the break to remove any dirt or debris. This step will promote better tape adhesion. Start at one corner and press the tape down firmly along the broken edges, working your way around to create a strong barrier. Pay attention to any jagged fragments, as these can catch on the tape, leading to potential weaknesses.
After applying the tape, double-check that it is securely fastened without any loose ends. Inspect the edges for any areas where the tape may not be adhering properly. If gaps are present, consider adding additional layers of tape. This extra reinforcement can help prevent moisture and debris from entering the vehicle until a full rear window replacement can be completed. Properly secured edges not only provide temporary protection but also reduce the chance of injury from sharp glass shards.
Ensuring a Tight Seal
To ensure a tight seal when taping up a broken rear window, clean the surrounding area thoroughly. Remove any debris, dust, or old adhesive, which can interfere with the tape's ability to stick properly. Apply the adhesive tape closely along the edges of the glass and body frame. Make sure to press firmly, as a strong bond is essential to prevent moisture ingress.
Once the tape is in place, examine it for any areas that might need reinforcement. Pay special attention to corners and edges where gaps may occur. These spots could become weak points, potentially compromising the seal. Proper sealing not only safeguards the interior of the vehicle but also prepares the way for future rear window replacement if needed.
Inspecting Your Work
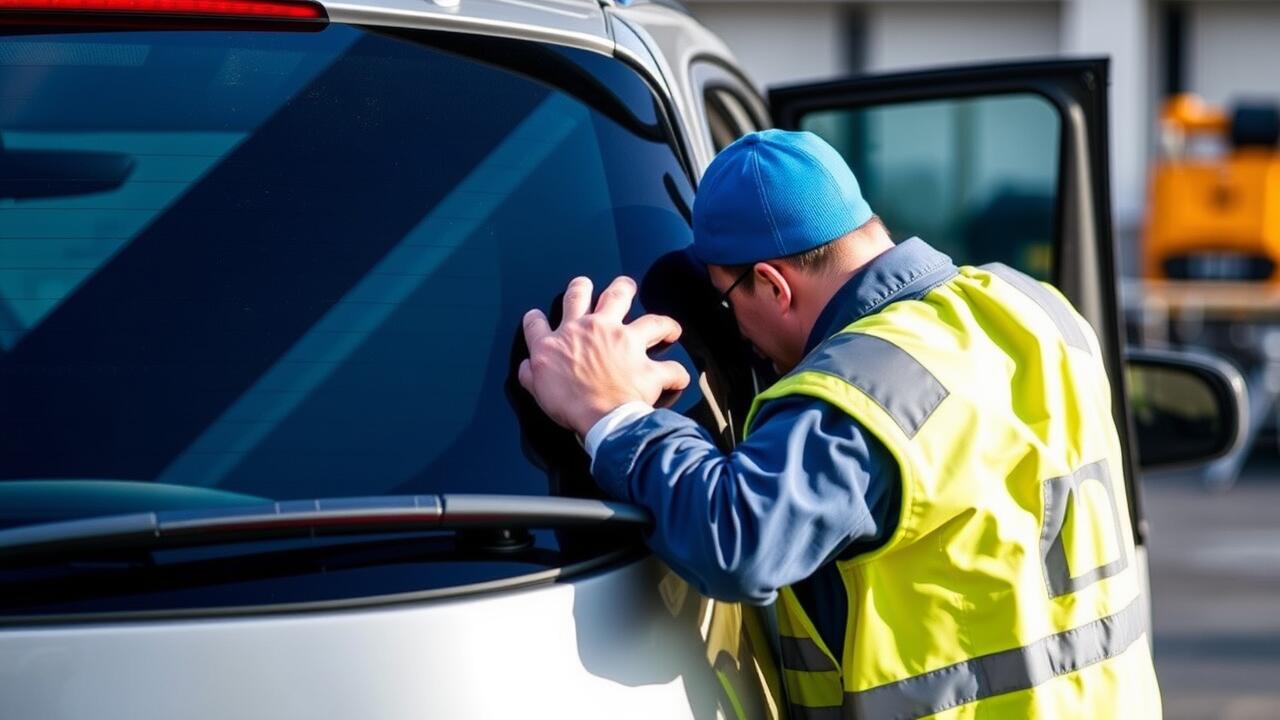
After taping up the broken rear window, it's essential to conduct a thorough inspection of your work to ensure everything is secure. Begin by visually examining the edges of the tape. Look for any areas where the tape may not adhere properly or is lifting. You want to confirm that the tape has formed a tight bond with both the glass and the surrounding frame. A loose bond can lead to further damage and complications, especially when considering a rear window replacement in the future.
Next, check for any gaps and weak spots that might allow moisture or debris to enter the vehicle. Run your fingers along the taped edges to feel for any irregularities. Pay attention to areas where the tape overlaps or where it meets the window frame. Identifying and addressing these issues now can save you time and expenses later on. Moreover, a thorough inspection can provide peace of mind while you plan for the eventual rear window replacement.
Checking for Gaps and Weak Spots
After securing the tape around the broken rear window, it’s crucial to inspect for any gaps or weak spots. Carefully run your fingers along the edges to feel for any irregularities. These small openings can allow moisture or dust to enter, potentially complicating the rear window replacement process. It’s important to address all detected weaknesses to maintain the integrity of the temporary fix.
If you discover any gaps, consider adding additional strips of tape or reinforcing the areas with more durable materials. Ensure the covered surface is flush against the vehicle to prevent air leaks. The goal is to achieve a seamless barrier until you can arrange for a permanent rear window replacement. Regularly check the taped areas if the vehicle is exposed to harsh conditions, as prolonged exposure may weaken the adhesive over time.
Protecting Against the Elements
When a rear window breaks, protecting the interior of the vehicle from the elements is crucial. Water, dirt, and debris can easily enter through the damaged area, leading to further issues like mould or corrosion. To mitigate this risk, covering the broken window with heavy-duty plastic sheeting can provide an effective barrier against rain and wind. Make sure to secure the edges tightly with waterproof tape to prevent any gaps that could allow moisture in.
In addition to immediate protection, addressing the broken rear window promptly with plans for a Rear Window Replacement is advisable. This ensures not only a restored appearance but also the safety and functionality of the vehicle. The longer the window remains broken, the more vulnerable the car becomes to weather-related damage, so timely action will help maintain its condition.
Covering with Plastic Sheeting
Covering the broken area with plastic sheeting is a practical step to prevent water and debris from entering your vehicle while you await a rear window replacement. Start by cutting a piece of heavy-duty plastic sheeting to extend several inches beyond the edges of the break. Secure it firmly in place using strong tape, making sure it adheres well to the glass and surrounding frame. This not only helps to keep the interior of your car dry but also provides some protection against further damage.
Make sure to inspect your work after applying the plastic sheeting. Look out for any loose edges or areas that may not be sealed tightly, as these can become points of vulnerability. Adding extra layers or overlapping sections can enhance the durability of your makeshift cover. The goal is to create a barrier that can withstand the elements until you can arrange for a proper rear window replacement.
FAQS
What materials do I need to tape up a broken rear window?
You will need strong adhesive tape (such as duct tape), scissors, plastic sheeting or a garbage bag, and a cleaning cloth to ensure a clean surface.
How do I ensure a tight seal when taping up a broken rear window?
Begin by cleaning the edges of the glass and the surrounding frame. Apply the tape in overlapping layers, pressing firmly to eliminate air pockets and create a tight seal.
How can I check for gaps and weak spots after taping the window?
Inspect the taped area closely for any visible gaps or areas where the tape isn’t adhering properly. Run your fingers along the edges to feel for any loose sections.
What should I do if I find gaps after inspecting my work?
If you find gaps, reinforce those areas with additional tape, ensuring a secure bond. You may also want to add more layers if necessary.
How can I protect the taped window from weather elements?
Cover the taped area with plastic sheeting to provide an extra layer of protection against rain and wind. Secure the plastic sheeting with tape around the edges to keep it in place.