Table Of Contents
Installing the New Rear Window
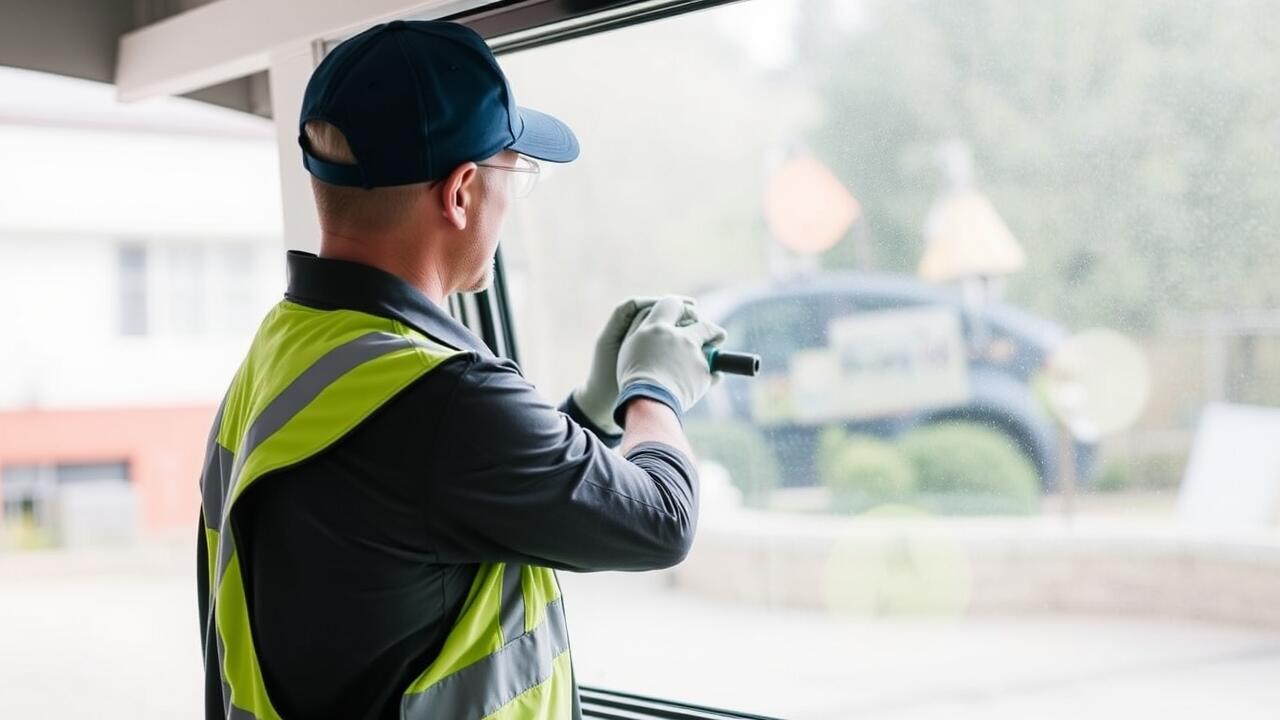
When installing a new rear window, it’s crucial to ensure you have all the necessary tools and materials ready. Start by carefully removing any shattered glass pieces from the frame. Use gloves to protect your hands from sharp edges. Once the area is cleared, check for any lingering adhesive from the old window. This needs to be thoroughly removed to create a clean surface for the new rear window.
Next, apply a suitable adhesive around the edges of the frame where the rear window will be seated. Position the new rear window carefully before pressing it into place. Make sure it sits evenly within the frame to prevent any leaks or future issues. After the window is secure, it’s important to follow the adhesive manufacturer’s instructions regarding curing time. This step ensures a strong bond that can withstand various weather conditions and keeps the vehicle safe and structurally sound.
Step-by-Step Installation Guide
When undertaking a rear window replacement, start by safely removing any remnants of the shattered glass. Wear protective gloves to avoid cuts and clear the area of sharp fragments. Use a flathead screwdriver to carefully pry away the moulding or trim surrounding the window. Disconnect any wires connected to the window, especially if it features defrosters or sensors. Once the old window is removed, clean the frame thoroughly to remove any debris or adhesive residue. This preparation ensures a better fit for the new window.
Next, position the replacement glass into the frame. Apply a bead of adhesive around the perimeter of the opening to create a strong bond. Carefully set the new rear window in place, ensuring it sits evenly and securely within the frame. Press down gently to allow the adhesive to bond effectively. Reattach any wires and secure the moulding around the window to complete the installation process. Allow the adhesive to cure as per the manufacturer's instructions before driving the vehicle to ensure the window remains properly sealed.
Post-Installation Care
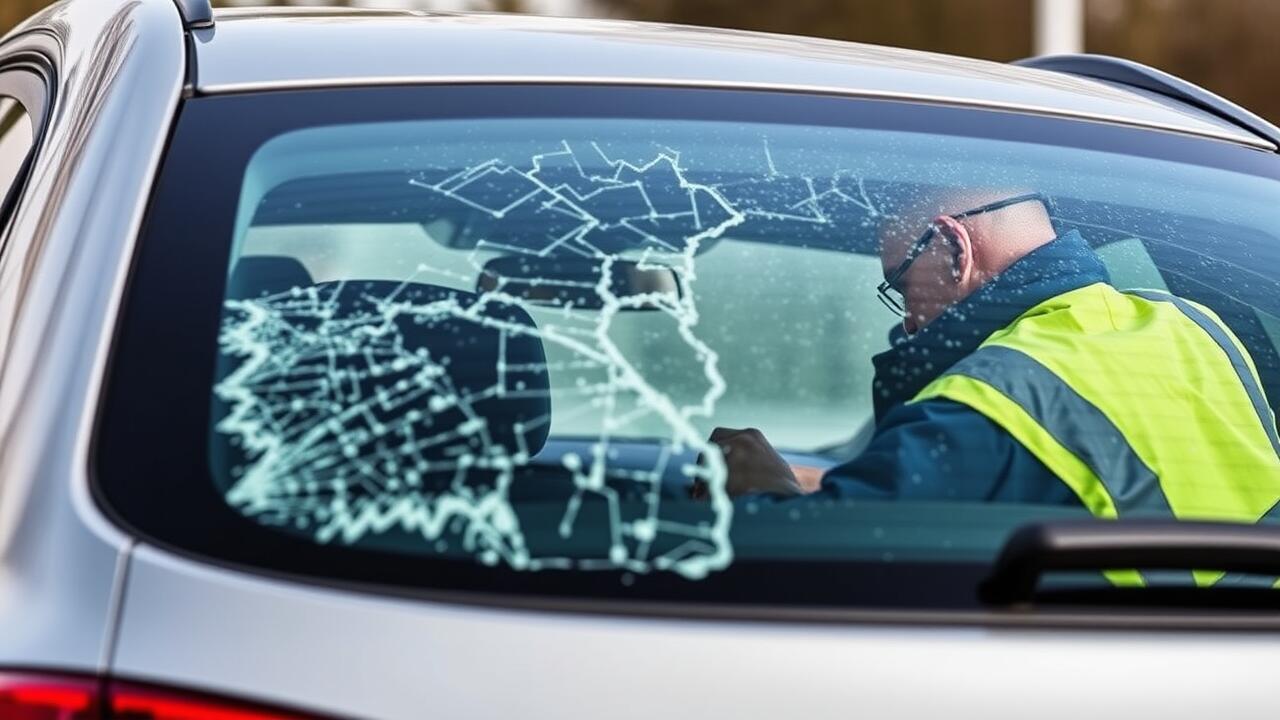
After completing the rear window replacement, it is essential to inspect the new installation for any visible gaps or misalignment. Ensuring that the window sits correctly within its frame is vital. A properly installed rear window not only enhances the vehicle's aesthetics but also contributes to its structural integrity. Take the time to check the seals around the window for any signs of leaking or looseness. These seals play a critical role in preventing water from entering the vehicle and can impact the safety and comfort of the interior.
Once satisfied with the installation, allowing adequate time for the adhesive to cure is important. Generally, it is advisable to avoid driving the vehicle for at least a few hours after the replacement. Proper care includes keeping the area around the window dry and avoiding any pressure on the glass for several days. Following these post-installation care tips will help maintain the quality of the rear window replacement, ensuring long-lasting performance and durability.
Ensuring a Proper Seal
Ensuring a proper seal during a rear window replacement is crucial for maintaining the integrity of the vehicle's interior. Start by preparing the mating surfaces thoroughly, removing any residual adhesive or debris from the frame. This creates a clean area for the new sealant to adhere effectively. Make sure to align the new rear window accurately within the frame before securing it, as misalignment can lead to gaps and potential leaks.
Once the window is positioned correctly, apply a high-quality urethane adhesive around the edge of the frame. Press the window firmly into place, ensuring that the adhesive spreads evenly. Maintain adequate pressure for the recommended curing time, which varies by product, to achieve a watertight seal. Regular inspections of the seal after installation can help identify any issues early, ensuring the longevity of the rear window replacement.
Understanding Insurance Coverage
Insurance coverage for a broken rear window can vary depending on your policy and the circumstances surrounding the incident. Many comprehensive insurance plans cover glass damage without a deductible, allowing you to replace your rear window without incurring significant costs. It is important to review your policy details and contact your insurer to clarify what is included, as some insurance providers may have specific conditions regarding claims for glass replacement.
When filing a claim for rear window replacement, documentation is key. Take clear photographs of the damage and gather any relevant information, such as police reports if applicable. Providing a detailed account of the incident will help expedite the claims process. Once approved, your insurer can guide you on the next steps for locating an approved repair shop and managing the payment process. Always keep copies of all correspondence related to your claim for future reference.
Filing a Claim for Broken Glass
When your rear window has been broken, it’s essential to understand the process of filing an insurance claim for glass replacement. Begin by reviewing your policy to determine if it covers rear window replacement and any specific conditions that may apply. Gather the necessary documentation, including photographs of the damage and any relevant police reports if applicable. A clear description of the incident will help facilitate a smoother claim process.
Once you have all the required information, contact your insurance provider to initiate the claim. They will guide you through their procedures, which may include sending an adjuster to assess the damage or directing you to approved repair shops. Keep all receipts and records related to the replacement, as these may be needed to support your claim. Staying organised will ensure that you can navigate the claims process efficiently and get your rear window replaced promptly.
FAQS
What should I do immediately after breaking my rear window?
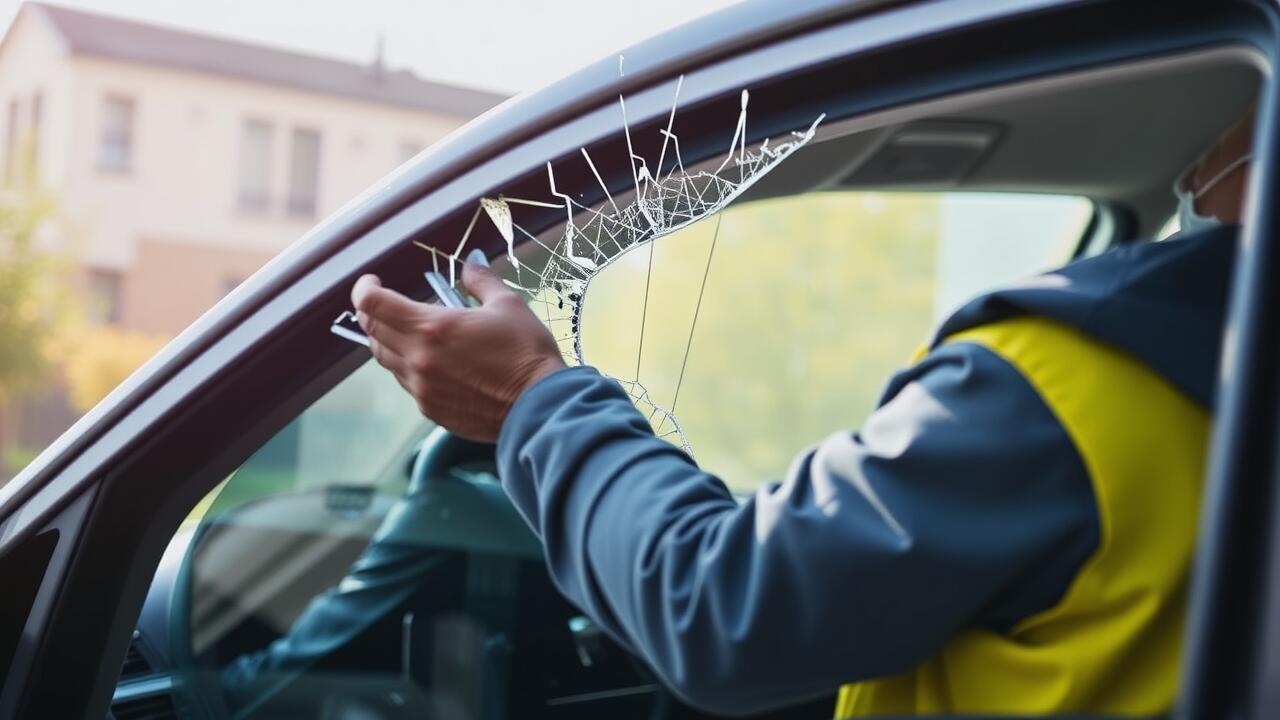
Firstly, ensure your safety by removing any sharp glass shards from the area. If you need to drive, cover the broken window with plastic or a tarp to protect against the elements.
Can I replace the rear window myself?
Yes, you can replace the rear window yourself if you are comfortable with DIY projects. However, if you're unsure or lack the right tools, it's advisable to seek professional help.
How do I ensure a proper seal after installing a new rear window?
To ensure a proper seal, make sure the installation area is clean and dry before applying adhesive. Properly follow the installation instructions and allow adequate time for the adhesive to cure.
Will my insurance cover the cost of a broken rear window?
It depends on your insurance policy. If you have comprehensive coverage, it's likely that it will cover the repair or replacement of the broken window. Always check with your insurance provider for specific details.
How do I file a claim for my broken rear window?
To file a claim, contact your insurance provider, provide them with the necessary details about the incident, and follow their instructions for submitting the claim. Photos of the damage can also help expedite the process.