Table Of Contents
Preparing Your Windshield for Repair
Before starting any chip repair, it is essential to gather the right materials and ensure you are in a suitable environment. A clean, dry workspace protects the repair from contaminants. Windshield repair kits are readily available and typically contain resin, curing strips, and a cleaning solution. Taking the time to read the instructions included in the kit will provide clarity on the process and help you avoid common pitfalls.
Cleaning and inspecting the area around the chip is a crucial step in the preparation phase. Use a soft cloth to clear any dirt, grime, or moisture from the windshield surface. Inspect the chip closely to determine its extent. This allows you to assess whether the chip is suitable for DIY repair or if professional assistance is needed. Proper preparation can greatly enhance the effectiveness of the chip repair, ensuring a smoother application process and better results.
Cleaning and Inspecting the Area
Before commencing any chip repair, it is essential to properly clean the area around the damage. Use a soft cloth and some glass cleaner to wipe away any dirt, dust, or debris. This ensures that the repairs will bond effectively and prevents contaminants from being trapped under the resin. Inspect the chip closely to determine its size and depth. A thorough inspection helps assess whether a simple repair is sufficient or if professional assistance may be required.
Once the surface is clean, take note of the chip's condition. If there are any cracks radiating from the chip or if it has been contaminated by dirt, the repair may not hold. Removing any loose fragments of glass with a small tool can aid in a more effective repair process. Ensure you also check the surrounding glass for any other potential issues that might complicate the chip repair. This preliminary evaluation is vital in preparing for a successful repair, laying the groundwork for better adhesion and longevity of the fix.
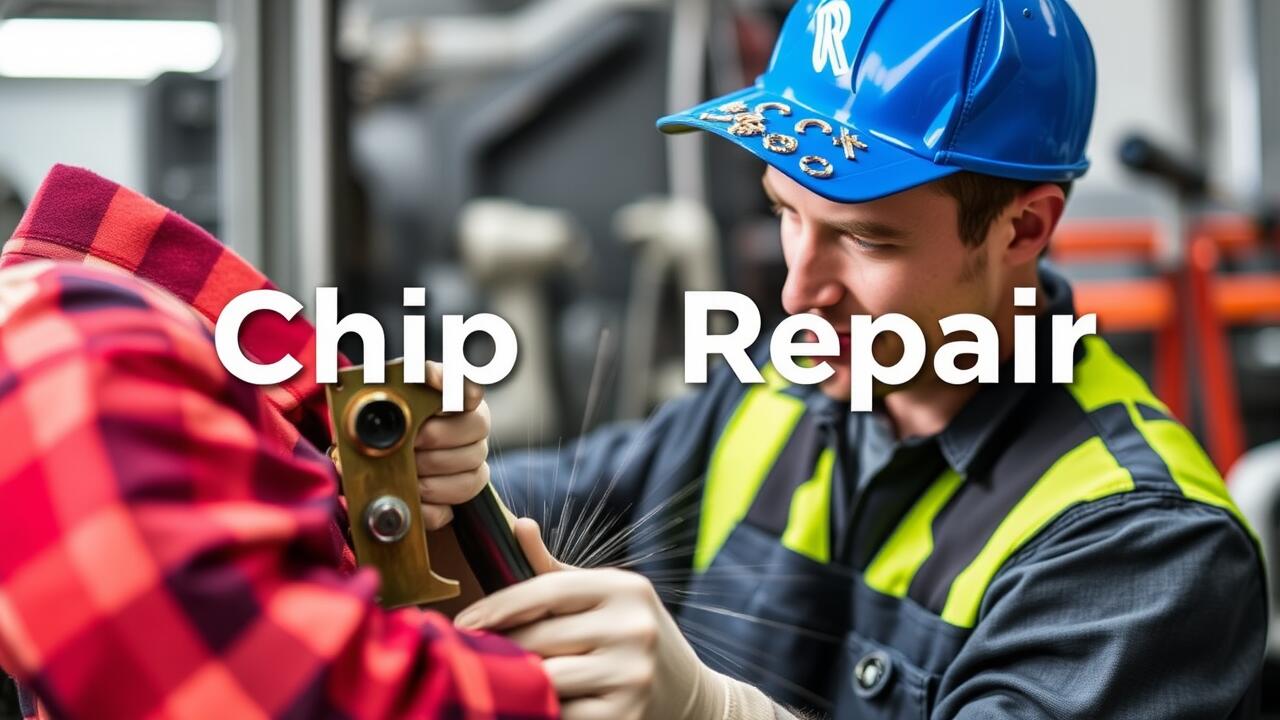
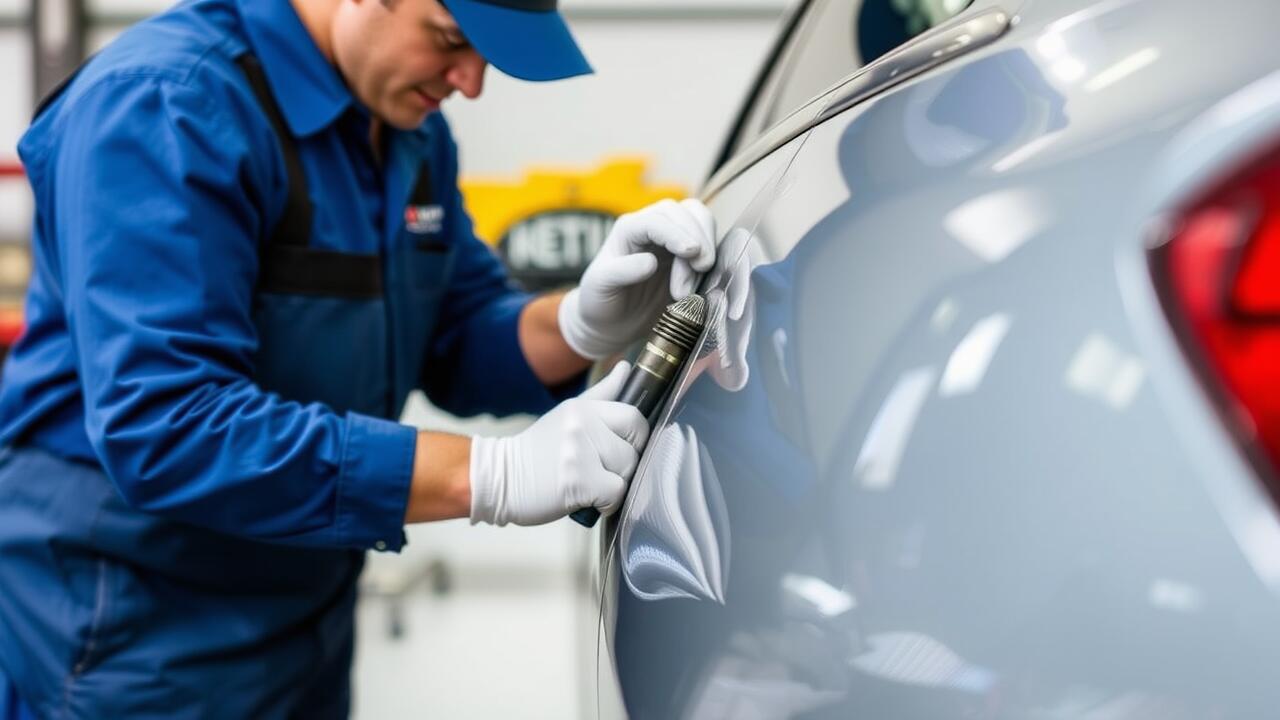
Applying the Repair Resin
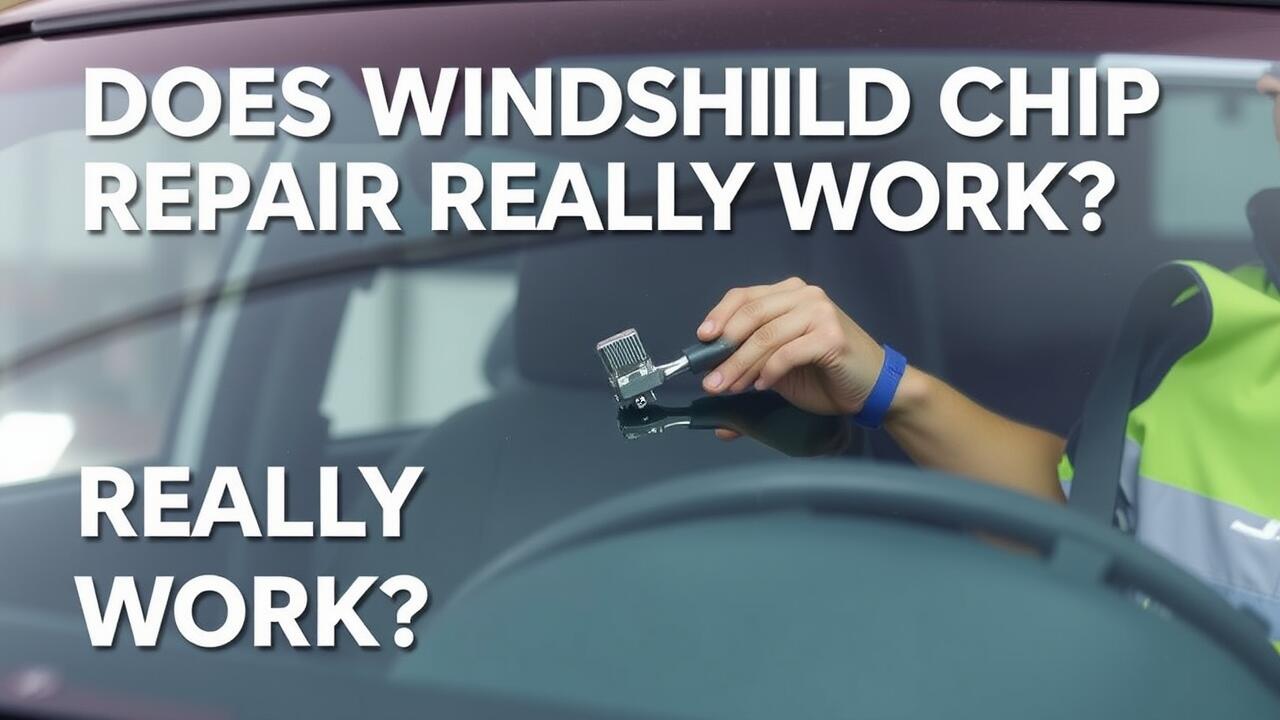
Applying the repair resin requires a careful approach to ensure the effectiveness of the chip repair process. Begin by gathering your tools, including the resin and injector tool as recommended in the repair kit. Follow the manufacturer’s instructions precisely when mixing the resin to achieve the right consistency. Position the injector over the chip, ensuring a tight seal to prevent air from entering during the application. Slowly inject the resin into the chip, allowing it to fill completely without rushing. This step is crucial in preventing future damage and enhancing visibility by restoring the windshield’s structure.
After injection, make sure to allow the resin to spread evenly throughout the chip. It is important to avoid any movements that could disrupt the resin's flow during this initial setting phase. Using a gentle tapping technique may help in pushing the resin into the deeper cracks, further aiding the chip repair process. Once thoroughly applied, wipe away any excess resin from the surface with a clean cloth to prevent smudges after curing. Following these steps diligently sets the foundation for a successful repair.
Proper Techniques for Resin Application
Applying resin correctly is crucial for effective chip repair. Begin by ensuring the resin is at room temperature, as this can enhance its flow and adherence. Use a syringe or applicator specially designed for windshield repairs to introduce the resin into the chip. Apply a small amount to avoid excessive overflow, which could lead to a mess or complications during curing. Press the applicator down to allow the resin to fill the chip completely.
After the initial application, it is essential to remove any air bubbles that may have formed. A vacuum suction tool can be beneficial for this purpose, as it will help draw out air while pulling the resin into the damaged area. Ensure you follow manufacturer instructions regarding the amount of pressure to apply and the duration for which to maintain it. Properly executed techniques will significantly improve the strength and clarity of the repair, making your chip repair less noticeable in due course.
Curing the Resin Effectively
Curing the resin after applying it to the windshield chip is a crucial step in the chip repair process. Ensure that the area is not exposed to dirt, moisture, or extreme temperatures during this time. The resin generally requires a certain period to cure effectively, which can vary based on the product used and environmental conditions. Sunlight can assist in this process, as UV light helps to harden the resin faster.
To achieve optimal results with your chip repair, follow the manufacturer's instructions regarding curing time. After the recommended duration, check the transparency of the resin to ensure it's fully integrated and clear. In cases where the resin appears cloudy or has not set properly, you may need to apply another layer or repeat the curing process. A well-cured resin not only enhances the visibility of the repair but also contributes to the structural integrity of the windshield.
Tips for Achieving Optimal Results
For optimal results in your chip repair, timing is crucial. Choose a day that is mild and dry, as extreme temperatures can hinder the effectiveness of the resin. Direct sunlight may speed up curing but can also create uneven results. Ensure that you work in a shaded area if temperatures are high, reducing the risk of the resin hardening too quickly and leading to weak adhesion.
Additionally, follow the manufacturer’s instructions carefully when applying the repair kit. Use the correct amount of resin to fill the chip without overfilling. This precision not only ensures a better seal but also enhances the clarity of the repair. After applying and curing the resin, avoid driving the vehicle over rough surfaces for at least 24 hours. Protecting the repaired area during this time will contribute to the longevity and effectiveness of your windshield chip repair.
FAQS
Can I repair a windshield chip myself?
Yes, you can repair a windshield chip yourself if you have the right tools and materials, as well as a steady hand and patience.
What materials do I need to fix a windshield chip?
To fix a windshield chip, you'll need a repair kit that typically includes resin, a syringe or applicator, a curing film, and cleaning materials such as alcohol wipes.
How do I clean the area before applying the resin?
Clean the area around the chip using a glass cleaner or alcohol wipes to remove dirt, debris, and moisture, ensuring proper adhesion of the resin.
How long does it take for the resin to cure?
The curing time for the resin can vary depending on the product used and environmental factors, but it typically takes anywhere from 30 minutes to a few hours to cure completely.
Are there any risks associated with fixing a windshield chip myself?
Yes, if not done correctly, you could exacerbate the damage or impair your visibility. It's important to follow the instructions carefully and consider professional help if you're unsure.