Table Of Contents
Fixing Larger Chips
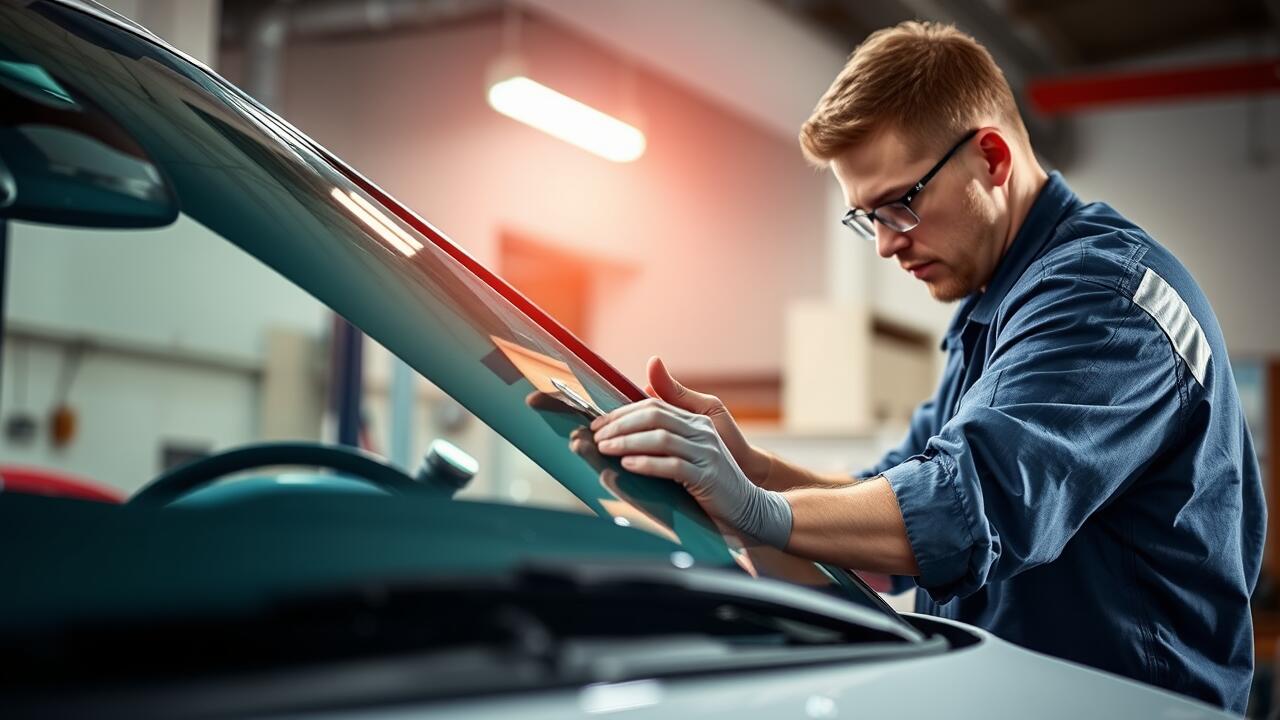
Larger chips in your car's paintwork require a careful approach to ensure a lasting fix. Begin by cleaning the area around the chip thoroughly. Use a mild detergent and water to remove any dirt or debris that may hinder the Chip Repair process. After cleaning, dry the area to avoid trapping moisture beneath the repair materials. If the chip has jagged edges, gently sand the area with fine-grit sandpaper to create a smooth surface. This will help the paint adhere better during the repair.
Once you've prepared the surface, it’s time to fill the chip. A two-part epoxy or specialised touch-up paint can work well for larger damage. Apply the material carefully, layering it to match the height of the surrounding paint. Allow it to cure according to the manufacturer's instructions. After curing, lightly sand the area again for a smooth finish, ensuring it blends seamlessly with the rest of the car's surface. These steps are crucial for an effective Chip Repair that stands the test of time.
Techniques for More Significant Damage
When dealing with larger chips that extend beyond a superficial blemish, it's essential to assess the extent of the damage before proceeding with Chip Repair. Begin by cleaning the area thoroughly with soap and water to remove dirt and debris. Once the surface is clean and dry, consider using a sandpaper with fine grit to gently smooth the edges of the chip. This prepares the spot for subsequent filling and paint application, creating a more seamless repair.
For filling the chip, opt for an automotive filler that matches the requirements of the repair. Apply the filler with a small spatula, ensuring it fully encompasses the damaged area and is slightly overfilled to allow for sanding later. After the filler hardens as per the manufacturer's instructions, sand it down carefully until it is flush with the surrounding paint. The preparation at this stage is crucial to ensure a smooth finish when you finally apply the paint, preserving the overall aesthetic of your vehicle.
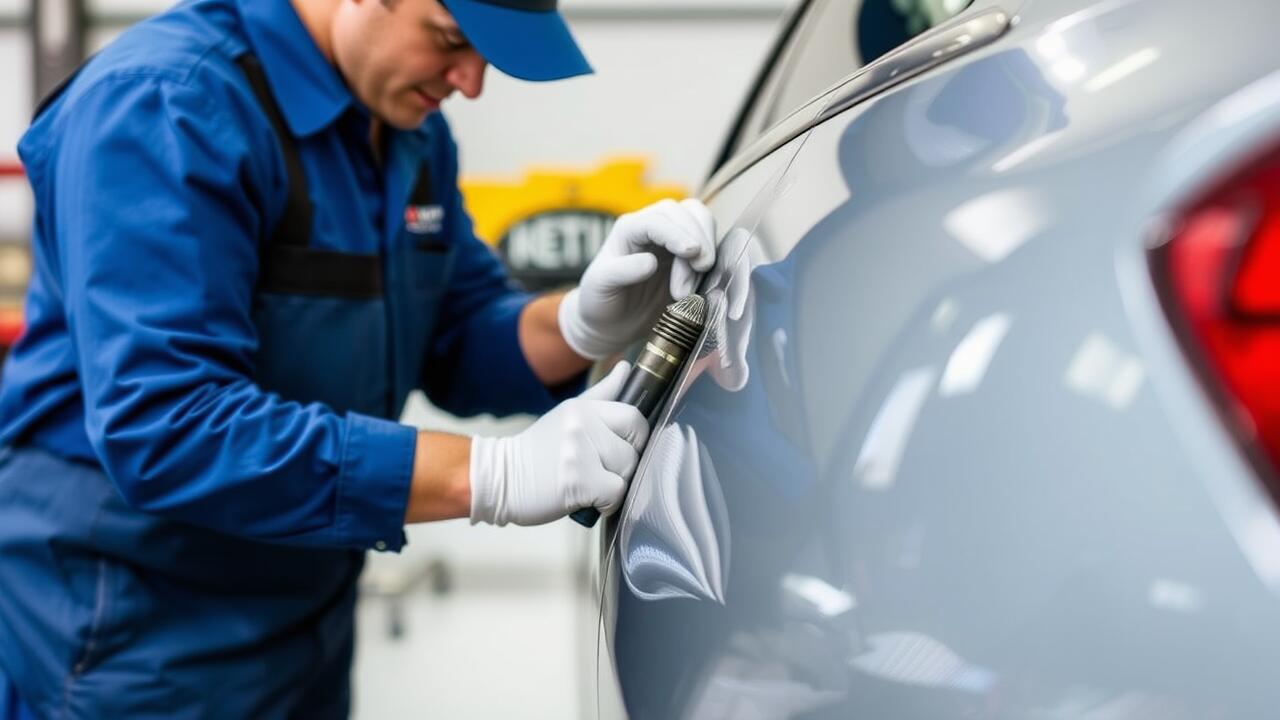
Applying Paint
When it comes to chip repair, selecting the appropriate paint is crucial for achieving a seamless finish. Your best choice is to use touch-up paint that's specifically formulated for your vehicle's make and model. Most manufacturers provide paint codes that enable you to find an exact match. If you cannot acquire the original paint, consider a reputable brand that offers a variety of shades and finishes designed for automotive use.
Before applying the paint, ensure that the area around the chip is clean and free of debris. Use a soft cloth and a mild cleaning solution to prepare the surface. For deeper chips, a primer can help establish a solid base for the paint. Apply the paint in thin layers, allowing each coat to dry completely before adding the next. This method helps to build up coverage without creating an uneven surface, enhancing the overall look of the chip repair.
Choosing the Right Paint for Your Car
When selecting paint for chip repair, it’s crucial to consider the specific colour and finish of your vehicle. Car manufacturers often have unique colour codes that can be found in the owner's manual or on the inside edge of the driver's door. Matching the exact shade ensures a seamless repair that blends with the car’s original paint. Using touch-up paint that is designated for automotive use provides a better durability and finish compared to general-purpose paints.
In addition to colour match, the type of paint plays a significant role in the effectiveness of chip repair. Acrylic lacquer and enamel paints are standard choices, with each offering different advantages in terms of application and longevity. Additionally, consider whether the paint is compatible with a clear coat to provide an added layer of protection. Proper preparation, application, and finishing will help ensure the chip repair lasts, maintaining both the appearance and value of your vehicle.
Protecting the Repair
After completing the chip repair, it’s essential to protect the newly repaired area to maintain its integrity. Applying a clear coat can enhance durability and provide an extra layer against environmental factors. This coating helps shield the paint from UV damage and prevents further chips or scratches. It is advisable to use high-quality products specifically designed for automotive use to ensure maximum effectiveness.
Additionally, consider parking your car in shaded areas or garages to reduce sun exposure. Regularly washing and waxing your vehicle can help preserve the repair and surrounding paint. If possible, use a ceramic sealant to provide an added layer of protection. These practices will keep the area around the chip repair looking pristine, ensuring the fix lasts longer and blends seamlessly with the rest of the car.
Best Practices for Long-Lasting Fixes
Taking the time to properly prepare the damaged area is vital for a successful chip repair. Start by cleaning the surface thoroughly, removing any dirt, wax, or debris that could prevent the paint from adhering effectively. Use a suitable automotive cleaner, ensuring you dry the area completely afterwards. This step helps to create a strong bond between the paint and the car surface, which is essential for durability.
After applying the paint, consider sealing the repair with a clear coat designed for automotive finishes. This not only enhances the appearance of the repair but also provides an extra layer of protection against environmental elements. Regularly inspect the repaired area for any signs of peeling or wear. Addressing minor issues promptly can significantly extend the life of your chip repair and keep your vehicle looking its best.
FAQS
What tools do I need to fix a chip in my car?
To fix a chip in your car, you typically need a clean cloth, sandpaper, touch-up paint, a clear coat, and possibly a resin kit for larger chips. Having a small brush or applicator for the paint can also be helpful.
Can I fix a chip in my car myself?
Yes, many car owners can successfully fix small chips themselves using the right materials and techniques. However, for larger chips or significant damage, it may be best to consult a professional.
How do I know if the chip is too big to fix at home?
If the chip is deeper than the paint layer and exposes the metal beneath, or if it’s larger than the size of a coin, it may be best to seek professional help for a more durable repair.
How long does it take to fix a chip in my car?
The time it takes to fix a chip can vary depending on the size and depth of the damage, but most small repairs can be completed in about an hour, including drying time for paint.
Will fixing a chip in my car prevent rust?
Yes, properly repairing a chip can help prevent rust by sealing the exposed metal and protecting it from moisture and contaminants. It’s important to apply a clear coat after painting to enhance protection.