Table Of Contents
Allowing the Paint to Cure
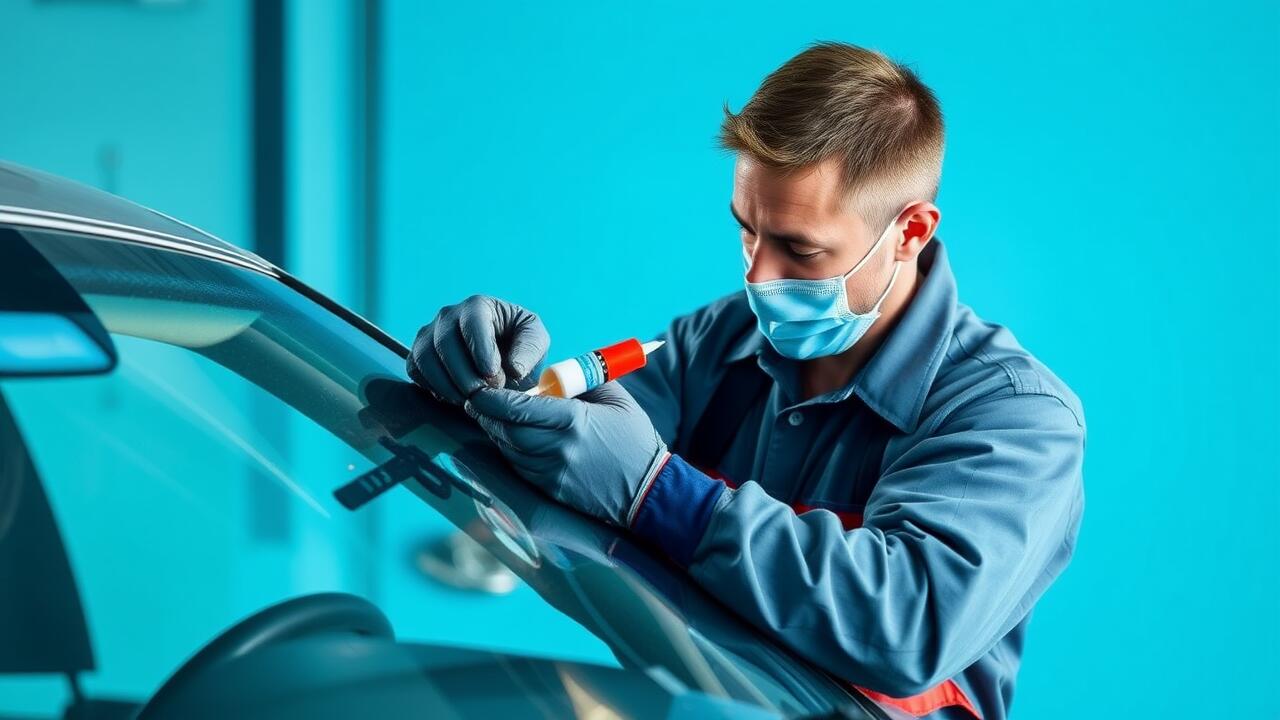
After completing the chip repair, it is essential to allow the newly applied paint to cure properly. This process can take several days, depending on the climate and environmental conditions. Ideally, the repair should be left undisturbed to ensure the adhesion and durability of the paint. Keep the area clean and avoid washing the car for at least a week to allow for this crucial healing period, as water and detergent can interfere with the paint's ability to bond with the surface.
The correct curing time can vary based on the type of paint used and the conditions it is exposed to. In warmer climates, the paint may cure faster, while cooler temperatures can slow down the process. To ensure optimal results from the chip repair, taking note of temperature and humidity levels will aid in determining the best time to handle and expose the area to regular use again. The paint should feel dry to the touch, but patience is key for achieving a long-lasting repair.
Recommended Drying Times
After completing a chip repair, it is crucial to allow the paint sufficient time to cure properly. Typically, this process can take anywhere from a few hours to several days, depending on the type of paint used and the environmental conditions. Warmer temperatures and lower humidity can facilitate quicker drying times, while cooler and more humid environments may extend the curing period. Always refer to the manufacturer's guidelines for the specific products used, as they often provide detailed recommendations for optimal results.
To ensure the durability of your chip repair, avoid exposing the repaired area to water or harsh conditions until the paint has fully cured. This means steering clear of car washes and heavy rain during the initial days after the repair. Keeping the vehicle parked in a shaded area can also help in protecting the repair from UV exposure, which can affect the finish and longevity of the paint. Proper adherence to these drying times will greatly enhance the effectiveness of your chip repair efforts.
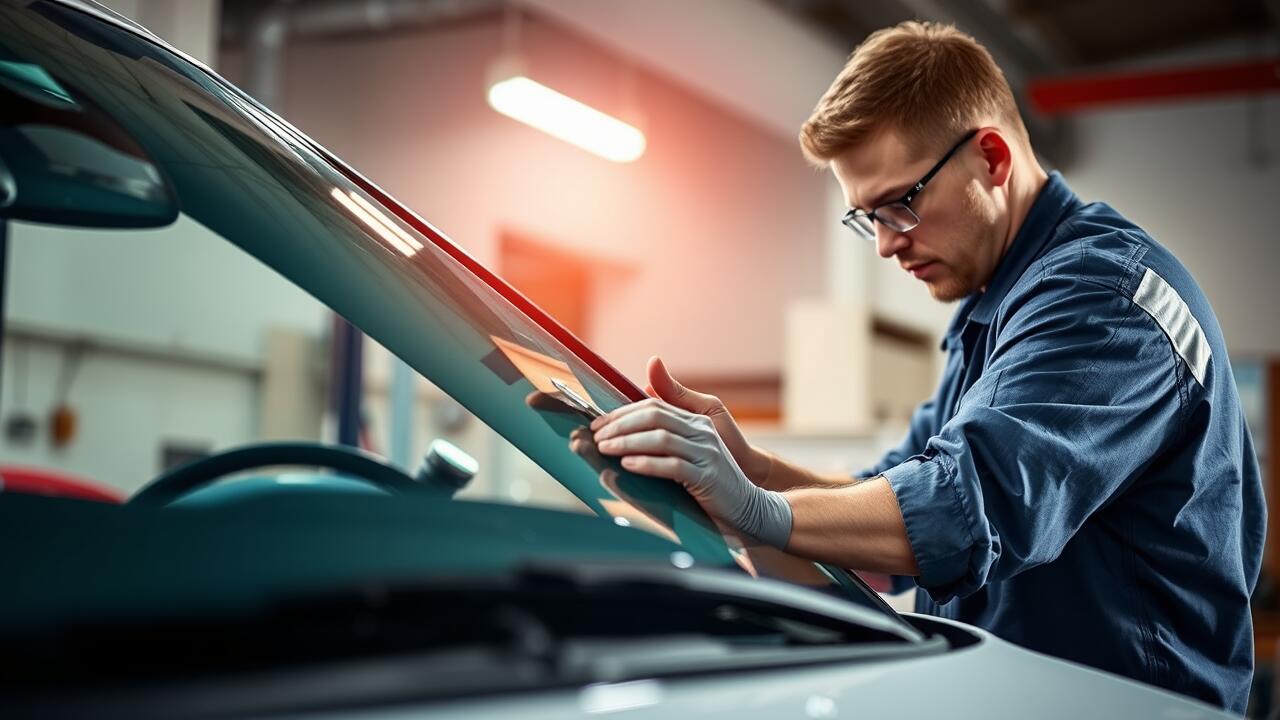
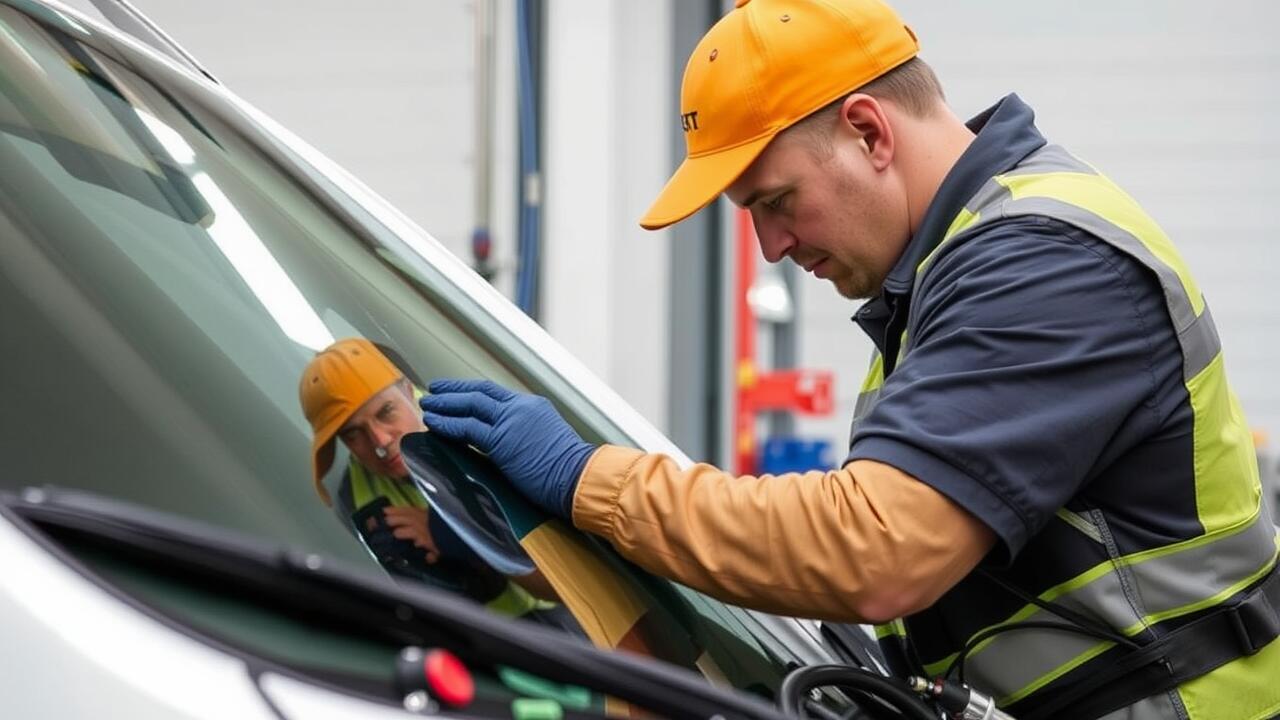
Polishing the Repaired Area
Polishing the repaired area is essential for achieving a flawless finish after addressing small stone chips on your car. Begin by using a quality polish designed for automotive finishes. Apply a small amount to a clean, soft cloth and gently buff the area surrounding the chip repair. This process not only enhances the shine but also helps to blend the repair with the rest of the paintwork, making it less noticeable.
Once you’ve polished the area, assess the repair to determine whether additional touch-ups are needed. It’s crucial to use a light touch in these final steps to avoid damaging the newly applied paint. Ensure you select the right abrasive level, as aggressive polishing could result in more damage. Regularly buffing the area after chip repair can also help maintain that fresh look while protecting your vehicle from future issues.
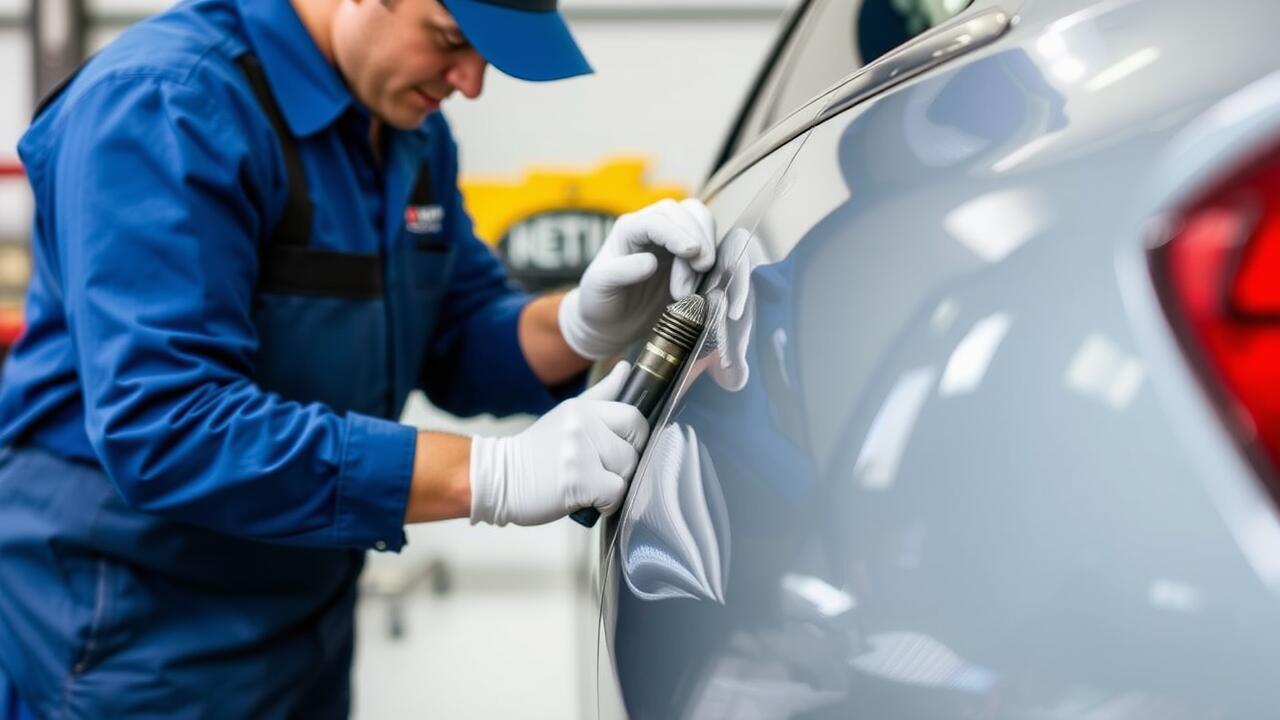
Achieving a Seamless Finish
Achieving a seamless finish after completing a chip repair is essential for maintaining the aesthetic of your car. Start by using a fine-grit sandpaper to gently smooth out the area around the repair. This process helps blend the newly applied paint with the surrounding surface. Be careful not to sand too aggressively, as this can damage the original paint and create more work in the long run. Once the area is smooth, clean it thoroughly to remove any dust or debris before applying the next layer of clear coat.
After the clear coat is applied, allow it to dry according to the manufacturer’s instructions. Once cured, polishing is the next crucial step. Use a high-quality polish and an applicator pad to buff the area gently in circular motions. This will help bring back the shine to the repaired section, making it blend seamlessly with the rest of the car’s paintwork. A flawless finish not only enhances the vehicle's appearance but also protects the underlying layers from environmental factors.
Preventing Future Stone Chips
To protect your vehicle from future stone chips, consider investing in quality paint protection films. These clear films adhere to the car’s surface, creating a barrier that can absorb impacts from stones and debris. Regularly washing and waxing your car will also help maintain the integrity of the protective layers. A well-maintained surface is less prone to damage, making it easier to manage chip repair when necessary.
Another effective strategy is parking your vehicle in garages or carports whenever possible. This simple measure shields your car from the elements and reduces the likelihood of chips caused by flying rocks or gravel. When driving on dirt or gravel roads, maintaining a safe distance from other vehicles can also minimise the risk of stone chips. Keeping these practices in mind promotes not only the longevity of your car's paint but also reduces the need for frequent chip repair.
Protective Measures for Your Vehicle
Preventing future stone chips on your vehicle requires a proactive approach. Regular maintenance, such as washing and waxing, can help create a protective barrier against debris. Consider applying a high-quality ceramic coating to enhance surface durability. Parking in sheltered areas or using a car cover can also minimise exposure to potential road hazards.
Additionally, investing in a clear paint protection film specifically designed for vehicles can significantly reduce the risk of chips and scratches. This protective layer acts as a safeguard against everyday wear and tear. In the event that small chips do occur, a timely Chip Repair can ensure your car maintains its appearance and value, ultimately saving you time and money down the road.
FAQS
What are the first steps to fixing small stone chips on a car?
The first steps include cleaning the chipped area thoroughly to remove any dirt or debris, then allowing the paint to cure properly before applying any touch-up paint.
How long should I wait before polishing the repaired area?
It's generally recommended to wait at least 24 hours after applying touch-up paint before polishing the repaired area to ensure that the paint has cured adequately.
What products do I need for polishing the repaired area?
You will need a fine polishing compound, a soft cloth or foam applicator, and possibly a wax or sealant to protect the area after polishing.
How can I prevent future stone chips on my vehicle?
You can prevent future stone chips by applying a high-quality paint sealant, using a car cover, and maintaining a safe distance from other vehicles, especially on highways.
Are there professional services available for fixing stone chips?
Yes, there are many professional services that specialise in car detailing and paint repair, which can provide a more comprehensive solution for fixing stone chips.