Table Of Contents
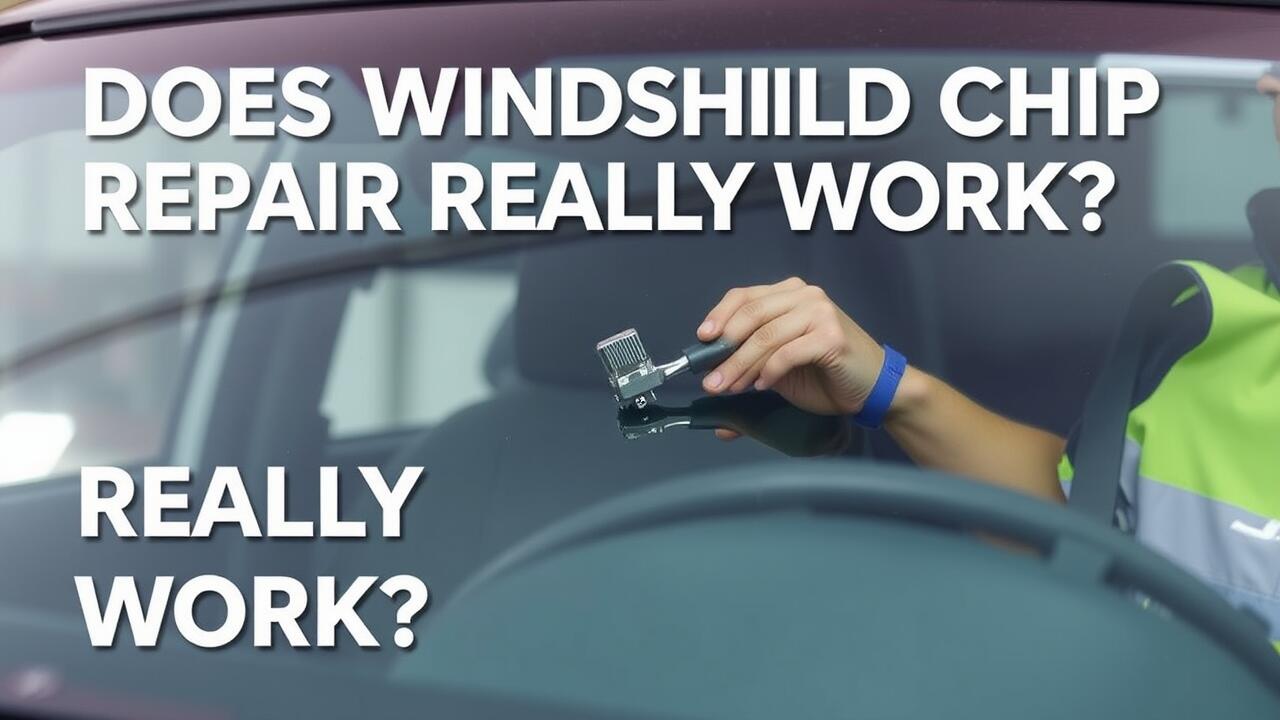
Step-by-Step Guide to Using a Chip Repair Kit
Begin by cleaning the affected area with glass cleaner, ensuring all dirt and debris are removed. This is crucial as a clean surface allows the chip repair resin to adhere properly. Next, position the chip repair tool over the damaged area according to the instructions. Most kits come with a suction cup or injector that secures the tool in place, facilitating a good seal.
Once the tool is in place, inject the repair resin into the chip. Carefully follow the timing guidelines provided in the kit, as this will help the resin cure effectively. After the injection, allow the resin to set for the recommended time. Finally, remove the tool and scrape away any excess resin, ensuring a smooth finish. Following these steps should enhance the effectiveness of your chip repair, restoring clarity to the windshield.
Tools and Materials Needed for the Job
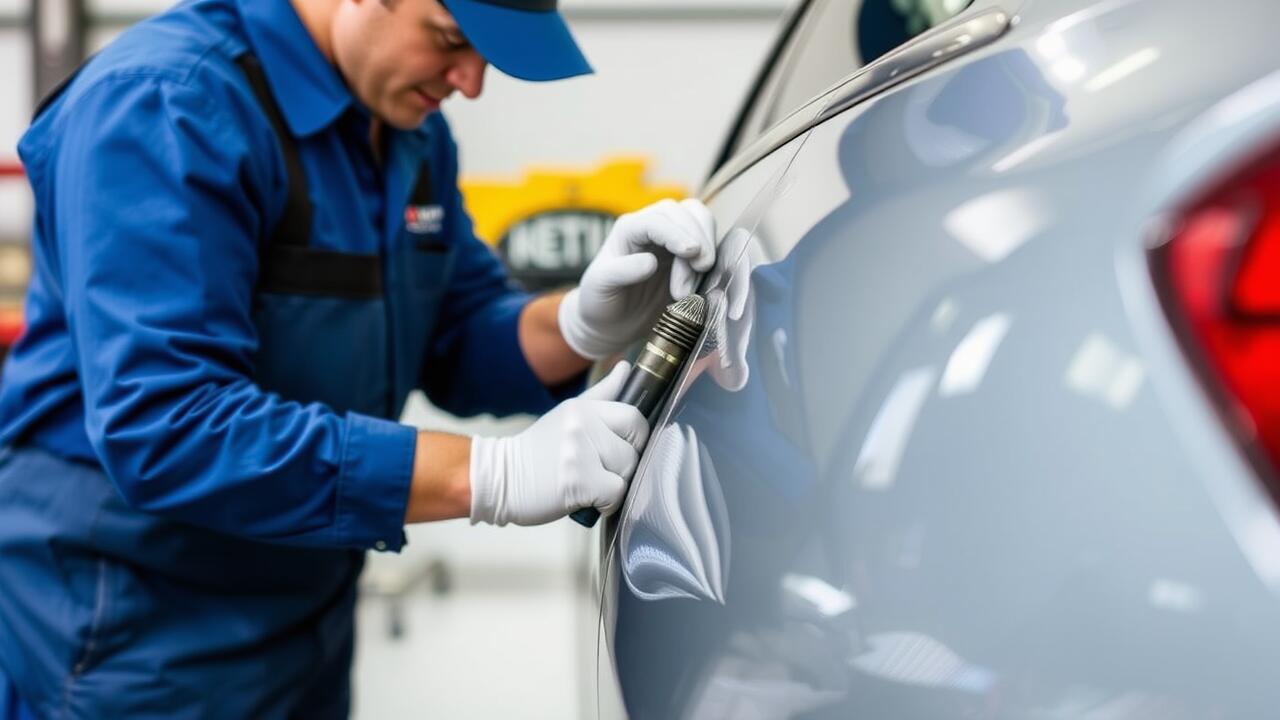
To successfully tackle a windshield chip repair, you’ll need a few essential tools and materials. A chip repair kit is the primary item required, typically containing resin, a syringe or applicator for the resin, and various adhesives or sealants. It’s important to ensure that the kit is compatible with the specific type of chip in your windshield. Additionally, having a clean cloth and a small vacuum or compressor can help prepare the area for a thorough repair.
Before beginning, it’s also beneficial to gather safety equipment. A pair of clear gloves will protect your hands from the resin, while safety glasses can shield your eyes from potential debris. Some technicians recommend a UV light to cure the resin effectively, ensuring a more durable finish after the Chip Repair process. Having these tools and materials ready will streamline the repair and increase the likelihood of a successful outcome.
Common Mistakes When Using Repair Kits
Many people rushing to fix a chip may overlook the importance of thoroughly cleaning the affected area before applying the chip repair kit. Failing to do so can lead to dirt or moisture becoming trapped beneath the resin, resulting in a less effective repair. Proper cleaning with a glass cleaner and ensuring the surface is completely dry is essential for achieving optimal results. Additionally, not following the manufacturer’s instructions closely can lead to mistakes that undermine the effectiveness of the chip repair process.
Mistakes can also occur during the application of the resin. Some users do not allow sufficient curing time, believing that a quick fix will suffice. Skipping this crucial step can leave the repair incomplete or prone to damage in the future. Over-application of resin is another common error, which can lead to messy results and clear visibility of the repair. To achieve the best outcome, users must take their time and adhere to recommended guidelines throughout the chip repair procedure.
How to Avoid Pitfalls During the Repair Process
Preparation is crucial when using a chip repair kit. Ensure you clean the area around the chip thoroughly, removing any dirt or debris. This helps create a solid bond between the repair material and the glass. Some kits require the surface to be dry, while others may have specific instructions regarding moisture. Following these guidelines closely will enhance the effectiveness of your repair.
Timing plays a significant role in the success of chip repair. Apply the resin within the recommended timeframe after the chip occurs, as leaving it too long can cause additional damage. Pay attention to the curing process, which often requires specific environmental conditions. Avoid rushing through any steps, as this can lead to poor adhesion and a less effective repair. Taking your time will help ensure that the chip repair is as seamless as possible.
User Reviews and Experiences
Many users have shared positive experiences after using chip repair kits, highlighting the convenience they offer. Several reviews indicate satisfaction with the ease of application and the significant improvement in the appearance of chips. Customers appreciate being able to perform the repair at home without the need to visit a professional. The affordability of the kits also receives praise, making it a desirable option for those looking to save money on repairs.
However, some users have encountered challenges when employing these kits. Certain reviews mention difficulties with achieving a perfect seal or achieving clarity in the repaired area. Frustrations arose when the outcome did not meet initial expectations, leading some to recommend experienced hands for those uncertain about their abilities. Despite mixed reviews, many still find that chip repair can be effective, especially when approached with patience and attention to detail.
Real-Life Success Stories with Chip Repair Kits
Many users have reported positive experiences after using chip repair kits, highlighting the ease of application and effectiveness. One user shared that after a minor rock hit caused a chip on their windshield, they opted for a repair kit rather than visiting a professional. They followed the instructions carefully and were pleasantly surprised to find the repair almost invisible, restoring their windshield’s clarity without the expense of a full replacement.
Another story comes from a family who frequently travels on gravel roads. They encountered multiple chips in their windscreen, leading to concerns about safety and visibility. After investing in a quality chip repair kit, they tackled the damage themselves. They noted significant improvement after each application, which not only saved them money but also allowed them to maintain their vehicle's integrity without major downtime. These real-life accounts emphasise the potential of chip repair kits in managing and rectifying minor damages efficiently.
FAQS
What exactly is a windshield chip repair kit?
A windshield chip repair kit is a collection of tools and materials designed to help you fix small chips or cracks in your car's windshield, usually involving a resin that fills the damaged area and restores the integrity of the glass.
How effective are chip repair kits compared to professional repairs?
While chip repair kits can effectively fix minor chips and cracks, professional repairs may offer a more thorough solution, especially for larger or more complex damage. Kits are best for small, simple repairs.
Can I use a chip repair kit on all types of windshield damage?
No, chip repair kits are most effective on minor chips or cracks. If the damage is longer than a few inches or located at the edge of the windshield, a professional repair or replacement is recommended.
How long does it take to repair a chip using a repair kit?
The repair process typically takes about 30 minutes to an hour, depending on the size of the chip and the specific kit being used. However, you should allow additional time for the resin to cure fully.
Is it safe to drive my car after using a chip repair kit?
Yes, it is generally safe to drive your car after using a chip repair kit, provided that you follow the instructions carefully and allow adequate time for the resin to cure properly. However, avoid high speeds or rough conditions immediately after the repair.