Table Of Contents
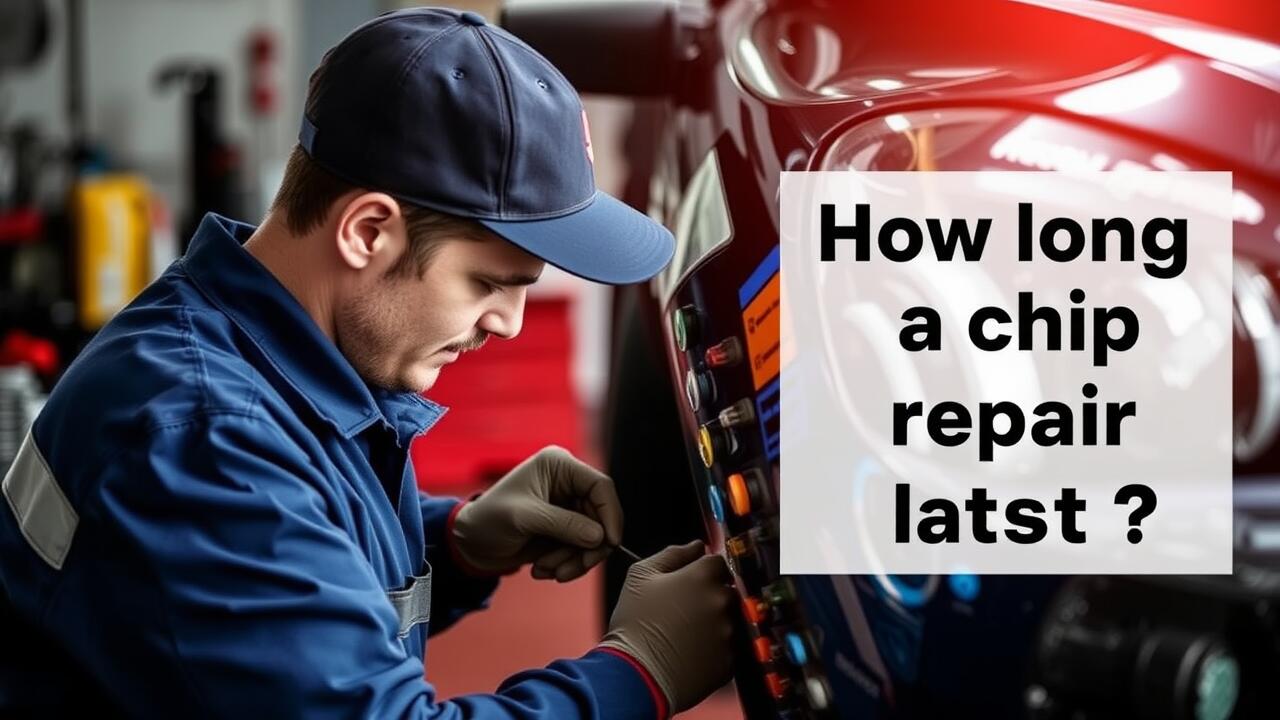
Curing the Repair
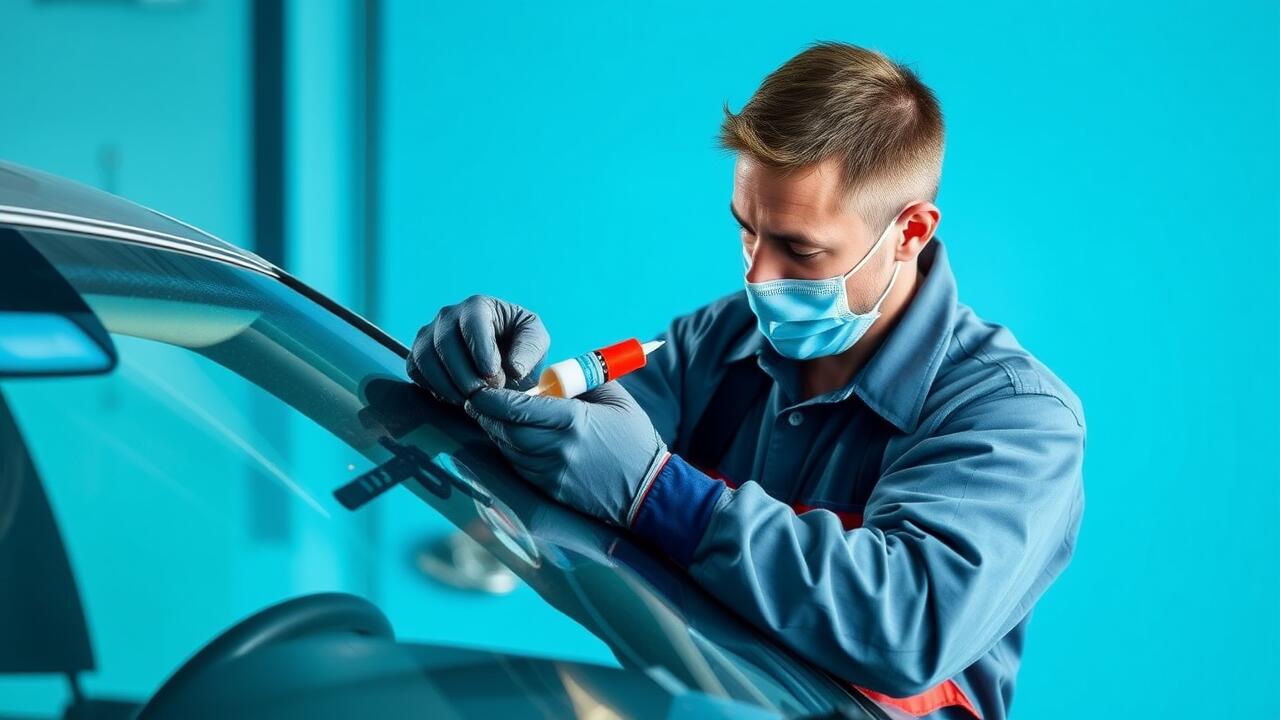
Allow the resin to cure properly after applying it to the chip. This process typically takes about 30 minutes, depending on the temperature and humidity levels. It is crucial to ensure that the resin fills the chip completely to prevent air bubbles from forming. To expedite curing, consider using a UV light if the resin is designed for such treatment.
After the recommended curing time, inspect the chip repair for any flaws. If the resin has successfully hardened, it should be clear and hard to the touch. If any areas appear uneven, additional resin may be needed to achieve a smooth finish. Ensuring a solid cure is essential for the longevity and effectiveness of the chip repair, providing optimal protection against further damage.
Techniques for Proper Hardening
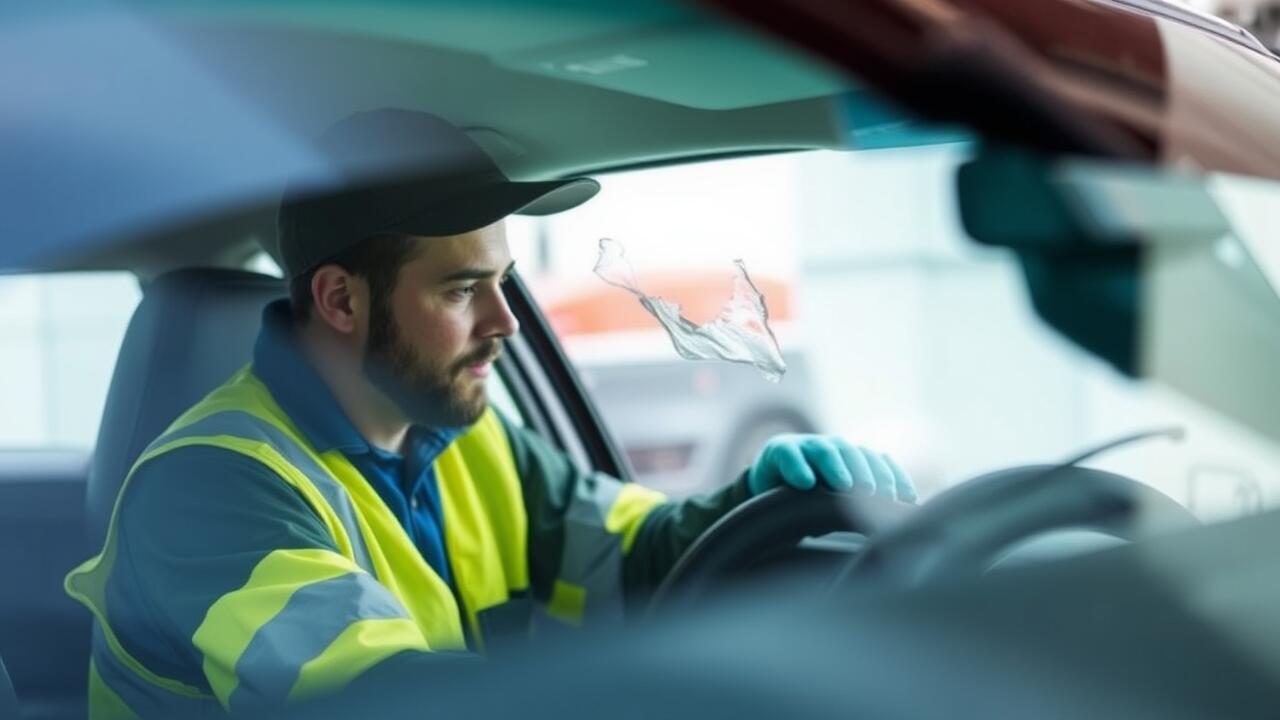
To ensure a successful chip repair on your windshield, it’s essential to follow the manufacturer’s instructions for the adhesive used in the process. The curing time can vary depending on the product, with some adhesives requiring exposure to UV light for optimal hardening. Choose a clear, sunny day if possible, as direct sunlight can expedite the curing process. Avoid touching or disturbing the repaired area during this time, as any movement can affect the integrity of the bond formed.
In addition to natural sunlight, certain repair kits come with specific UV lamps designed for this purpose. Using such equipment can significantly reduce the time required for the adhesive to set properly. Monitoring the temperature and humidity levels can also provide better conditions for the chip repair. Higher temperatures typically enhance the curing process, while low humidity can help in preventing moisture from interfering with the hardening effect.
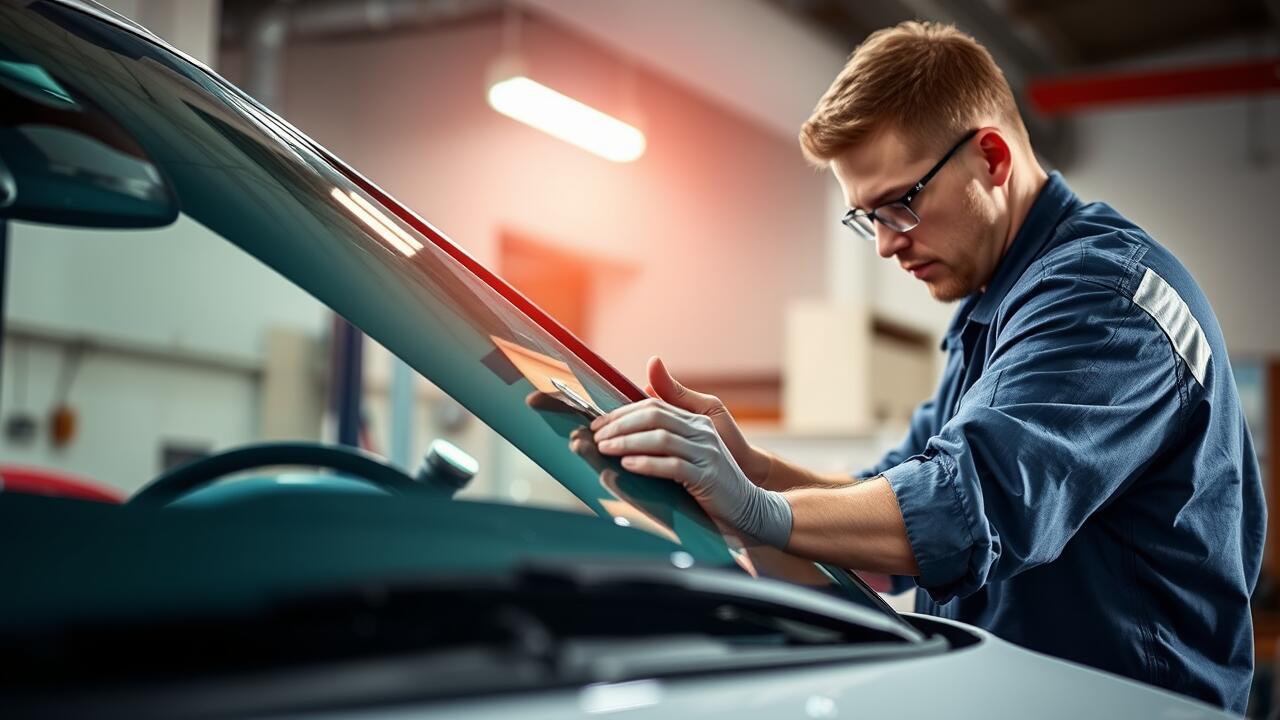
Polishing the Area
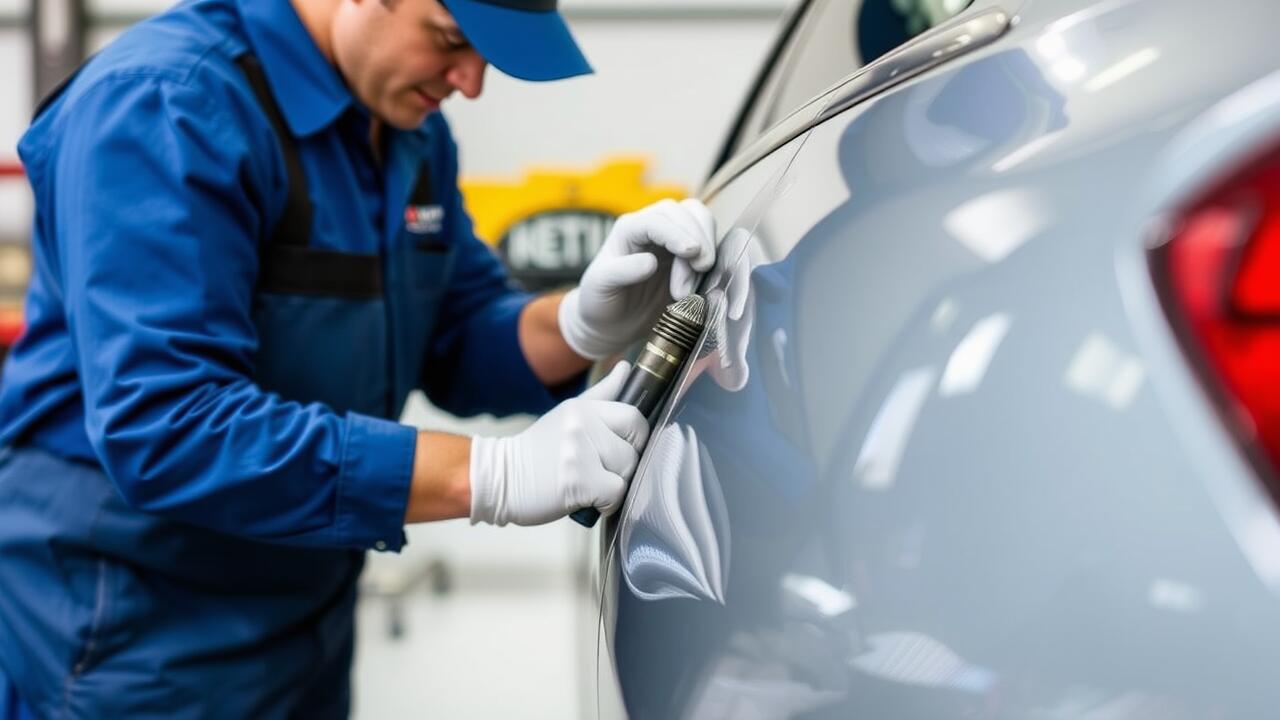
Polishing the area after a chip repair is essential to restore clarity and smoothness to the windshield. Start by using a fine-grit sandpaper to gently buff the surface around the repaired area. This step helps blend the repaired section with the surrounding glass, reducing any noticeable bumps or imperfections. Remember to work slowly and evenly, applying consistent pressure to avoid scratching the glass.
Following the sanding, a polishing compound can be applied to enhance the finish further. Using a soft cloth, apply the compound in small circular motions over the affected area. This will help to remove any fine scratches that may have been created during the sanding process. A good-quality polish will bring out the clarity of the glass and make the repair less visible, ensuring that the windshield looks as good as new.
Achieving a Clear Finish
After completing the chip repair, the next step is to achieve a clear finish. Begin by inspecting the area to ensure all excess resin has been removed. Use a clean, soft cloth to wipe any residue away. A small amount of automotive glass polish can be applied to enhance the clarity of the repaired section. This will help blend the repair with the surrounding glass and improve the overall appearance.
Polishing the area meticulously can eliminate any imperfections left from the adhesive process. Use a polishing pad and apply the polish in circular motions, which will help to smooth out any unevenness. Regularly check your progress to ensure that the repaired area reflects light similar to the untouched sections of the windshield. A flawless finish not only enhances visibility but also signifies a job well done in the chip repair process.
Preventing Future Chips
Preventing future chips in your windshield requires a proactive approach. Regularly inspect your vehicle for any signs of damage. Keeping a safe distance from large trucks or construction vehicles reduces the risk of debris impact. Additionally, consider using a protective film that can absorb minor impacts before they reach the glass surface. This preemptive measure can significantly decrease the likelihood of needing a chip repair.
Routine maintenance of your vehicle can also play a role in minimising chip risks. Ensure that your wiper blades are in good condition to prevent scratches from dirt and debris. Parking in sheltered areas or garages can limit exposure to extreme weather conditions that may contribute to windshield wear. By taking these precautions, you can enhance the longevity of your windshield and reduce the chances of requiring chip repair in the future.
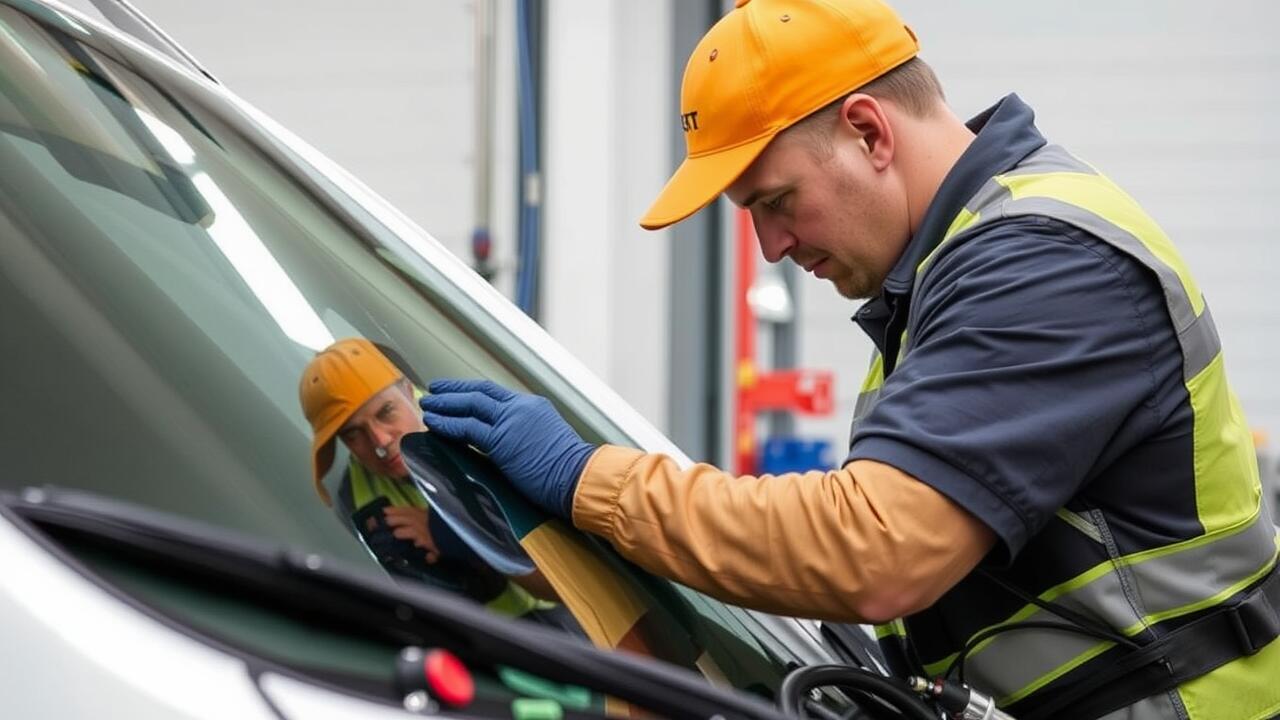
Protective Measures to Consider
Maintaining the integrity of your windshield is crucial in preventing future chips. Regular inspections can help identify early signs of wear and tear that might lead to damage. Parking in shaded areas or using a sunshade can protect your glass from direct sunlight, which can exacerbate cracks. Additionally, avoiding sudden changes in temperature, such as blasting hot air onto a cold windshield, reduces the risk of expanding existing cracks.
Incorporating a protective film over your windshield can act as a barrier against flying debris and small stones. Investing in quality Chip Repair services ensures any minor damage is attended to promptly, preventing further complications. Keeping a safe distance from vehicles, particularly trucks that may carry gravel or heavy loads, can also minimise the risk of chips during travel.
FAQS
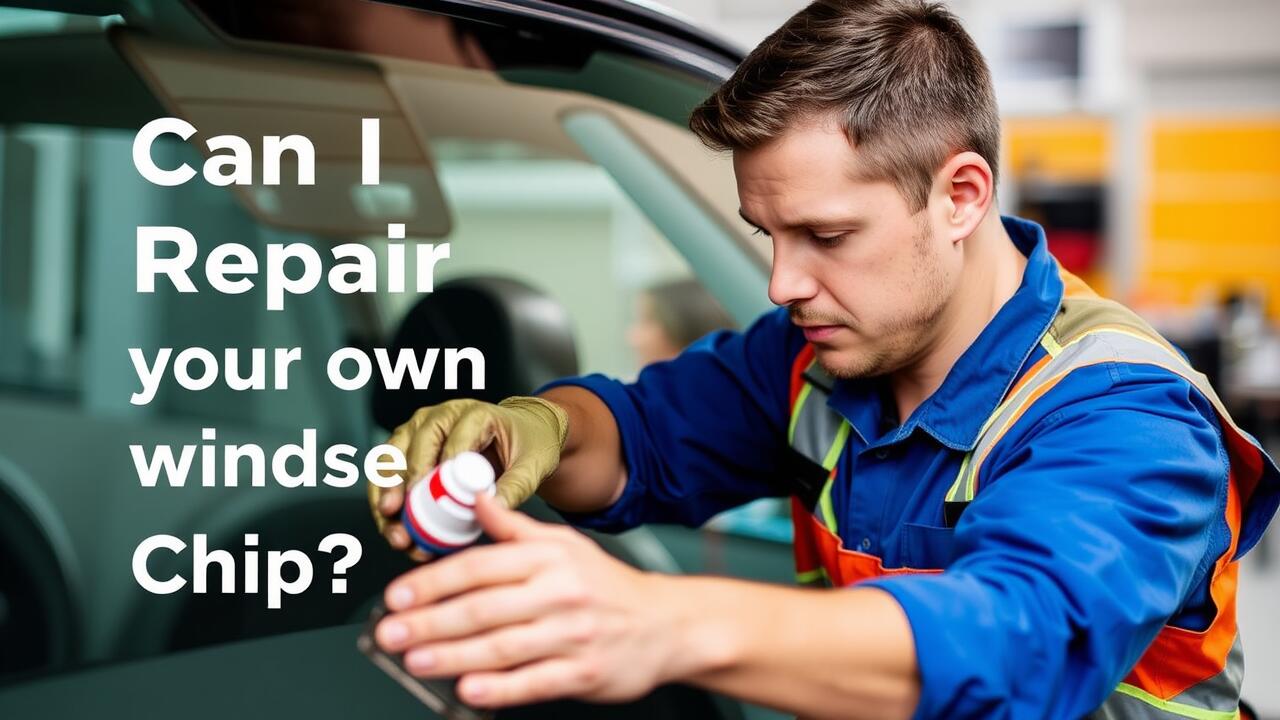
Can I fix a small chip in my windshield myself?
Yes, you can fix a small chip in your windshield yourself using a repair kit that is readily available at auto parts stores. However, it requires careful application for the best results.
What materials do I need to repair a windshield chip?
To repair a windshield chip, you'll need a repair kit specifically designed for this purpose, which typically includes resin, a syringe, and tools for curing and polishing the area.
How long does it take for the repair resin to cure?
The curing time for repair resin can vary, but it usually takes about 30 minutes to an hour depending on the product and environmental conditions.
Can all types of chips be repaired?
Not all chips can be repaired. If the chip is deep, larger than a dollar coin, or located at the edge of the windshield, it may require a full replacement instead of a repair.
How can I prevent future chips in my windshield?
To prevent future chips, consider using protective measures like a windshield cover, avoiding tailgating, and parking in sheltered areas whenever possible. Regularly inspecting your windshield for existing damage can also help.