Table Of Contents
Smoothing the Surface
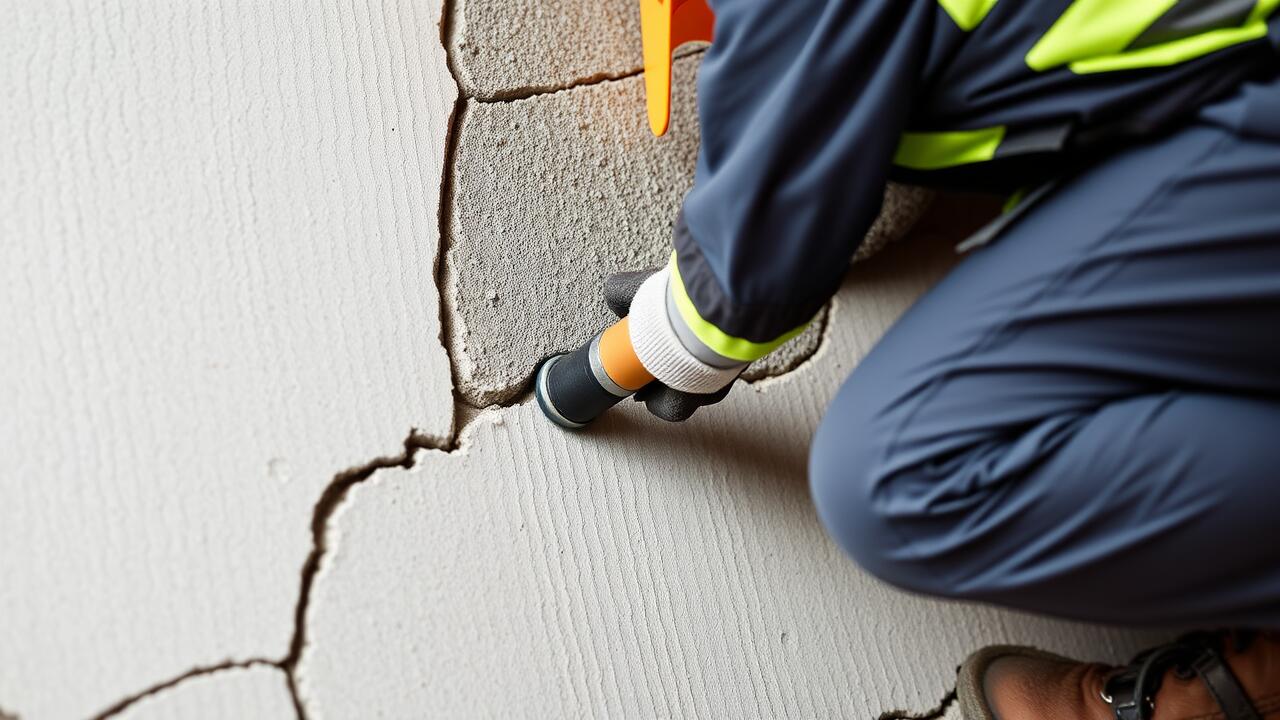
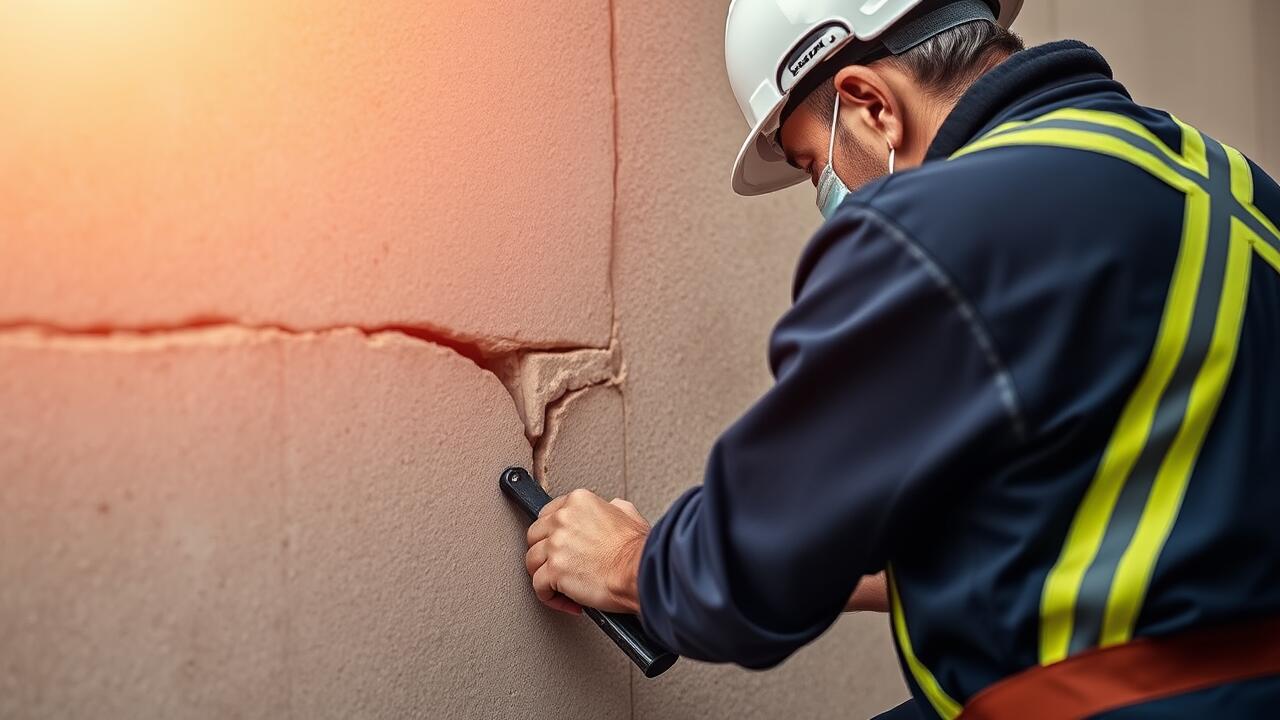
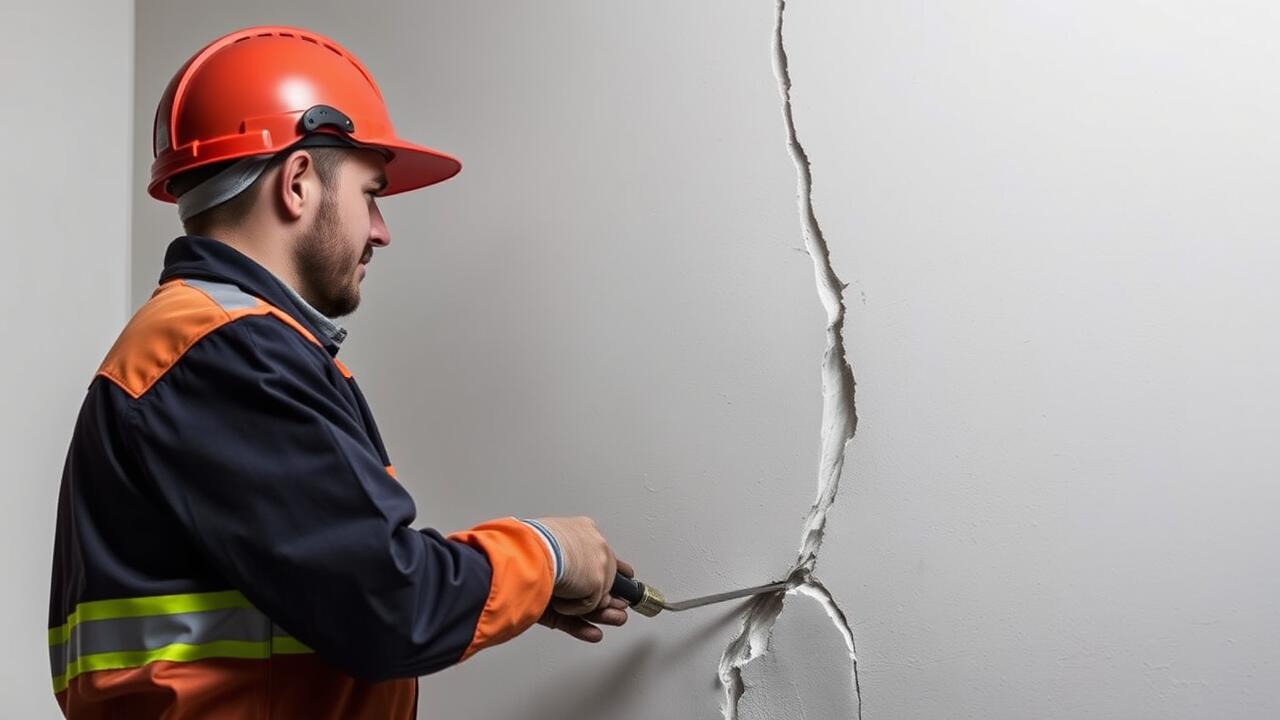
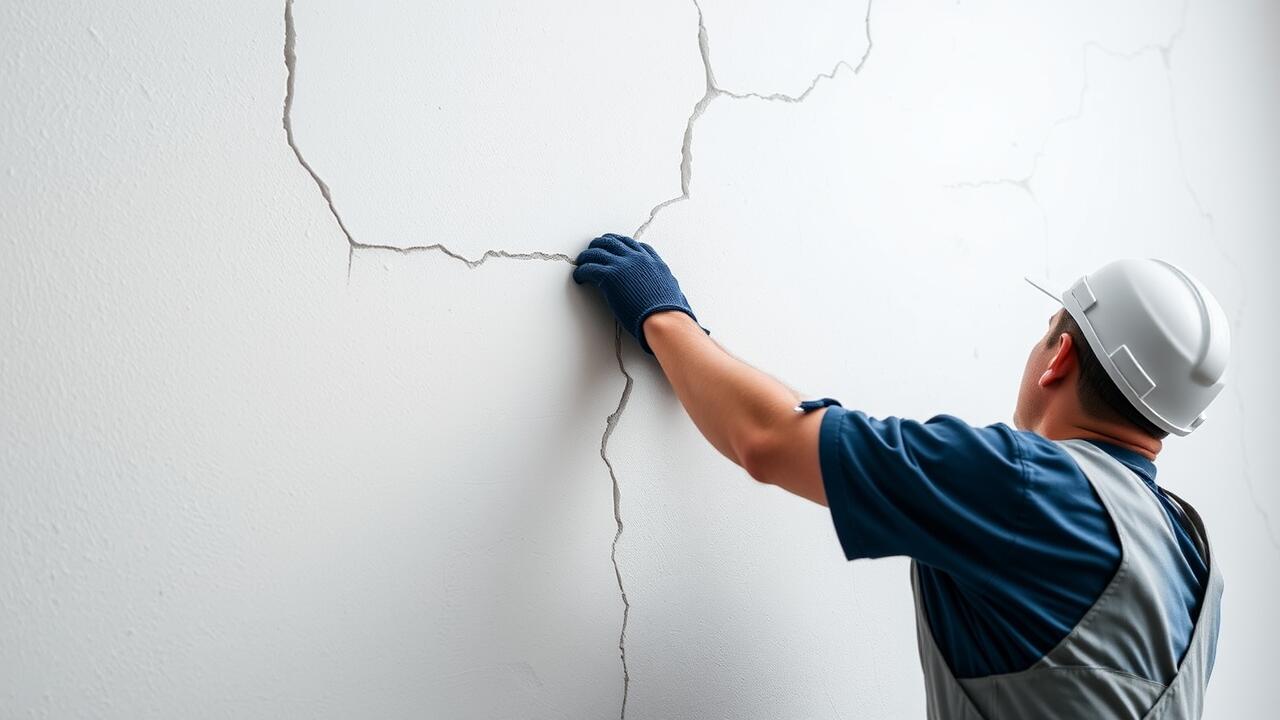
When addressing deep cracks in plaster, proper surface preparation is essential for achieving a successful crack repair. Begin by cleaning the area around the crack to remove any loose debris, dust, or paint. A putty knife can help to dig out any crumbling plaster within the crack. Ensuring the crack is free of loose material provides a better foundation for filling. Using a damp sponge, lightly moisten the surface, which will assist in the adhesion of new plaster.
Once the crack is cleaned and prepared, apply a suitable filler designed for plaster repair. Carefully fill the crack, ensuring it is packed tightly to prevent future issues. Scrape off any excess filler using the putty knife, aiming for a smooth finish that aligns with the surrounding surface. For the best results, focus on blending the repair with the existing plaster, creating a seamless look that makes the crack repair virtually invisible.
Techniques for Achieving a Flawless Finish
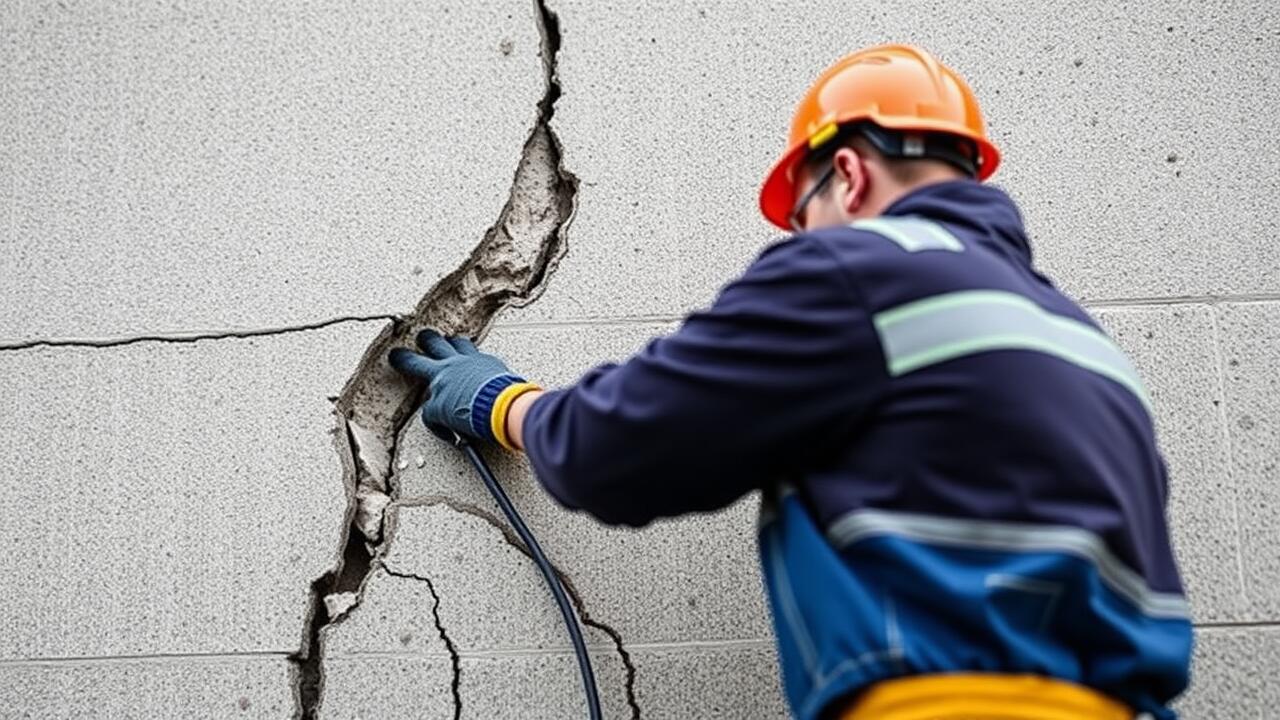
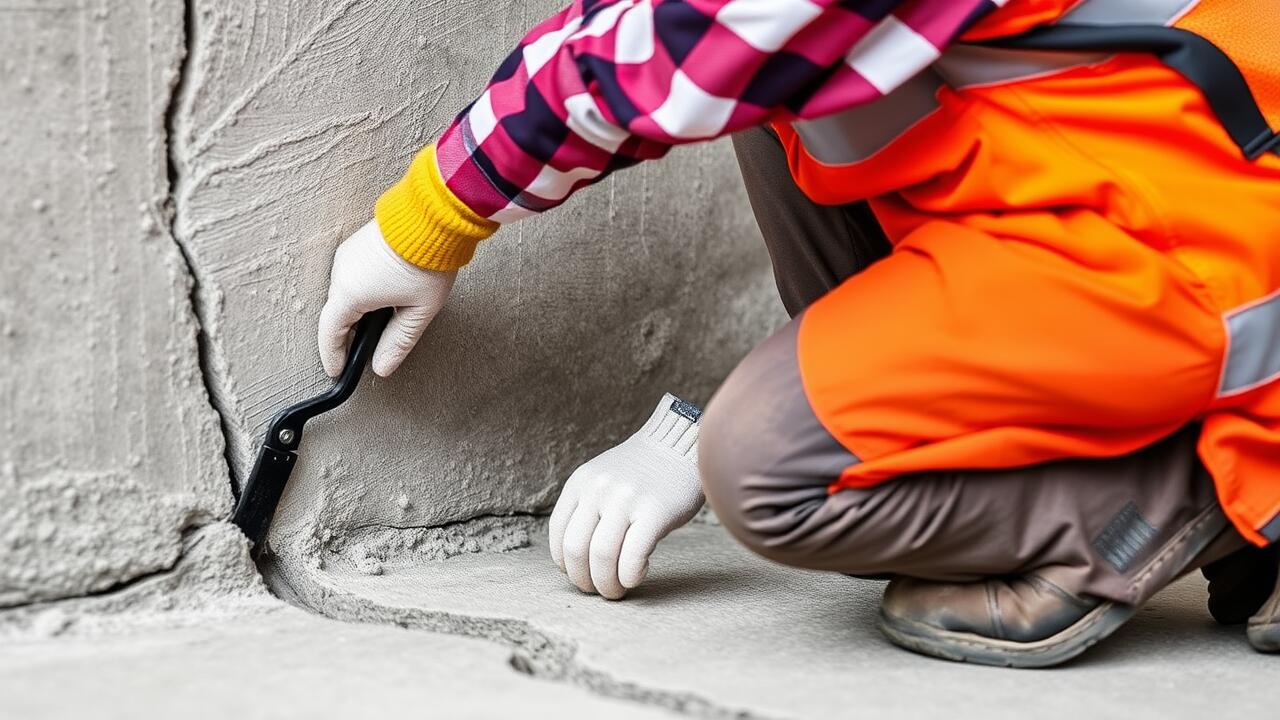
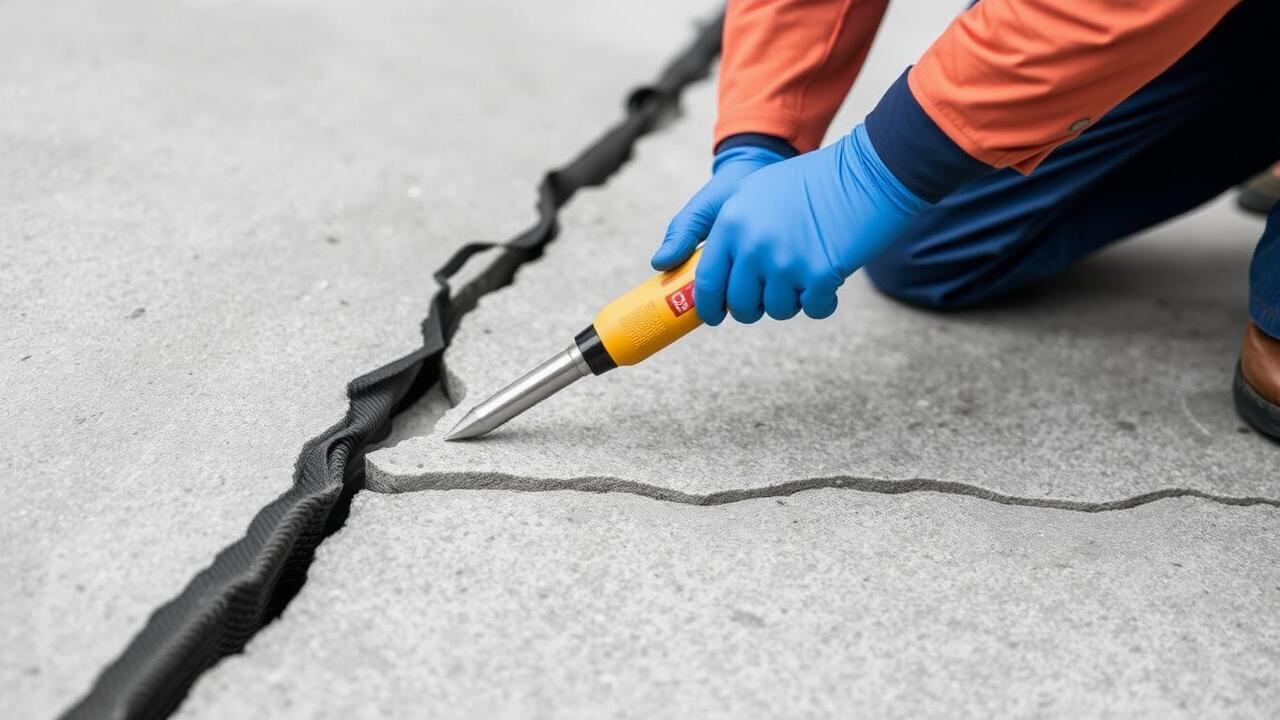
When embarking on crack repair, the first step is to thoroughly clean the area surrounding the cracks. Remove any loose plaster, dust, or debris to ensure proper adhesion of the repair material. Using a putty knife, gently scrape away any chipped plaster, creating a clean edge around the crack. This preparation facilitates a more seamless repair, making it easier to achieve a smooth finish later on. A primer can be applied to the cleaned surface to enhance bond strength and improve the longevity of the repair.
Once the area is prepped, the choice of filler or plaster is crucial for achieving a flawless finish. Select a product that is specifically designed for crack repair, as these often contain additives that improve flexibility and minimise shrinkage. Apply the filler using a flat edge tool, pressing it firmly into the crack to avoid air pockets. Smooth the surface by feathering the edges of the filler, blending it into the surrounding plaster. For larger cracks, consider layering the filler in multiple applications, allowing each to dry before adding more until the surface is level with the surrounding area.
Allowing the Repair to Set
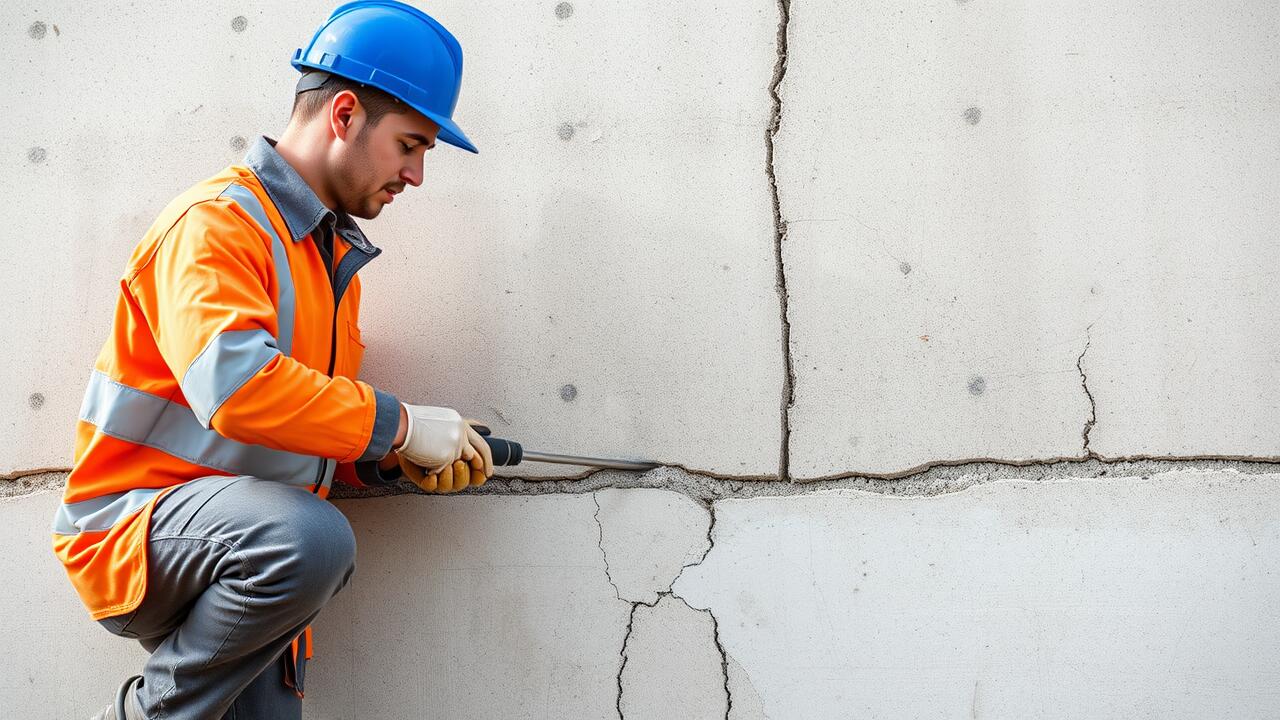
After applying the filler to the deep crack, it is vital to allow adequate time for the crack repair to set properly. The drying process may vary depending on factors such as humidity and temperature within the environment. Following the manufacturer's instructions will provide guidance on recommended waiting times, which can help ensure a strong bond and prevent future deterioration.
Creating a suitable environment during the drying period can enhance the effectiveness of the crack repair. Avoiding drafts or direct sunlight on the repair area can prevent uneven drying and potential cracking. Ensuring proper ventilation can also assist in maintaining an ideal setting for the filler to cure.
Drying Times and Conditions
Drying times for crack repair in plaster typically depend on the depth and size of the crack, the type of filler used, and environmental conditions. Generally, a standard plaster filler may take anywhere from a few hours to overnight to dry completely. In humid conditions, drying can take longer. It is essential to check the manufacturer's instructions for the specific product you are using, as different fillers may have varied drying times.
Temperature also plays a significant role in the drying process. Warmer temperatures can expedite the curing of the filler, while colder environments will slow it down significantly. Ensure the area is well-ventilated to promote faster drying. Avoid painting or applying additional layers until the crack repair is fully dry to prevent any issues with adhesion or finish quality.
Sanding and Finishing
Sanding is a critical step in the plaster repair process, especially after addressing deep cracks. Begin with coarse sandpaper to level the surface, ensuring the filled area blends smoothly with the surrounding plaster. Gradually transition to finer sandpaper, which offers a more refined finish. Care should be taken not to oversand, as this can damage the surrounding area and reverse the effects of crack repair. A dust mask is advisable to avoid inhaling particles during this stage.
Once the sanding is complete, a clean, soft cloth or vacuum can be used to eliminate dust and debris. Following this, it may be necessary to apply a sealing primer before painting. This will not only help in achieving an even colour but also enhance the adhesion of the paint. Proper preparation ensures that the finished result is aesthetically pleasing, making the crack repair almost undetectable once the wall is painted.
Final Touches for a Seamless Look
After completing the sanding process, ensuring that the surface is smooth and even is crucial for a flawless finish. Inspect the area for any remaining imperfections or inconsistencies. If necessary, apply a thin layer of joint compound to further level the surface. Once this layer has dried, a light sand with fine-grit paper will help achieve an immaculate appearance.
Painting over the repaired area requires careful consideration to match the surrounding wall. Use a primer to create a uniform base before applying paint. Depending on the original wall texture and finish, additional techniques such as stippling might be necessary to replicate the surrounding wall accurately. A meticulous approach in these final touches will ensure that your Crack Repair remains undetectable, seamlessly blending into the existing surface.
FAQS
What materials do I need to fill deep cracks in plaster?
To fill deep cracks in plaster, you will need a suitable filler compound, a putty knife, sandpaper, a damp sponge, and optionally, primer and paint for finishing.
How do I prepare the crack before filling it?
Start by cleaning the crack to remove any dust and debris. You can use a wire brush or a damp sponge. Ensure the area around the crack is dry and smooth.
How long should I let the repair set before sanding?
Generally, it’s best to allow the filler to dry completely, which can take anywhere from 30 minutes to several hours depending on the product used and the environmental conditions.
Can I paint over the repaired area immediately after sanding?
It’s advisable to wait at least 24 hours after sanding to ensure the filler is fully cured before applying primer and paint for the best finish.
What should I do if the crack reappears after filling?
If the crack reappears, it may indicate an underlying issue such as structural movement or moisture problems. It's best to investigate the cause and, if necessary, consult a professional for further repairs.