Table Of Contents
Ensuring Proper Adhesion
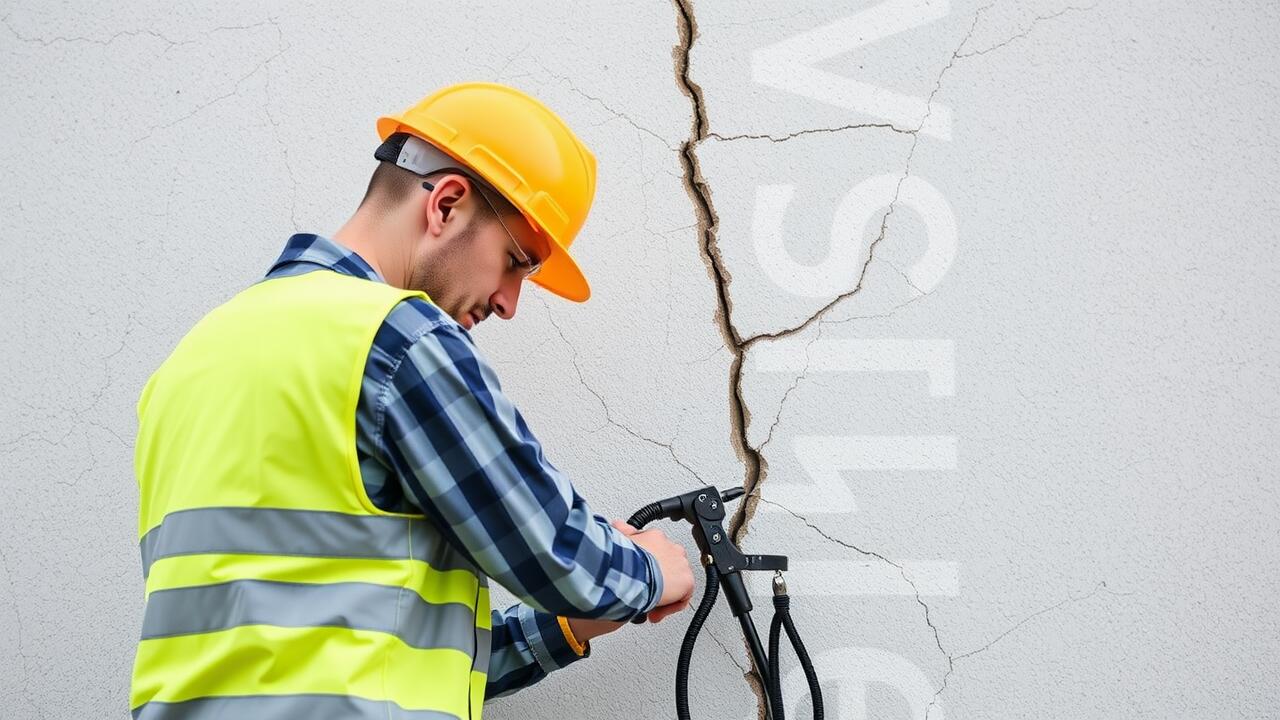
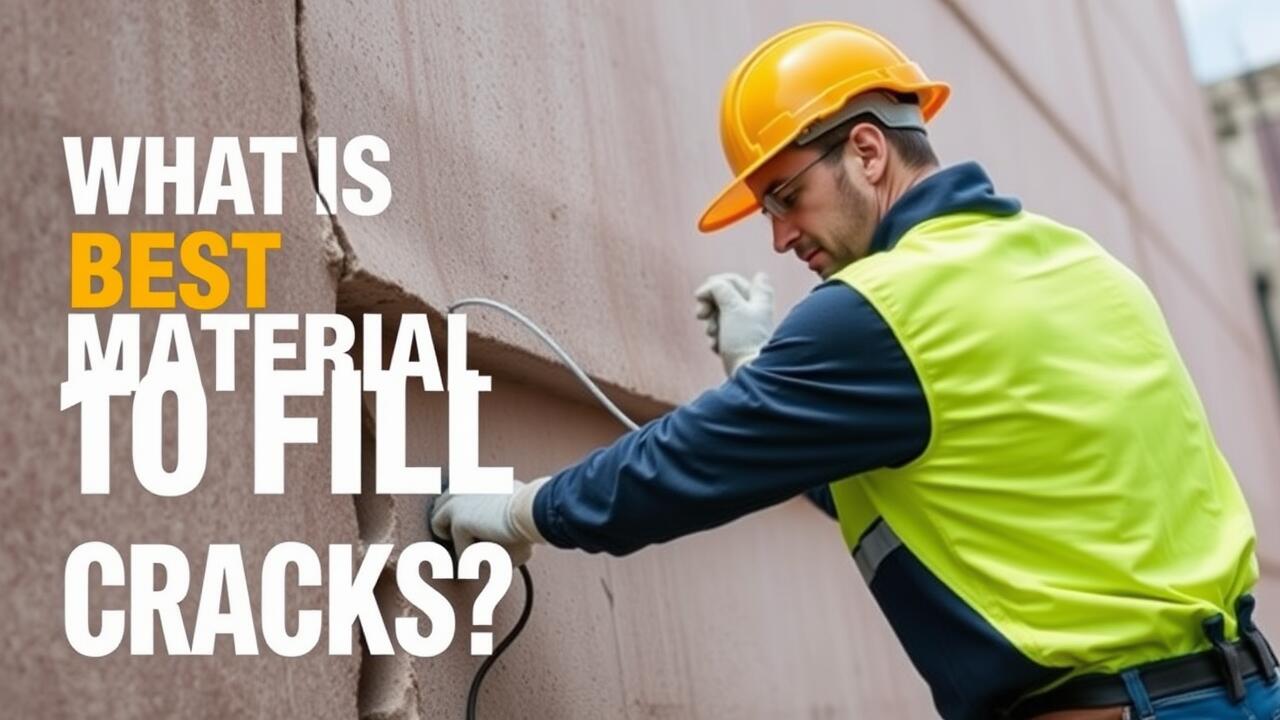
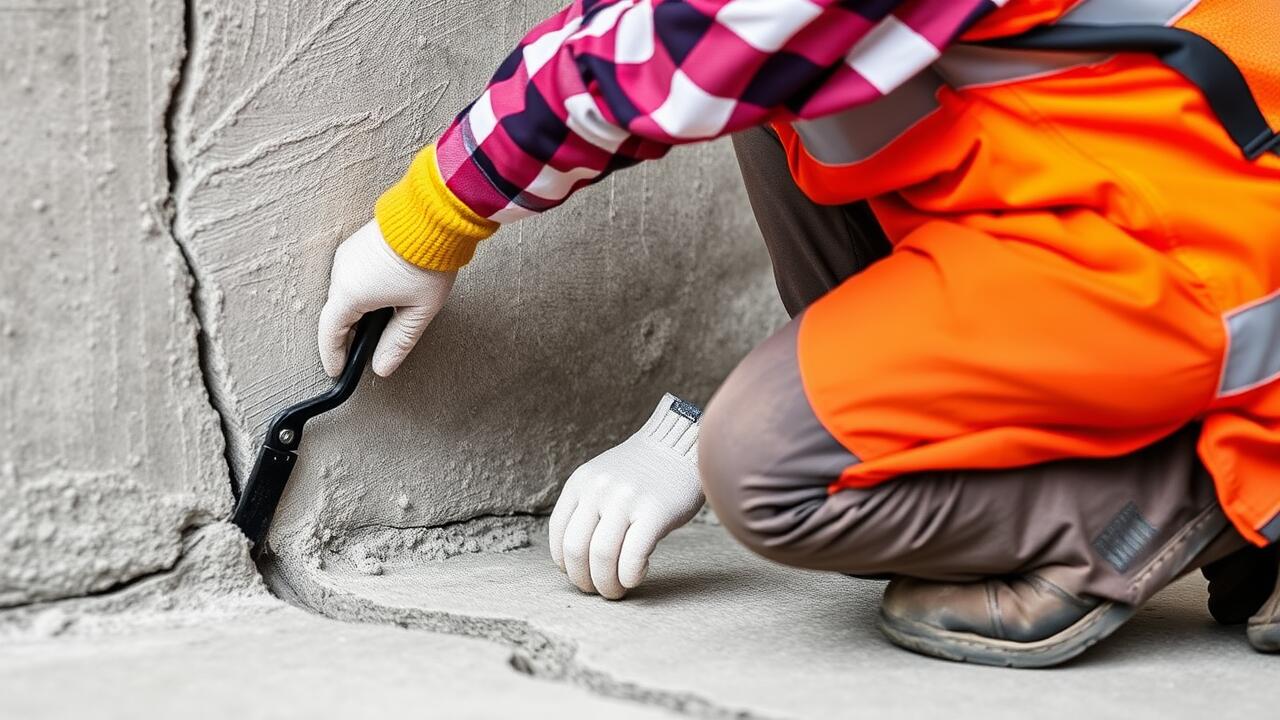
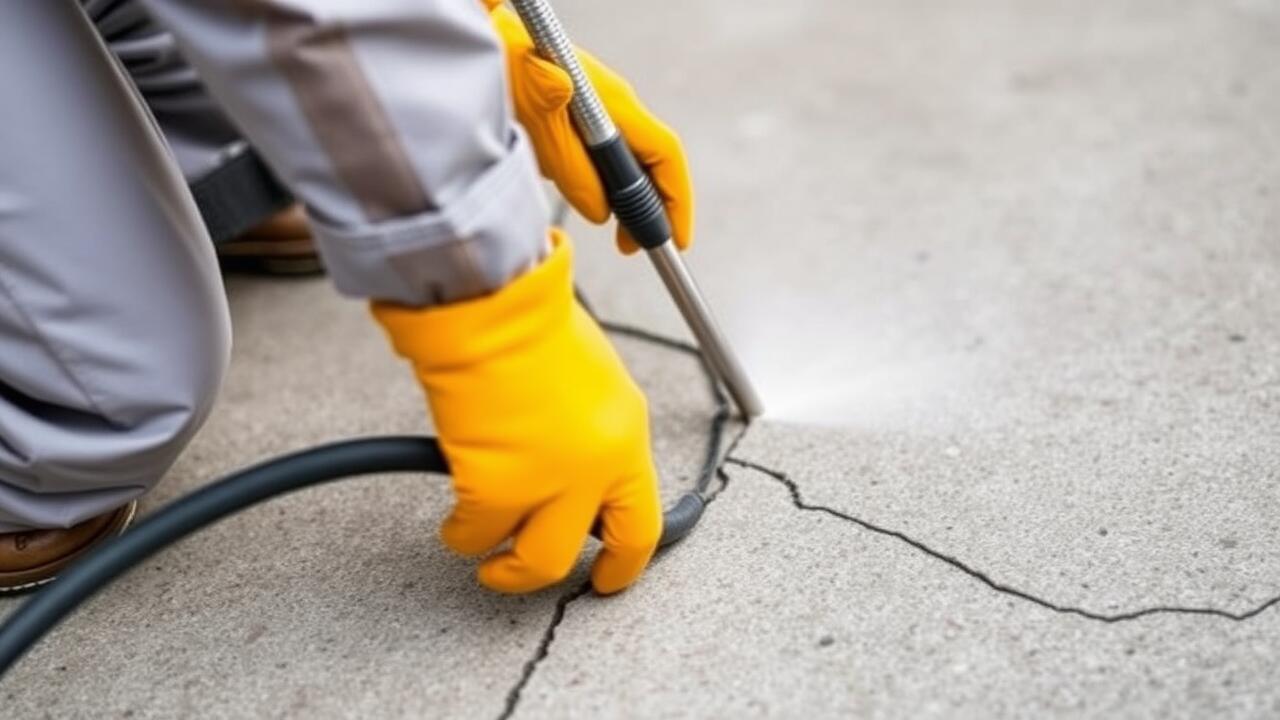
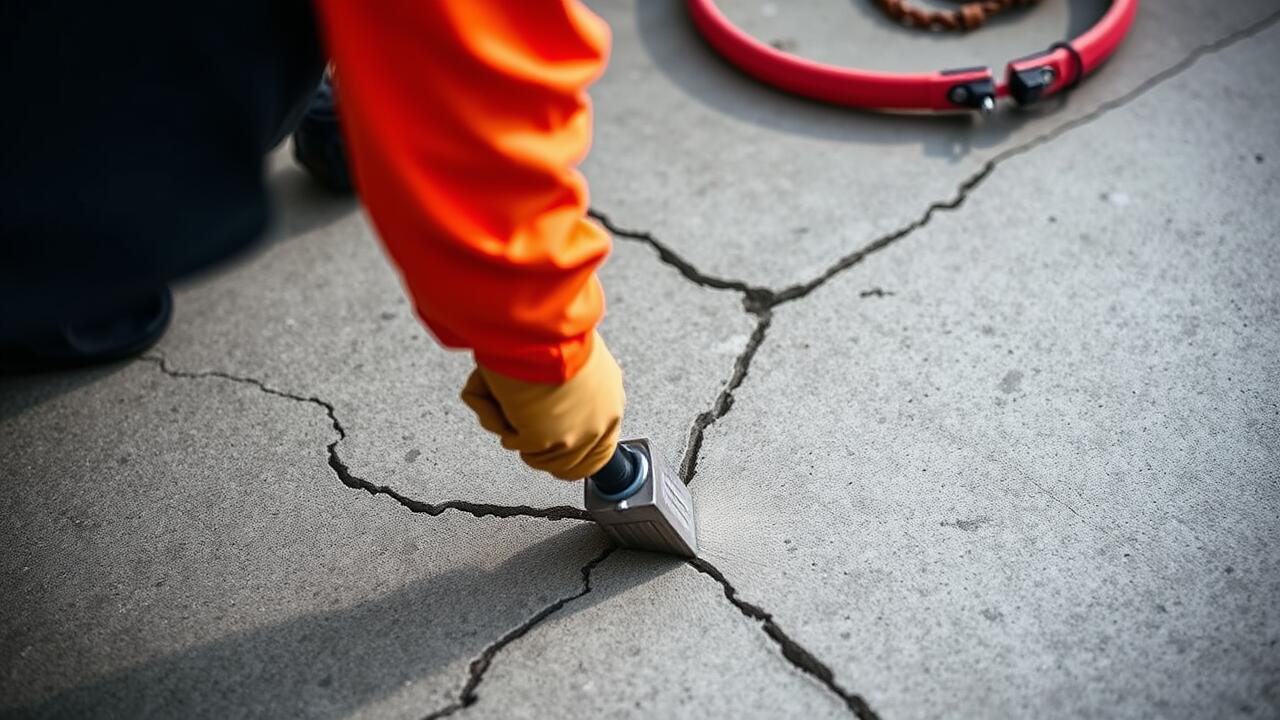
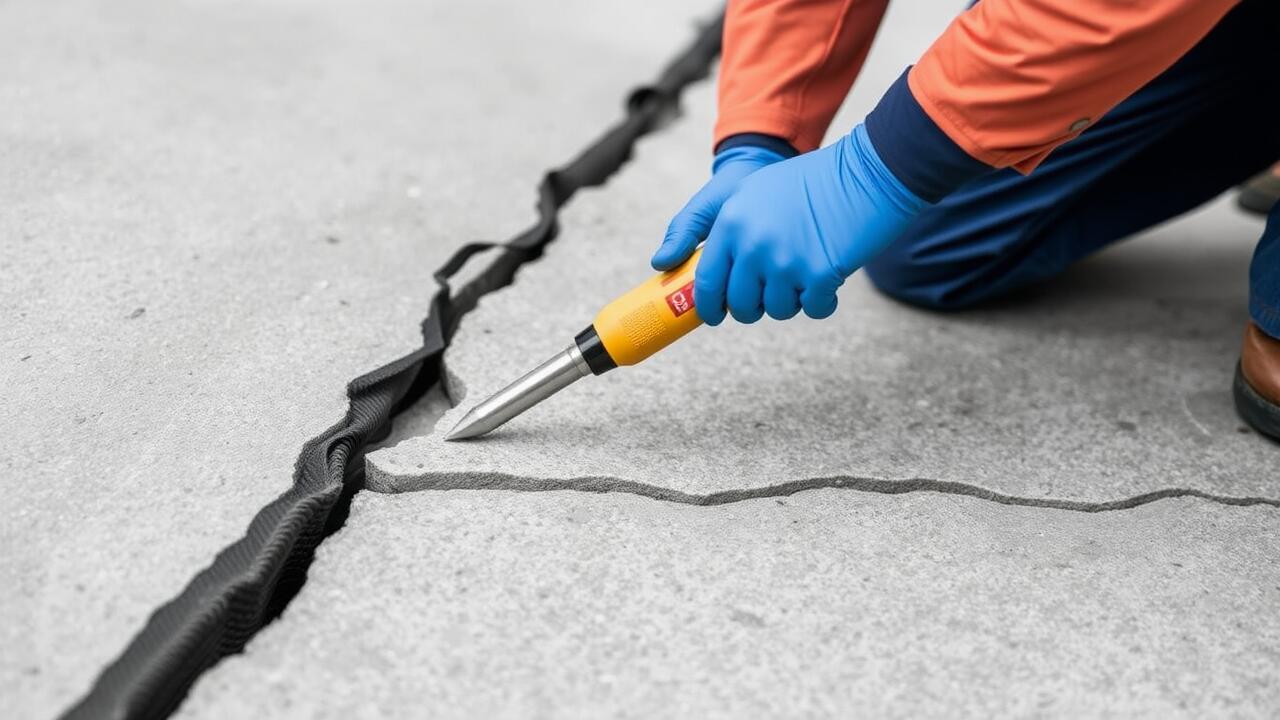
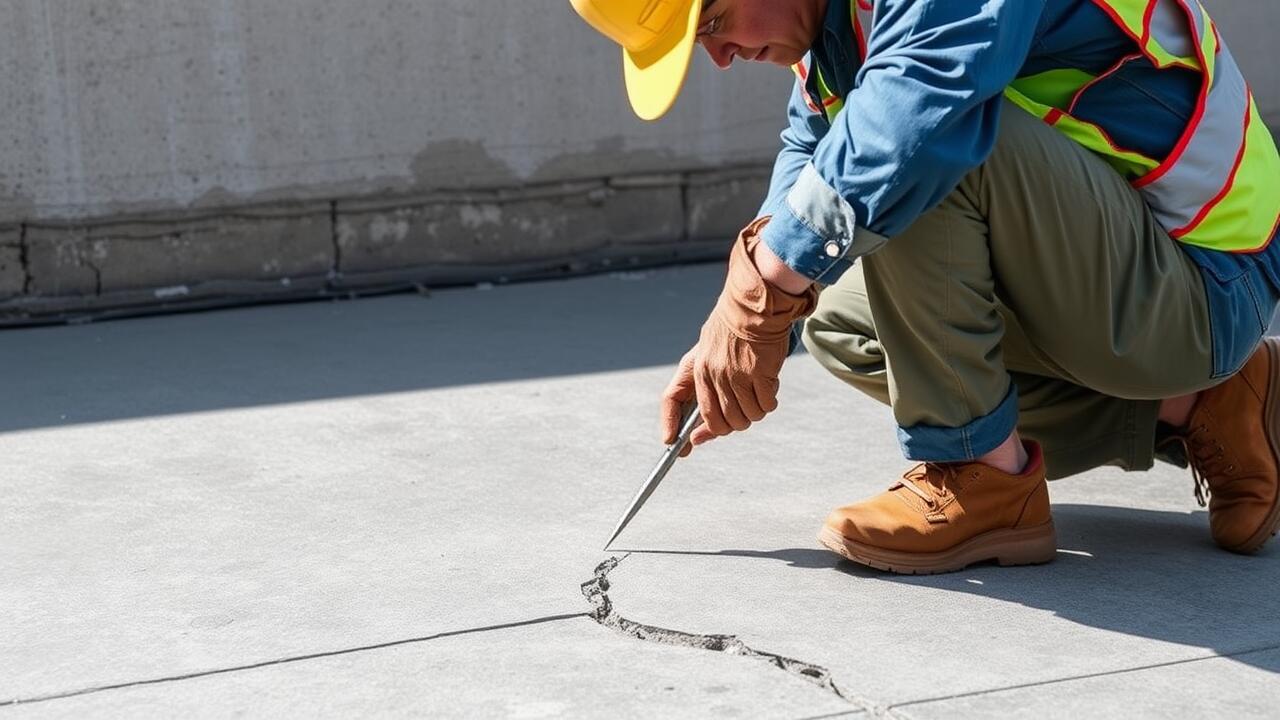
To achieve a successful crack repair, ensuring proper adhesion between the filler material and the concrete is vital. Begin by thoroughly cleaning the crack to remove any loose debris, dust, or moisture. A wire brush or a high-pressure water wash can be effective in preparing the surface. This initial step not only enhances the bond but also facilitates better penetration of the filler into the crack, which is essential for a solid repair.
Once the crack is clean, consider using a bonding agent before applying the filler. This agent acts as an intermediary layer, promoting adhesion between the existing concrete surface and the repair material. Select a product specifically designed for crack repair, as it can provide additional benefits such as increased strength and flexibility. Following these practices will lead to a more durable repair that withstands environmental factors over time.
Techniques for Securing the Filler
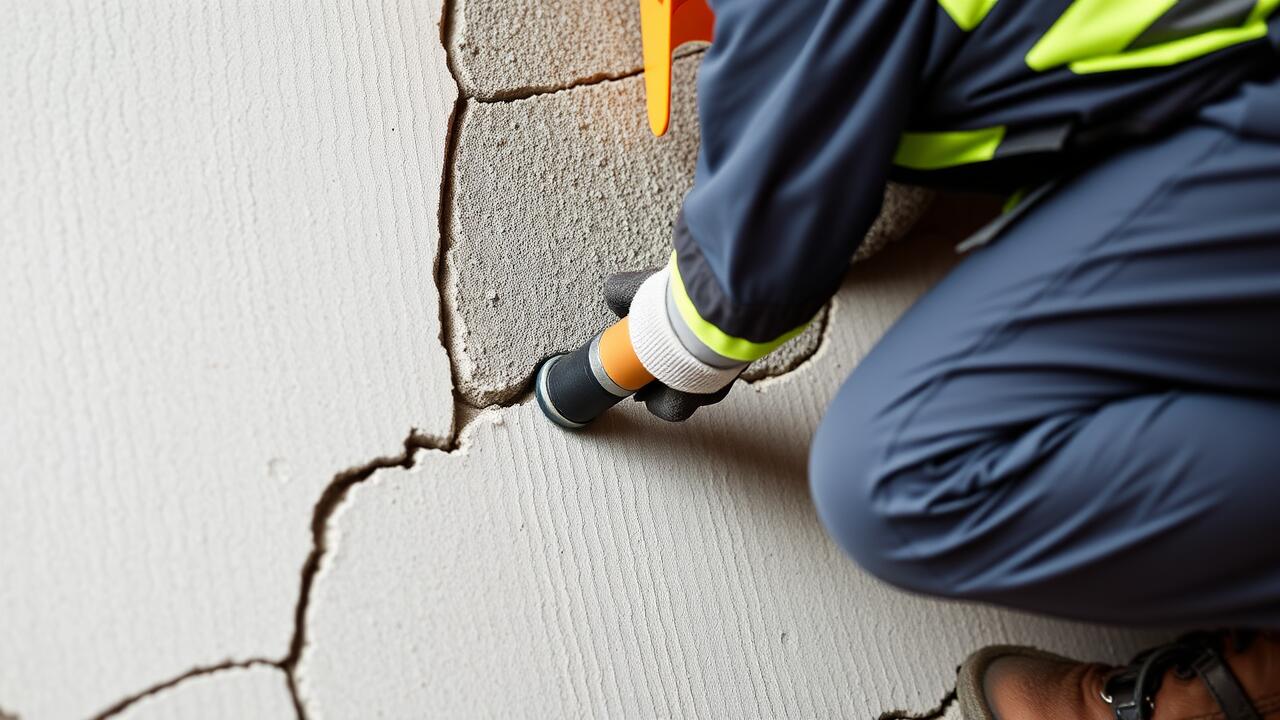
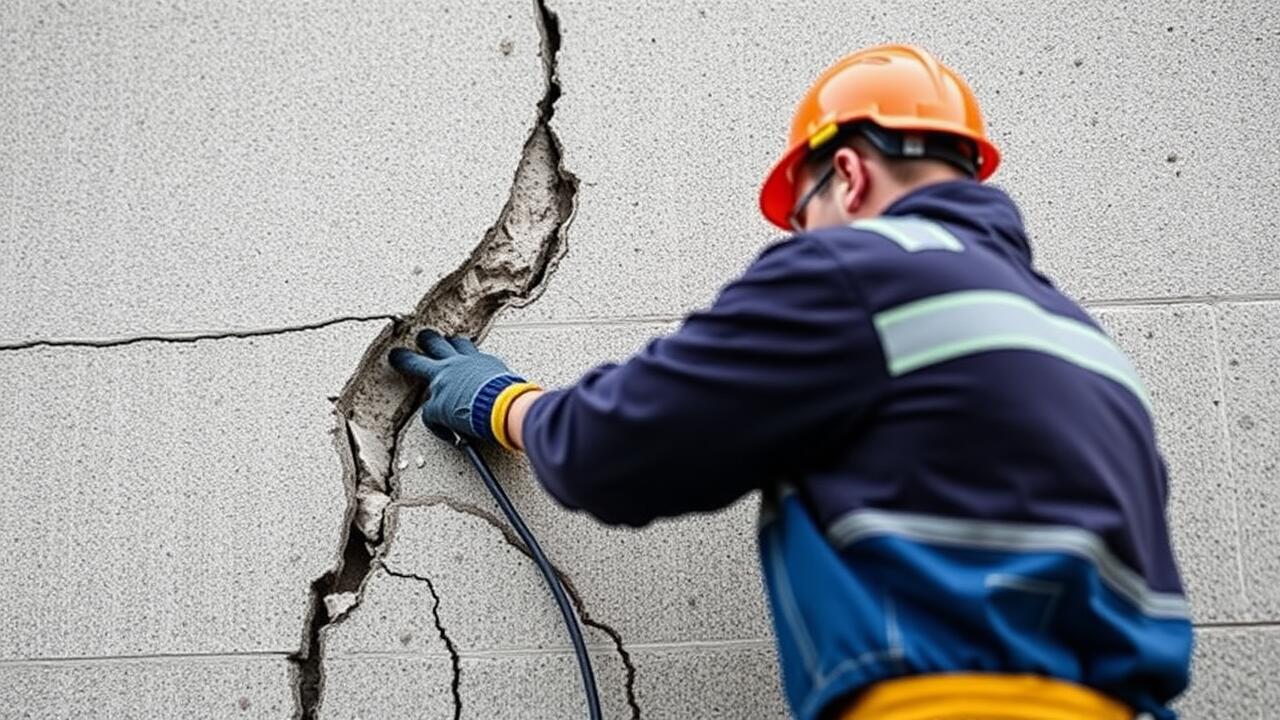
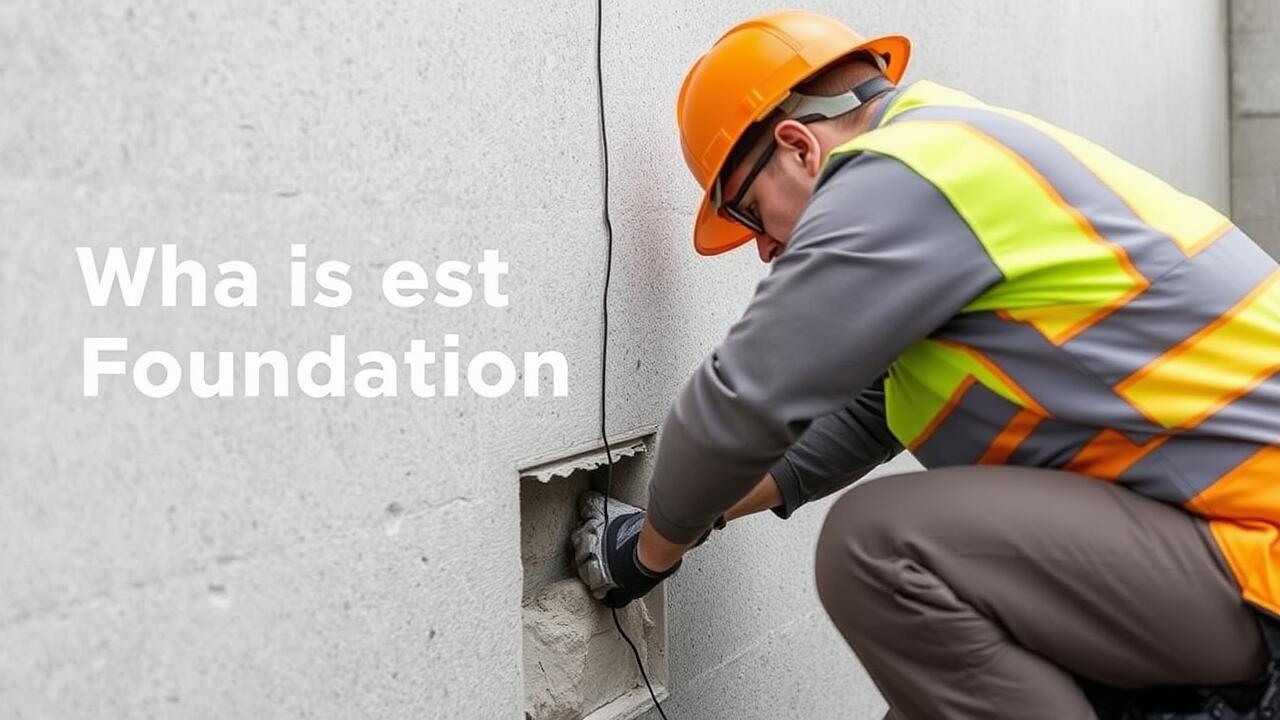
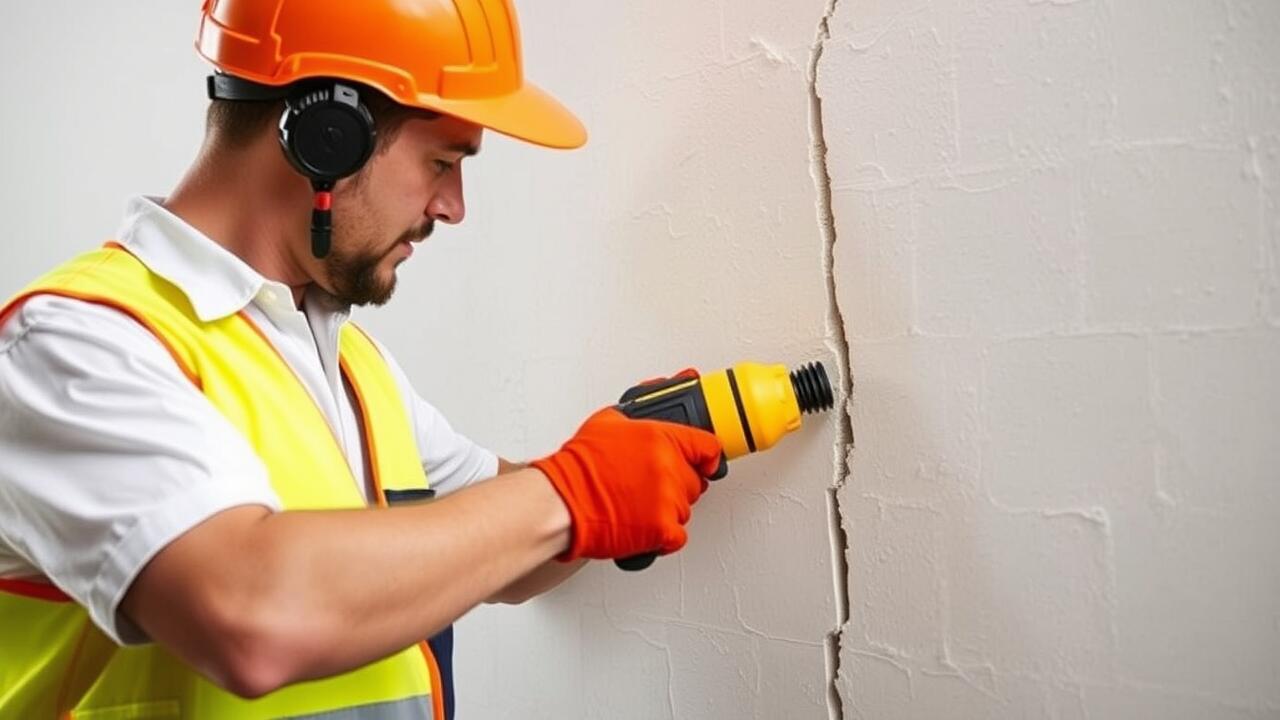
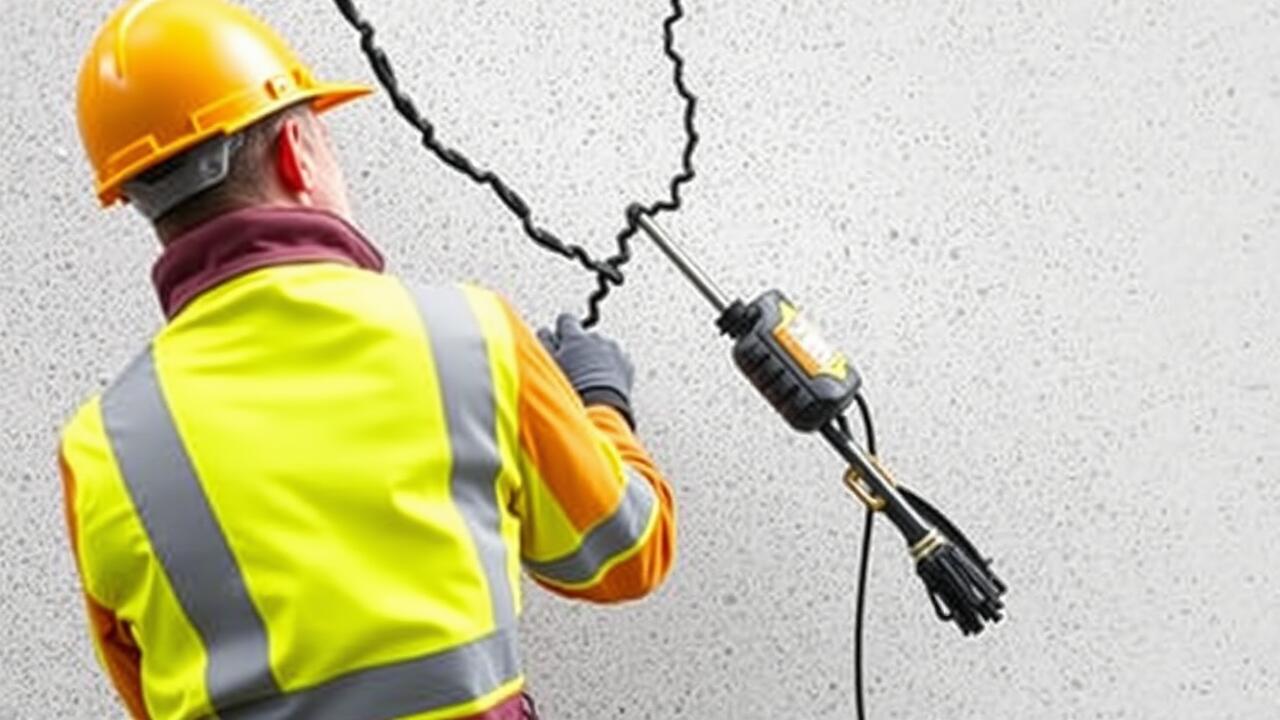
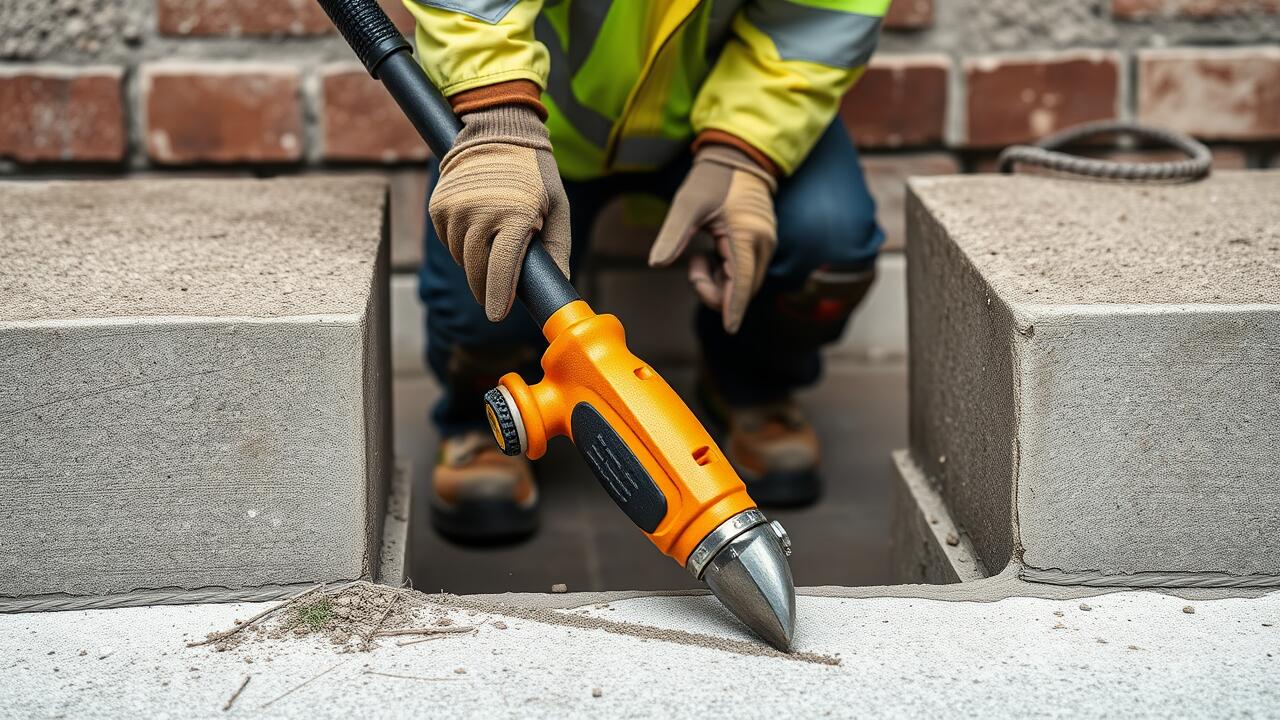
When applying filler to large deep cracks in concrete, it is essential to ensure that the material adheres properly to the surrounding surface. Cleaning the crack thoroughly removes any dust, debris, and loose particles that could hinder adhesion. Using a wire brush or a pressure washer can help achieve a clean surface. A moisture check is also important; filling a crack that is still damp can affect the curing of the filler. Once the area is prepped, applying a bonding agent can enhance the effectiveness of the filler used in the Crack Repair process.
To secure the filler appropriately, applying it in layers can be beneficial, especially for larger cracks. Each layer should adhere properly before adding the next one, promoting structural integrity. After filling the crack, a trowel or putty knife can be employed to level off the surface, ensuring that the filler is evenly distributed and pressed into the crack. This technique not only helps in securing the filler but also prepares the patch for finishing, which will blend seamlessly with the surrounding concrete.
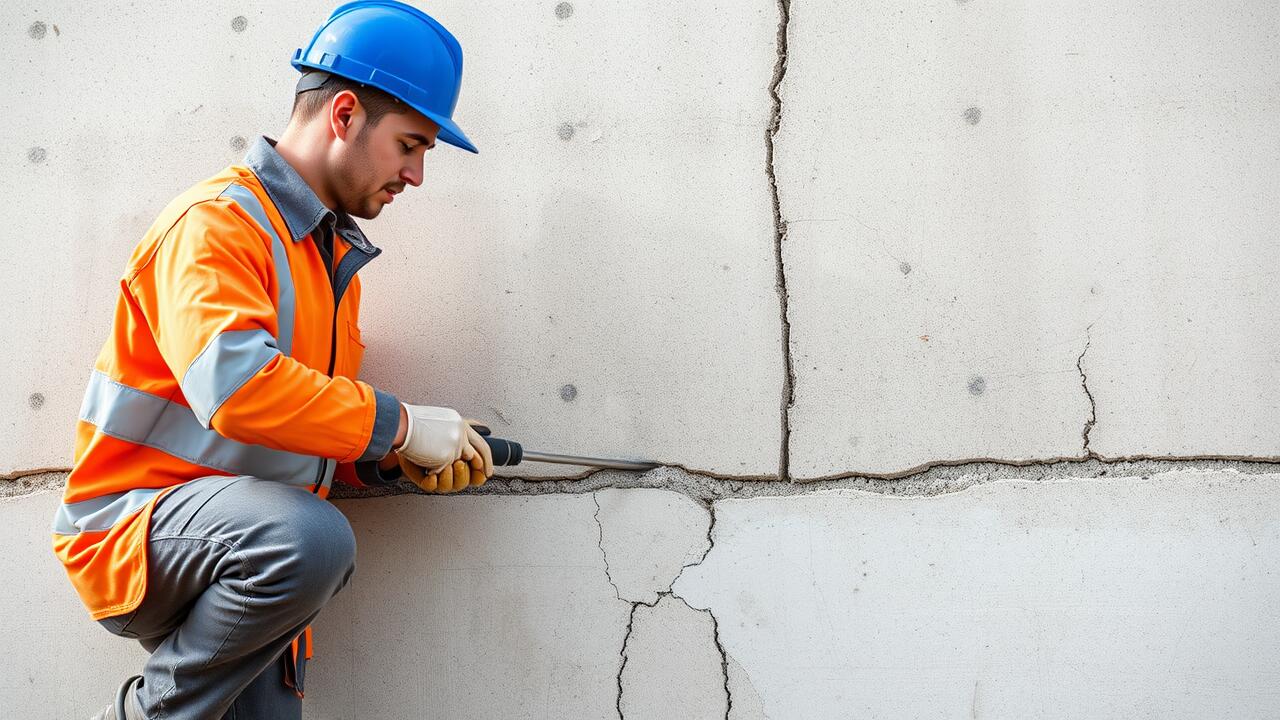
Finishing the Surface
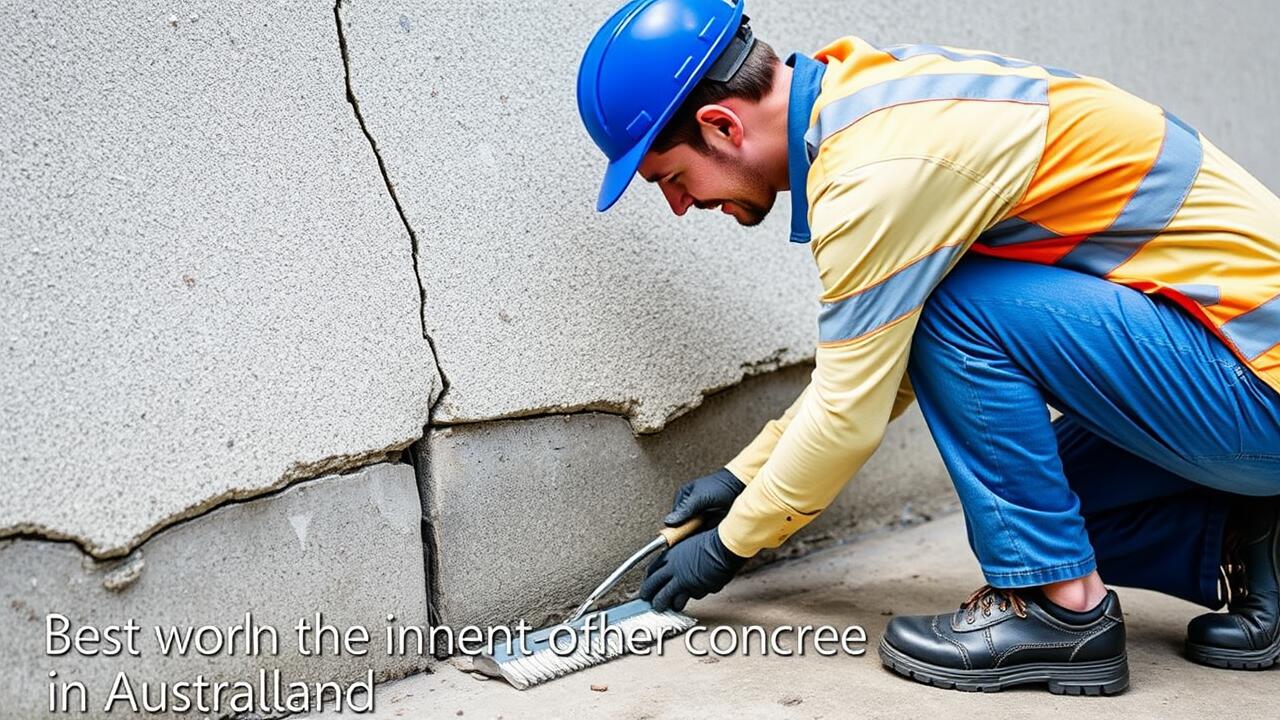
Once the filler has been properly applied, the surface requires attention to achieve a uniform finish. Using a trowel or a putty knife, gently smooth the repaired area to blend it seamlessly with the surrounding concrete. This may involve several passes to ensure an even texture. A concrete finishing broom could be helpful for larger areas, as it helps to restore any patterns or textures that might have been disrupted during the repair process. Care should be taken because inadequate finishing can lead to water pockets or further damage in case of rain.
After achieving a smooth surface, it's essential to let the area dry fully before exposing it to any stress or foot traffic. A light mist of water can be applied occasionally to keep the surface moist, especially in warm conditions. This can significantly enhance the results of the Crack Repair, allowing the filler to cure properly and bond with the existing concrete. Making sure the surface is not disturbed during this period helps prevent cracking or bubbling, which compromises the integrity of the repair.
Smoothing and Leveling the Repaired Area
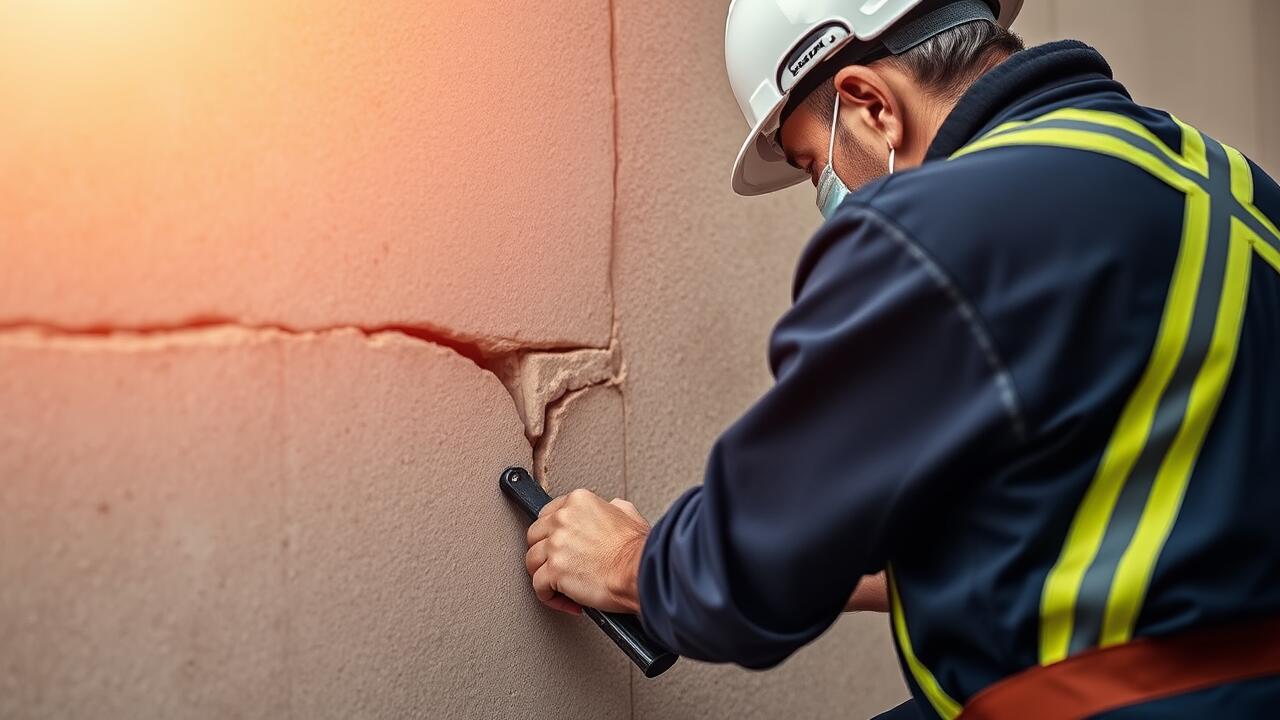
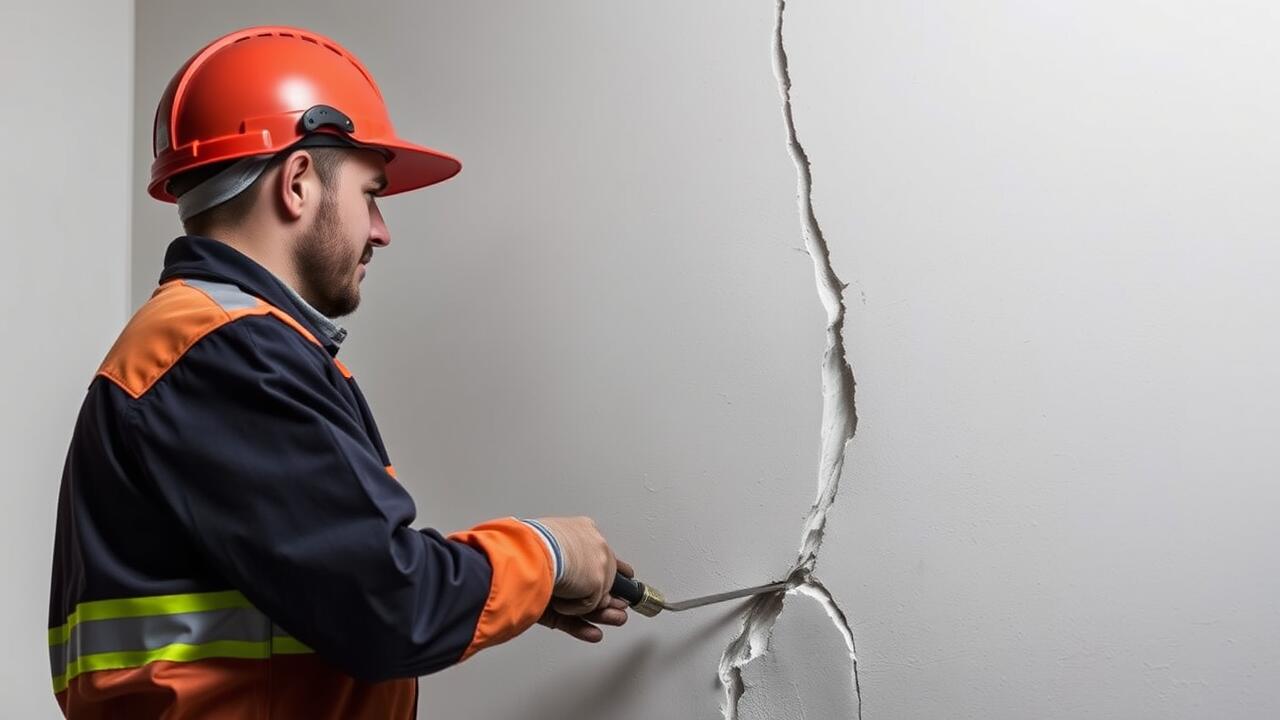
Smoothing and leveling the repaired area is crucial for achieving a seamless finish in crack repair projects. Once the filler has been applied to the deep cracks, the surface should be smoothed out using a trowel or putty knife. Ensure that the filler is flush with the surrounding concrete, which prevents any raised sections or uneven surfaces that can lead to further deterioration.
After the initial smoothing, it may be beneficial to use a concrete float to refine the surface further. This tool helps to create a smooth and even appearance while also compacting the filler. Pay attention to the finish; a well-leveled area not only improves aesthetics but also enhances the longevity of the crack repair by ensuring proper adhesion and preventing water infiltration.
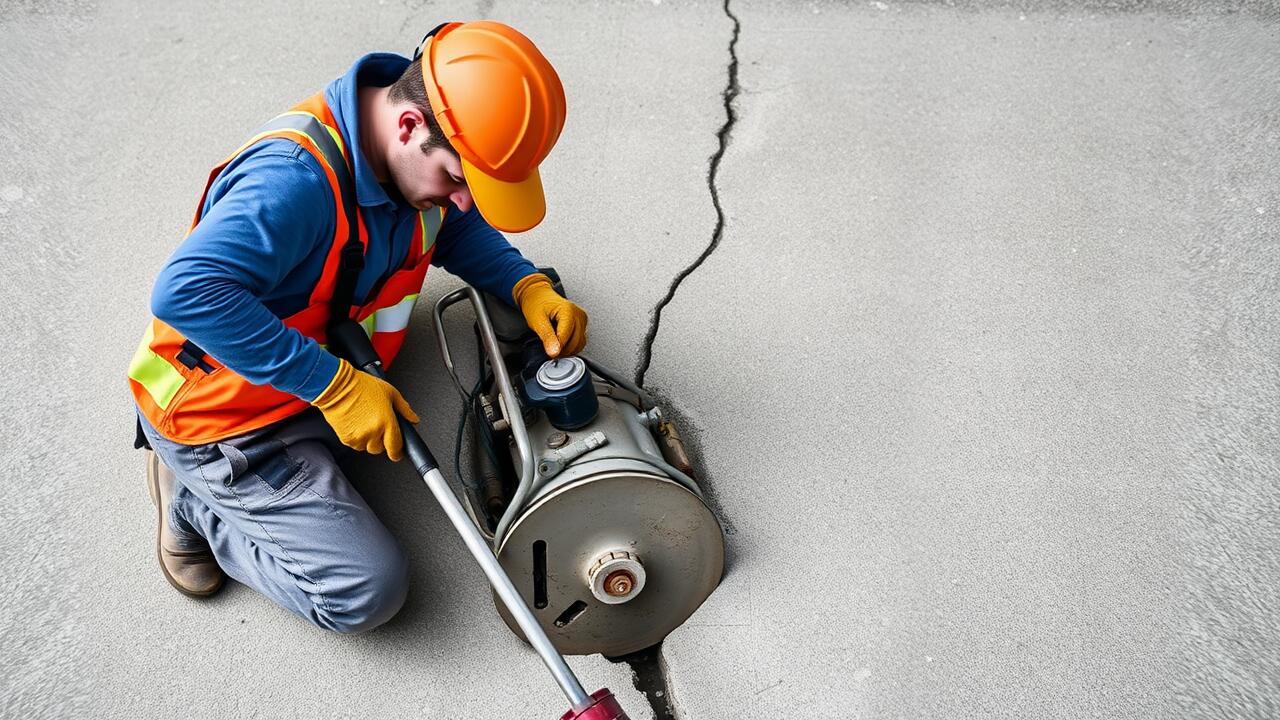
Curing and Drying Time
Proper curing of crack repair is essential for ensuring that the filler material achieves maximum strength and durability. Curing allows the material to hydrate correctly, promoting chemical reactions that enhance adhesion and longevity. Depending on the type of filler used, the curing time may vary. Always refer to the manufacturer's guidelines regarding specific curing times and conditions.
Weather conditions can significantly impact the drying process, so it is crucial to monitor environmental factors. If the area is exposed to direct sunlight or high temperatures, consider covering it to prevent rapid drying. Conversely, in cooler or more humid conditions, slower drying may occur, making it vital to allow adequate time for the repair to set properly. Ultimately, patience is key to achieving a successful crack repair that withstands the test of time.
Importance of Proper Curing Techniques
Proper curing techniques are crucial for the longevity and effectiveness of any crack repair. When the filler material is applied, it must be allowed to cure fully to achieve maximum strength and bonding with the surrounding concrete. Insufficient curing can lead to the formation of weak spots, which may eventually allow moisture intrusion or re-cracking. Maintaining optimal temperature and humidity levels during the curing process helps to ensure that the filler sets correctly, providing a durable repair.
In addition to environmental conditions, the method of covering the repair can significantly influence the curing process. Using wet burlap, plastic sheeting, or curing compounds helps to retain moisture around the repaired area, promoting even curing. It is essential to follow the manufacturer's recommendations for the filler product, as variations in curing times and conditions can affect the outcome of the crack repair. Ensuring these techniques are applied will greatly enhance the durability and effectiveness of the repaired concrete.
FAQS
What materials can be used to fill large deep cracks in concrete?
Common materials for filling large deep cracks in concrete include epoxy resin, polyurethane foam, and concrete patching compounds specifically designed for deep cracks.
How do I ensure proper adhesion of the filler?
To ensure proper adhesion, clean the crack thoroughly to remove any dirt, debris, or loose concrete. You may also want to apply a bonding agent before adding the filler.
Can I use normal concrete mix to fill deep cracks?
While you can use normal concrete mix, it's often better to use a specially formulated concrete repair product that can adequately fill deep cracks and provide a strong bond.
How long does it take for the filler to cure properly?
Curing time can vary based on the type of filler used, but generally, you should allow 24 to 48 hours for the filler to cure before applying any load or finishing.
What techniques can I use to smooth and level the repaired area?
Use a trowel or putty knife to smooth and level the repaired area while the filler is still wet. You may also want to use a float for larger areas to achieve a smooth finish.