Table Of Contents
Step-by-Step Crack Filling Process
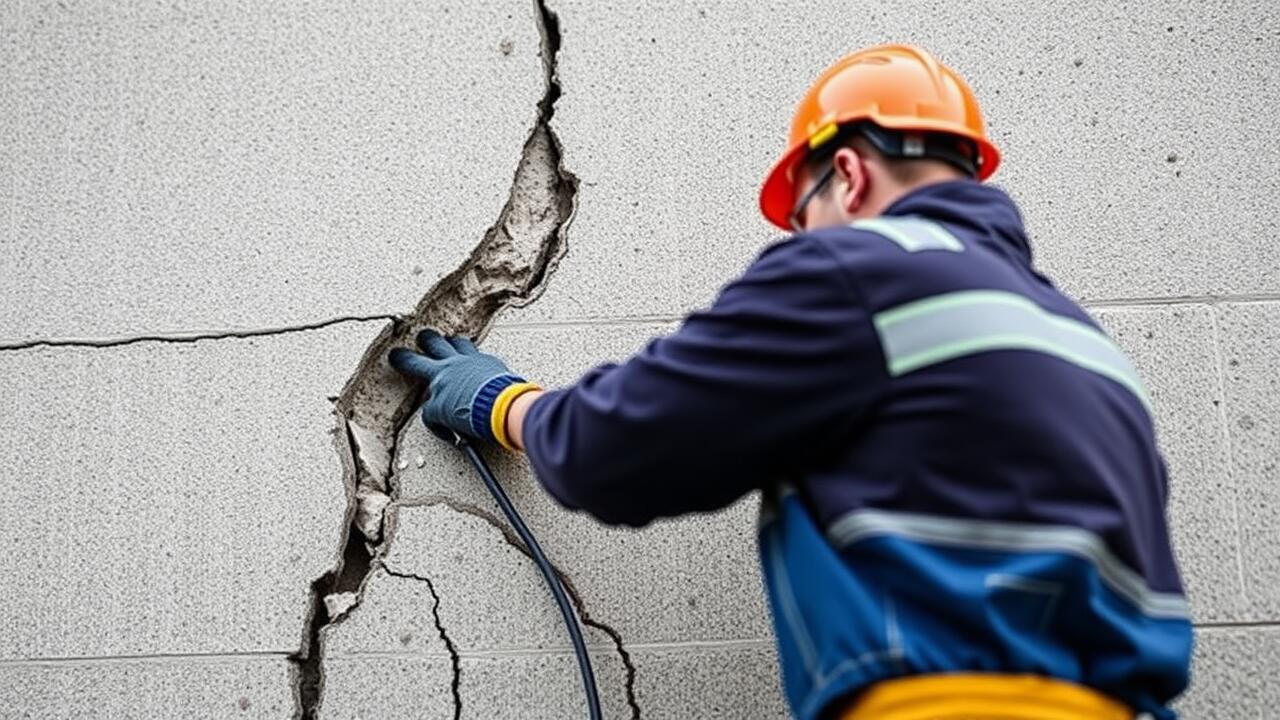
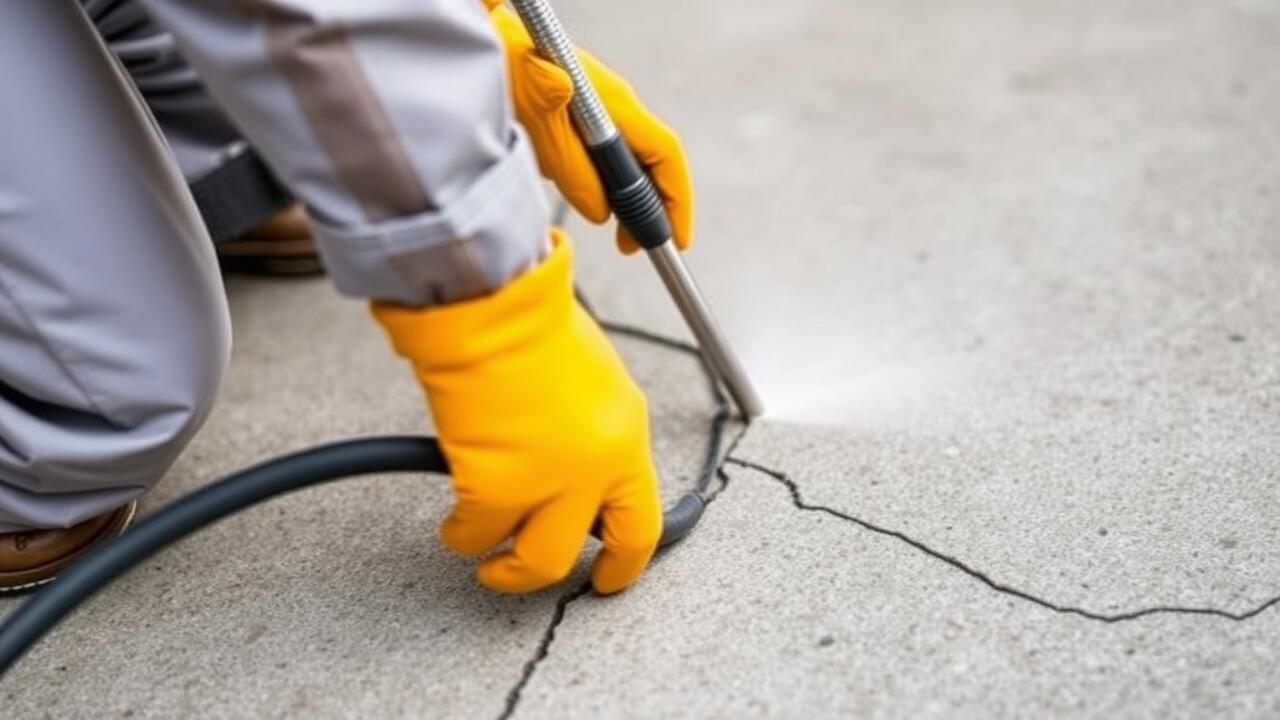
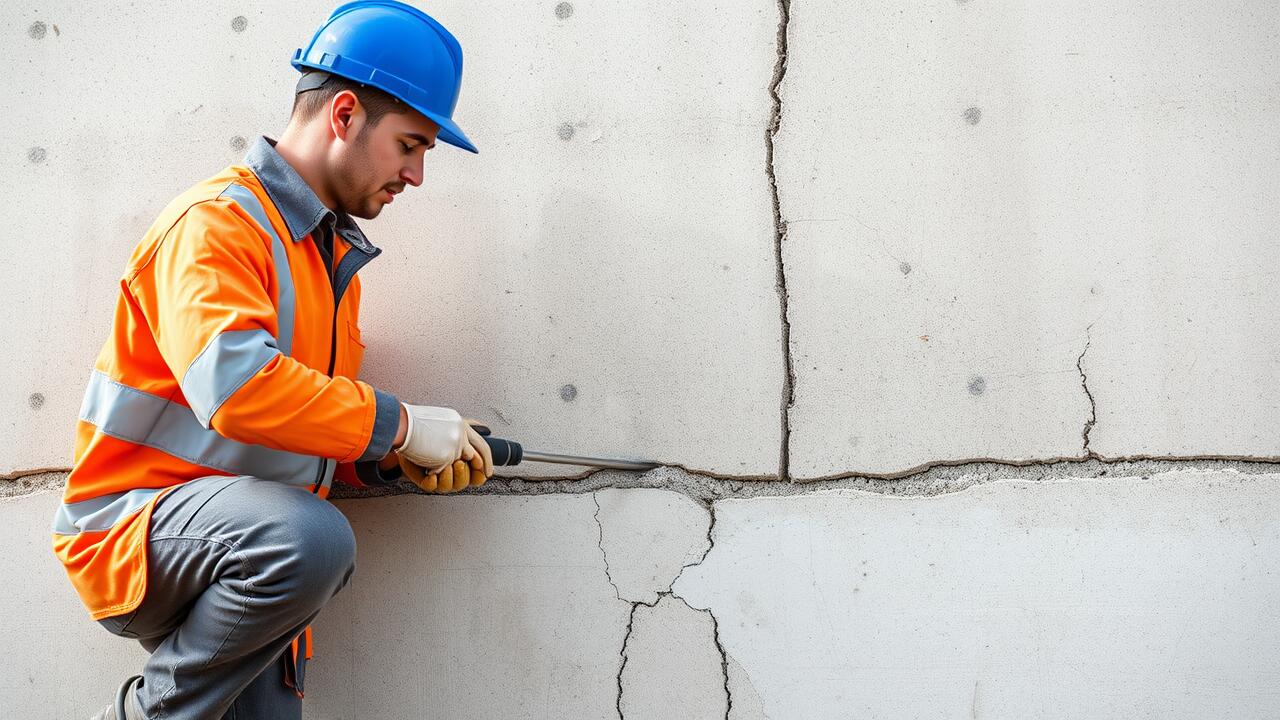
The first step in the crack filling process involves assessing the extent of the damage. A thorough inspection helps determine whether the crack is superficial or indicative of more serious structural issues. It's essential to clean the crack thoroughly, removing any loose debris or dust using a wire brush or electric pressure washer. This preparation ensures that the crack repair material adheres properly to the surfaces, providing a solid base for the filling.
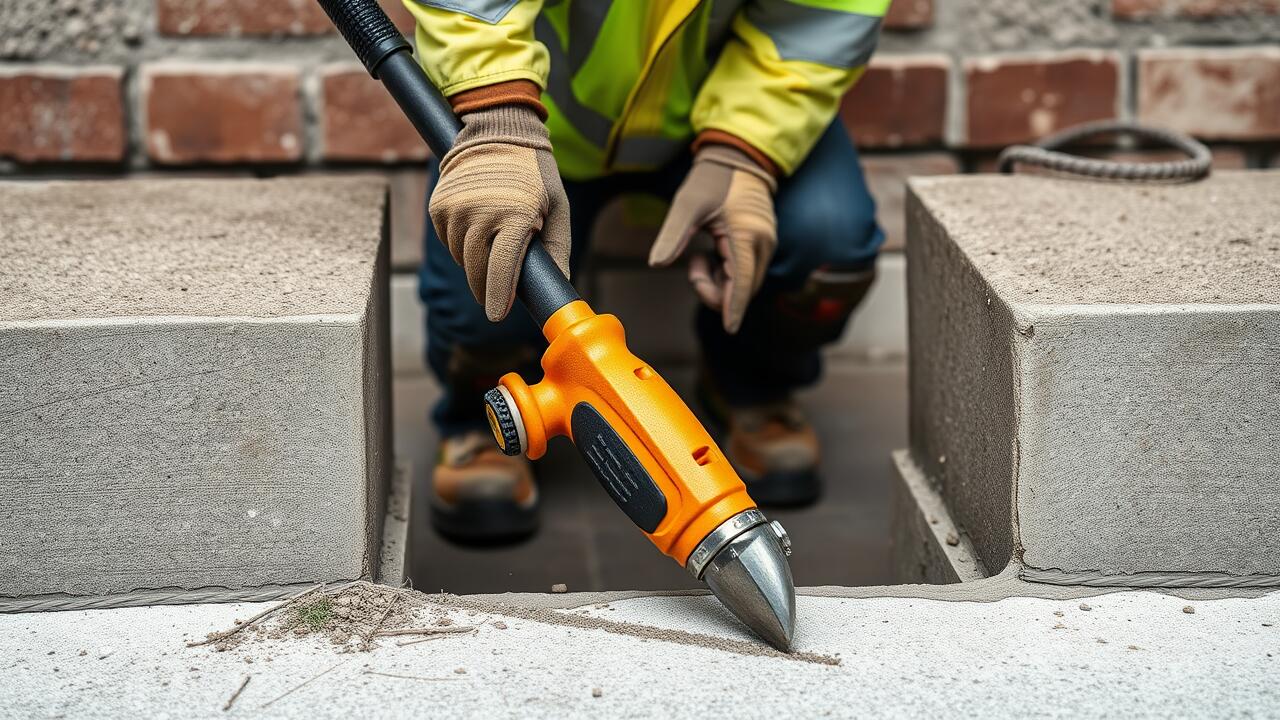
After the area is prepped, choose a suitable crack repair material based on the size and type of crack. For small hairline cracks, a flexible sealant works well, while larger cracks might require a filler compound that can bond effectively with the surrounding material. Apply the repair substance carefully, ensuring it penetrates the crack adequately. Use a putty knife to smooth the surface, creating an even finish that blends with the surrounding area. Allow the repair to cure as per the manufacturer's guidelines for optimal results.
Techniques for Effective Application
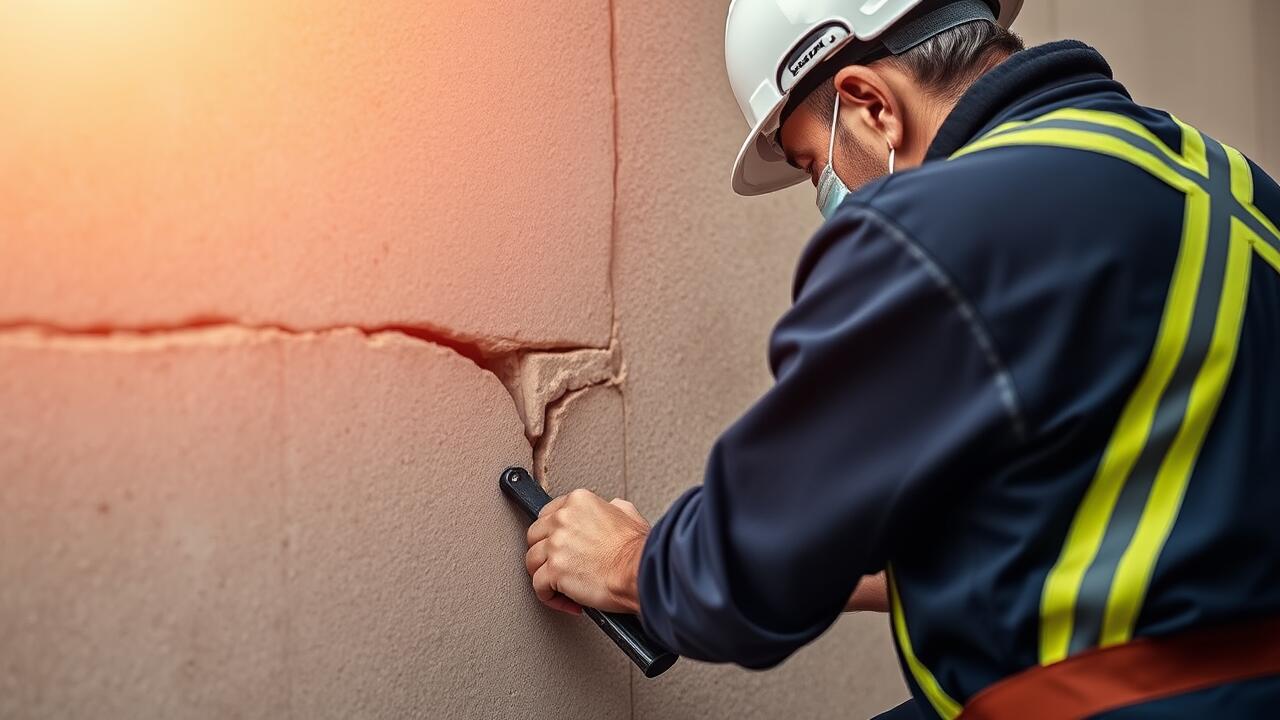
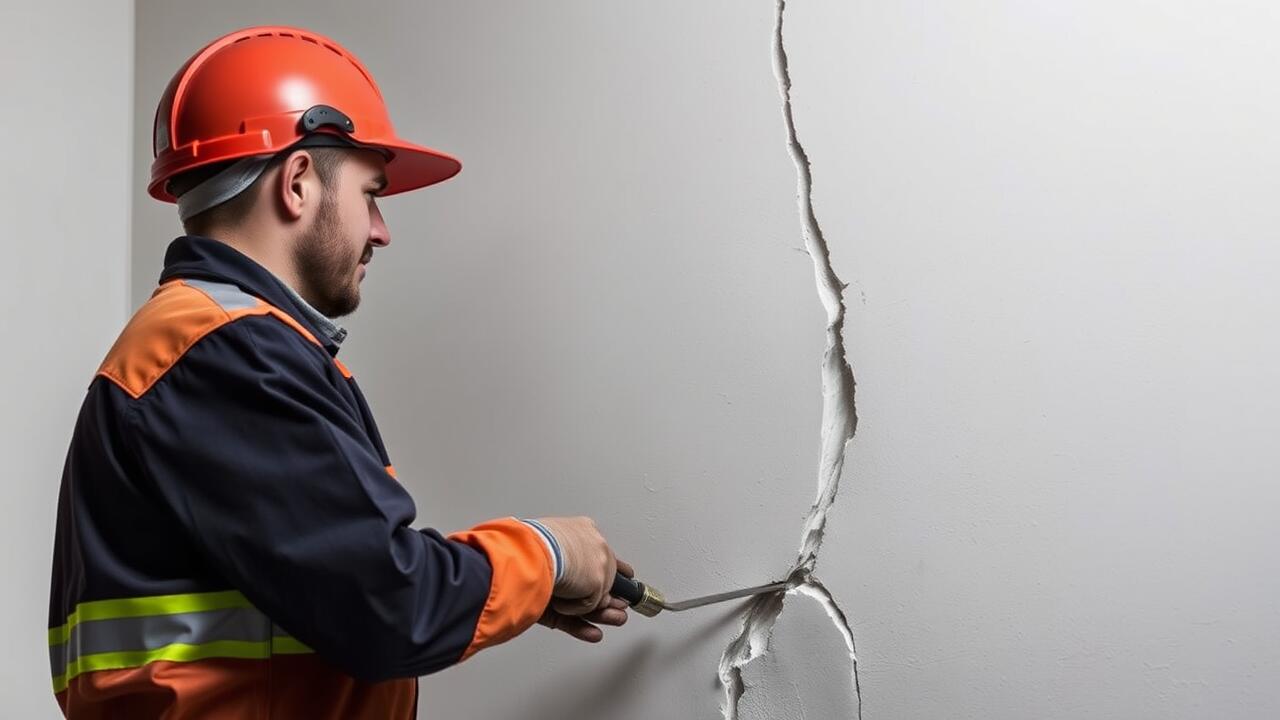
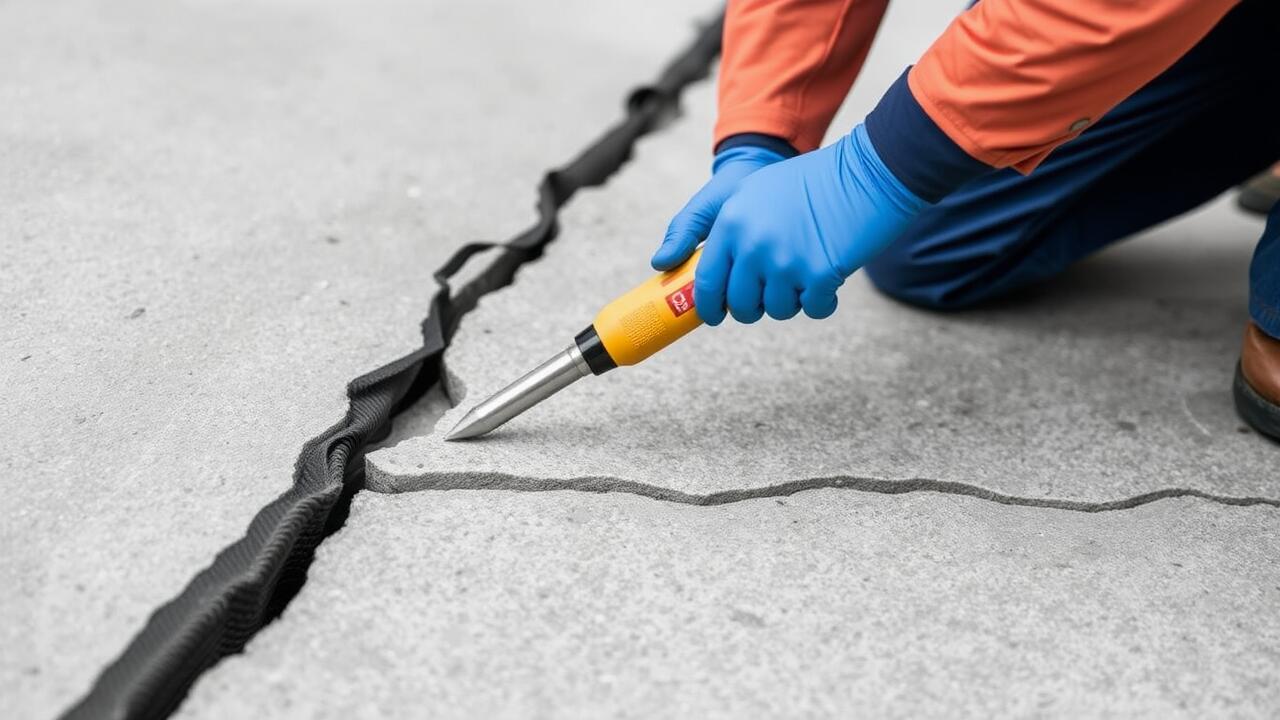
When tackling crack repair, a consistent technique is essential for achieving durable results. Begin by cleaning the crack thoroughly to remove any dust, dirt, or loose material. This preliminary step enhances the adhesion of the filler material. Once cleaned, choose a suitable filler that matches the size and nature of the crack. For narrower cracks, a liquid crack filler or epoxy is often effective, while wider fissures may require a caulking compound or a patching gel.
After selecting the appropriate filler, application needs to be methodical. Use a putty knife or a caulking gun to apply the filler into the crack, ensuring it penetrates deeply to avoid future issues. Smooth the surface with the putty knife for a neat finish. In some cases, layering the filler in multiple applications can be advantageous, allowing each layer to cure before adding the next. This technique can contribute to a stronger repair that withstands the test of time.
Allowing for Drying and Curing
After applying the crack filler, allowing sufficient time for drying and curing is essential for achieving a strong and durable repair. The drying process can vary depending on the type of filler used and environmental conditions. Most products will have specific instructions, so it is important to follow these guidelines to ensure optimal results. Factors such as temperature and humidity can also impact the drying time, making it necessary to monitor conditions closely during this phase.
Curing is an equally critical step in the crack repair process that contributes to the material's overall strength. This process involves the filler solidifying fully, which can take longer than just drying. Maintaining a stable environment by protecting the filled area from moisture or extreme weather during this time will significantly enhance the longevity of the repair. An understanding of both drying and curing ensures the crack repair not only looks good but is also structurally sound for years to come.
Best Practices for Optimal Results
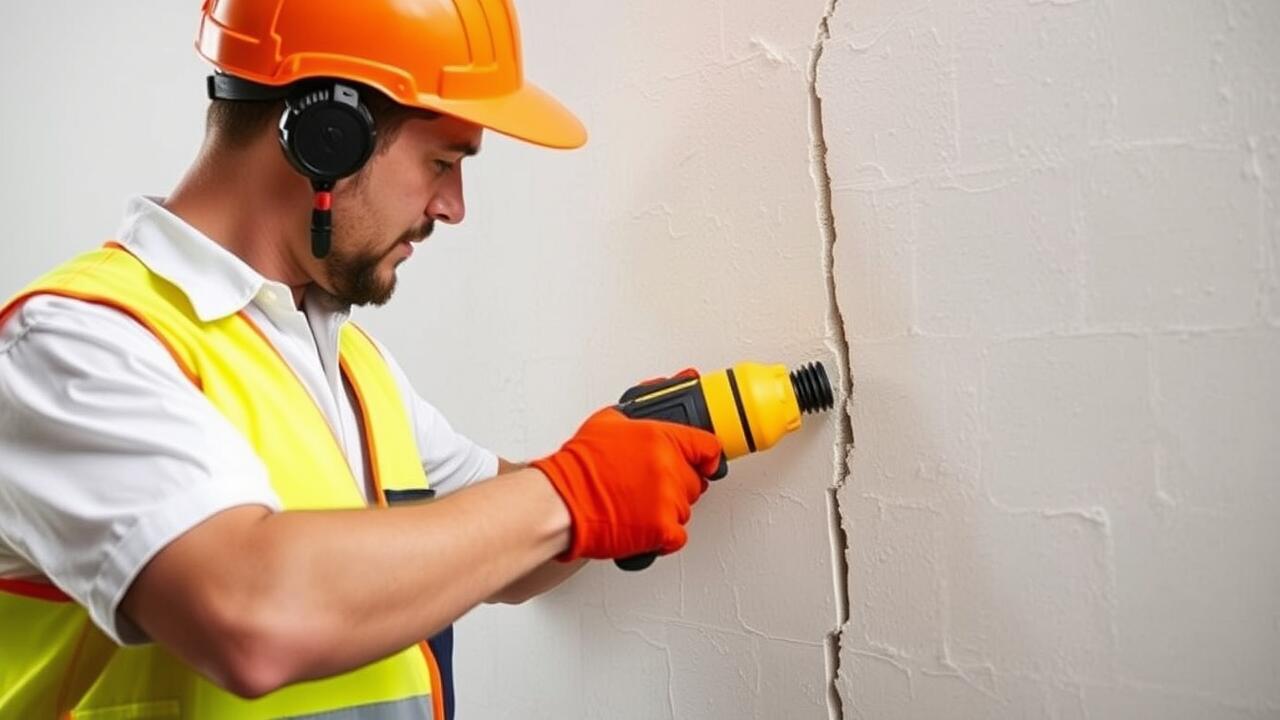
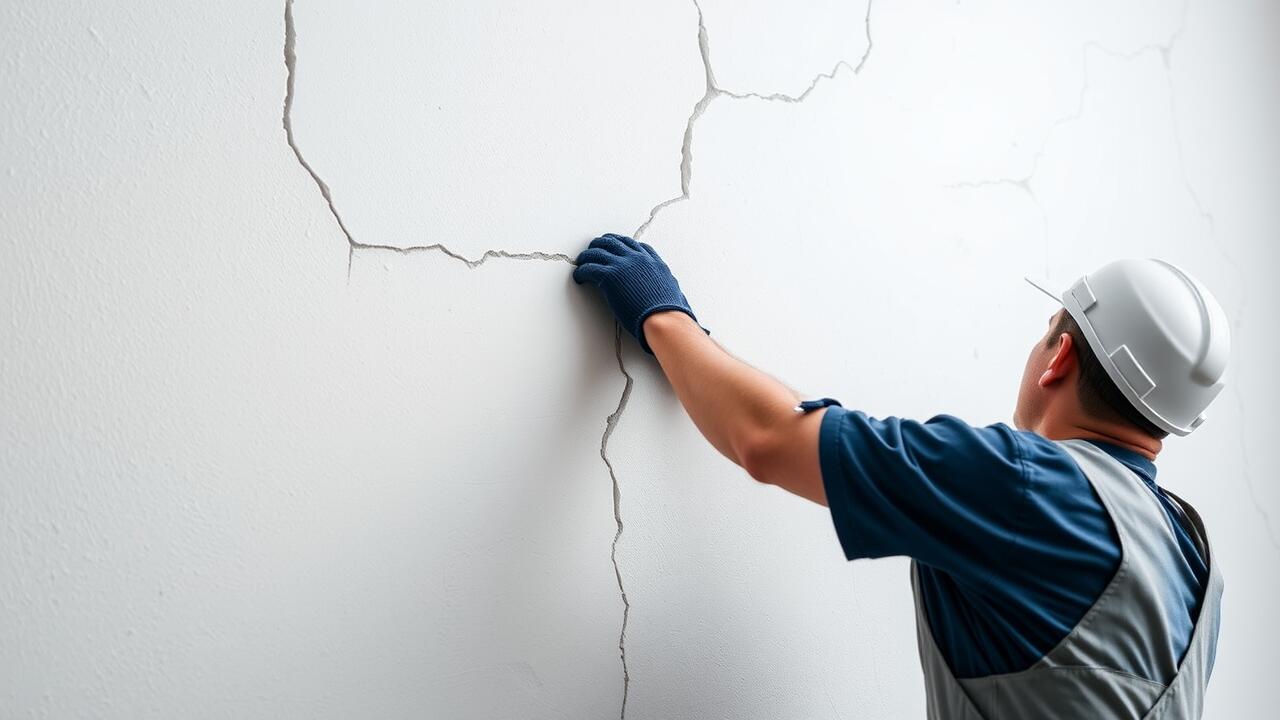
For optimal results in crack repair, preparation is key. Ensure that the surface surrounding the crack is clean and free from dust, grease or any loose material. Use a wire brush or a vacuum to remove debris before applying any filler. Check the weather conditions, as extreme temperatures or high humidity can affect the curing process. Following the manufacturer’s guidelines on the application of the filler will enhance adherence and longevity.
Applying the crack filler evenly is crucial for achieving a smooth finish. Employ a putty knife or a similar tool to push the filler into the crack, ensuring it fills the area completely. After the application, allow the repair to settle slightly before smoothing the surface to match the surrounding area. Regular inspections of repaired areas can be beneficial in catching any new issues early and maintaining structural integrity.
Preventing Future Cracks
Preventing future cracks is essential in maintaining structural integrity. Regular inspections can help identify potential weaknesses in materials before they develop into significant issues. Addressing minor damages with techniques such as crack repair can significantly reduce the likelihood of larger cracks forming over time. This proactive approach involves not just fixing visible issues, but also ensuring that the underlying materials are sound and capable of withstanding stress.
Moreover, controlling environmental factors can play a crucial role in preventing cracks. Issues such as excessive humidity, temperature fluctuations, or poor drainage can contribute to structural wear. Implementing solutions like proper landscaping, installing gutter systems, and ensuring adequate ventilation can mitigate these risks. By taking suitable measures alongside regular crack repair, you create an environment that supports the longevity of your structures.
Maintenance Tips for Structural Integrity
Regular inspections of building structures can significantly aid in maintaining their integrity. Look for signs of wear and tear, such as cracks or uneven surfaces. Identifying these issues early allows for timely intervention, reducing the need for extensive crack repair later on. Observing changes in moisture levels around foundations may also help detect potential problems before they escalate.
Implementing an appropriate drainage system can protect structures from water-related damage. Maintaining clear gutters and downpipes prevents excess water accumulation around foundations. Additionally, consider using flexible sealants during crack repair to accommodate any shifts or settling in the structure over time. This proactive approach can prolong the life of the building and help mitigate future cracking issues.
FAQS
What materials are commonly used for filling structural cracks?
Common materials for filling structural cracks include epoxy resin, polyurethane foam, and concrete sealants, depending on the size and type of crack.
How do I know if a crack is structural or cosmetic?
Structural cracks often indicate underlying issues and may be wider than 5mm, show signs of movement, or occur in a zigzag pattern, while cosmetic cracks are usually narrow and less severe.
Can I fill structural cracks myself, or should I hire a professional?
While small cracks may be filled by a DIY enthusiast, it’s advisable to consult a professional for larger or more complex cracks to ensure proper assessment and repair.
How long does it take for crack-filling materials to dry and cure?
The drying and curing time varies by material; typically, epoxy can take 24 hours to cure, while concrete sealants may require several days for full strength.
What preventative measures can I take to avoid future cracks?
Preventative measures include regular maintenance checks, ensuring proper drainage, using flexible materials in construction, and addressing any underlying moisture issues promptly.