Table Of Contents
Applying the Filler
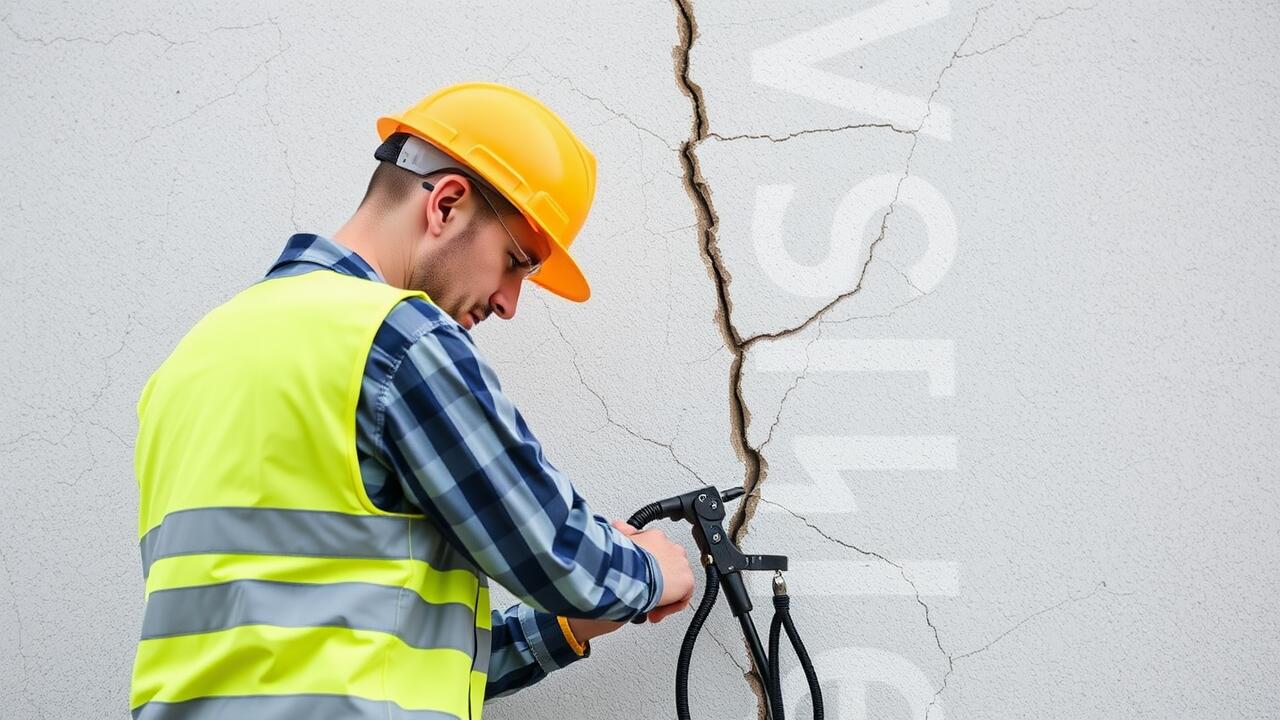
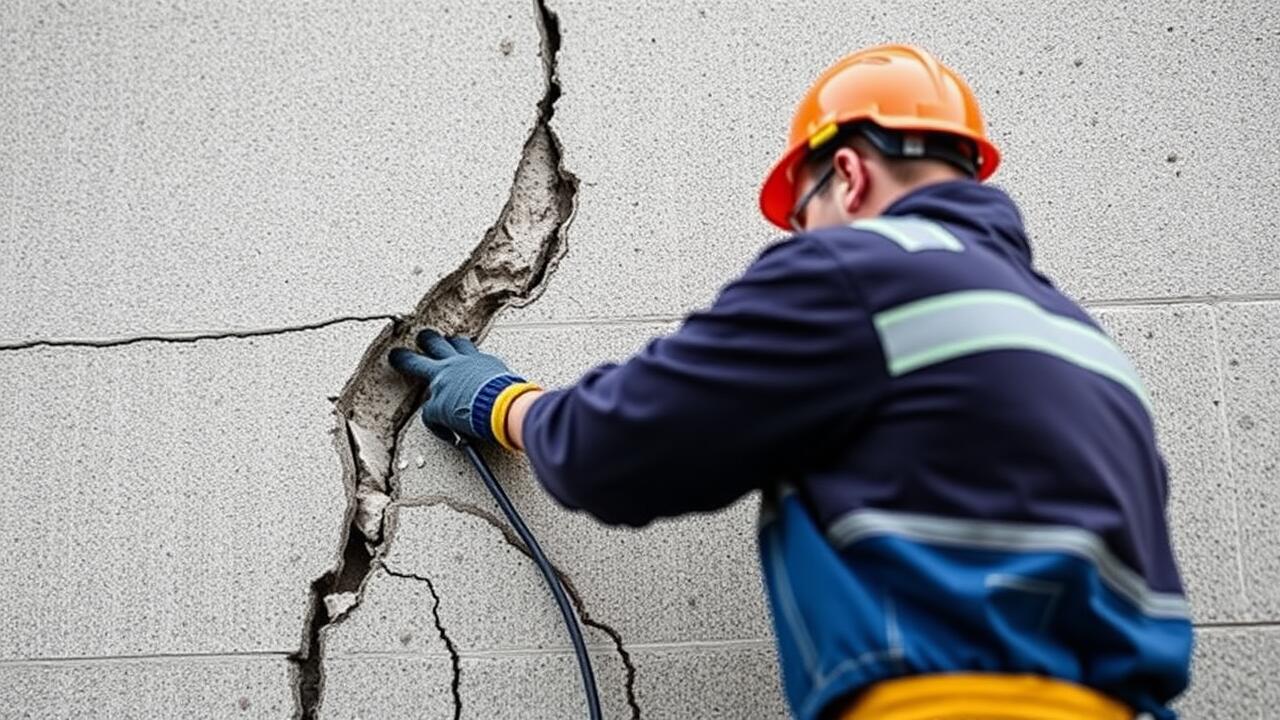
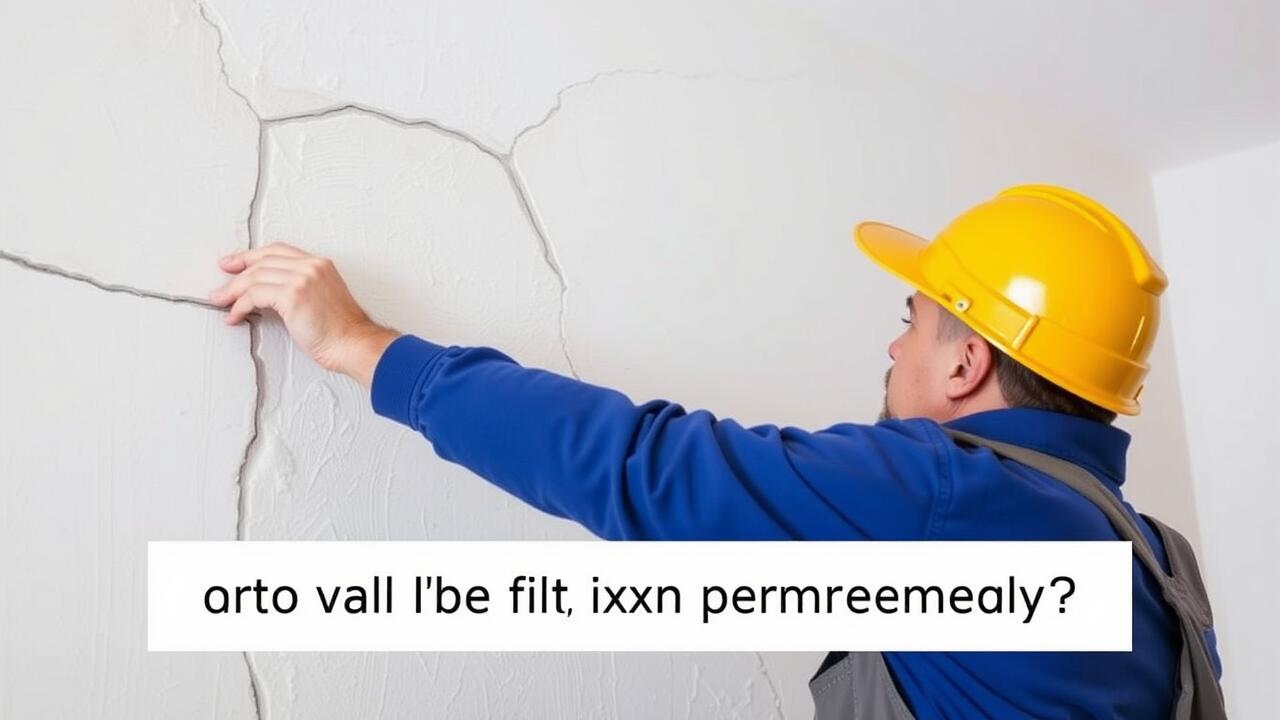
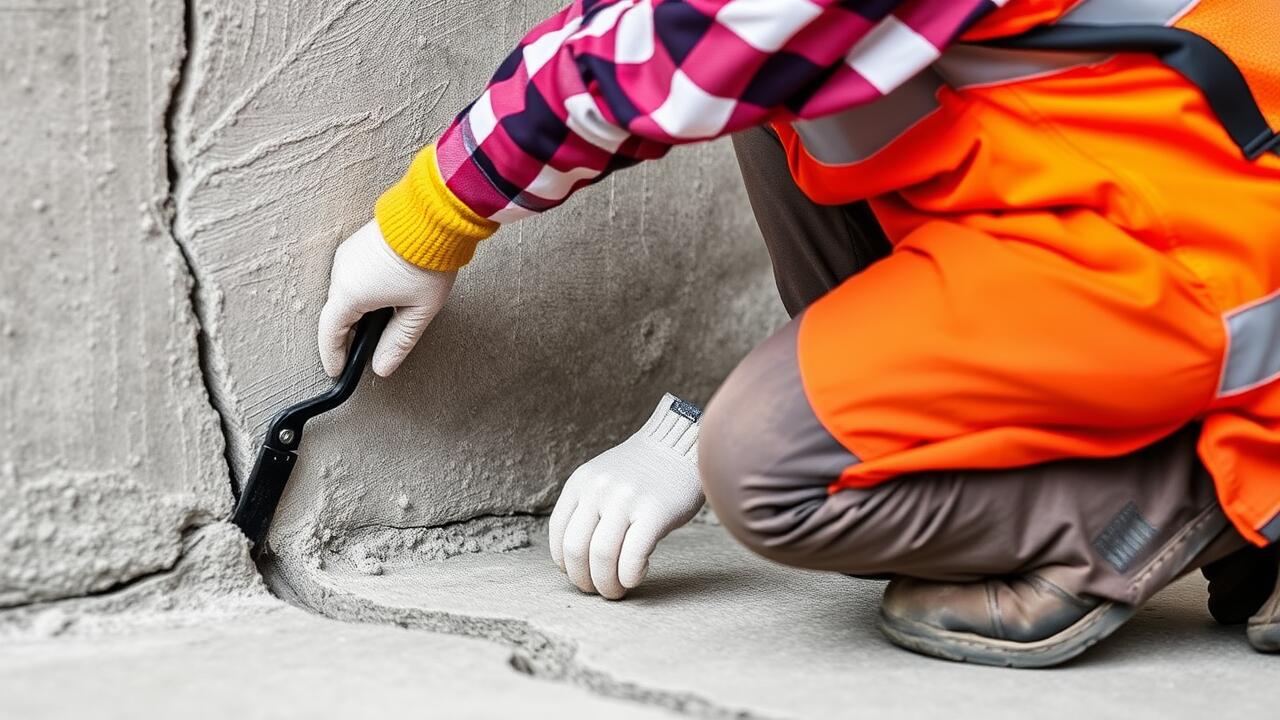
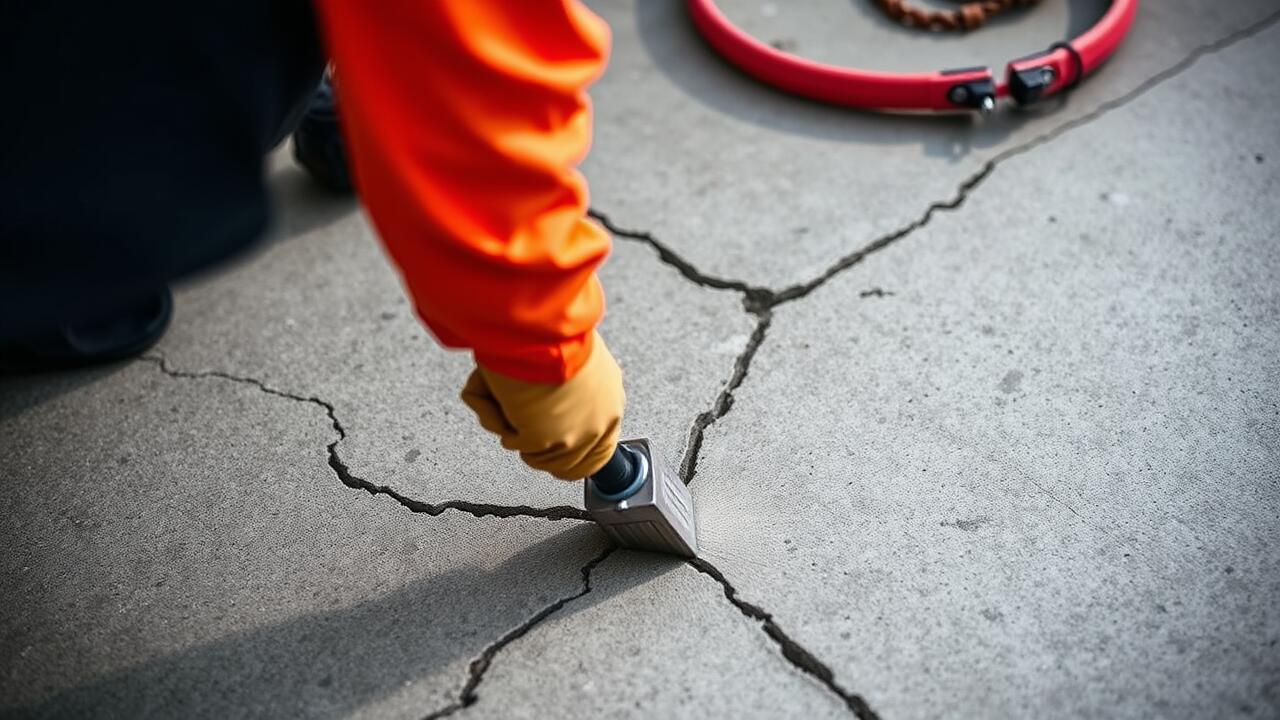
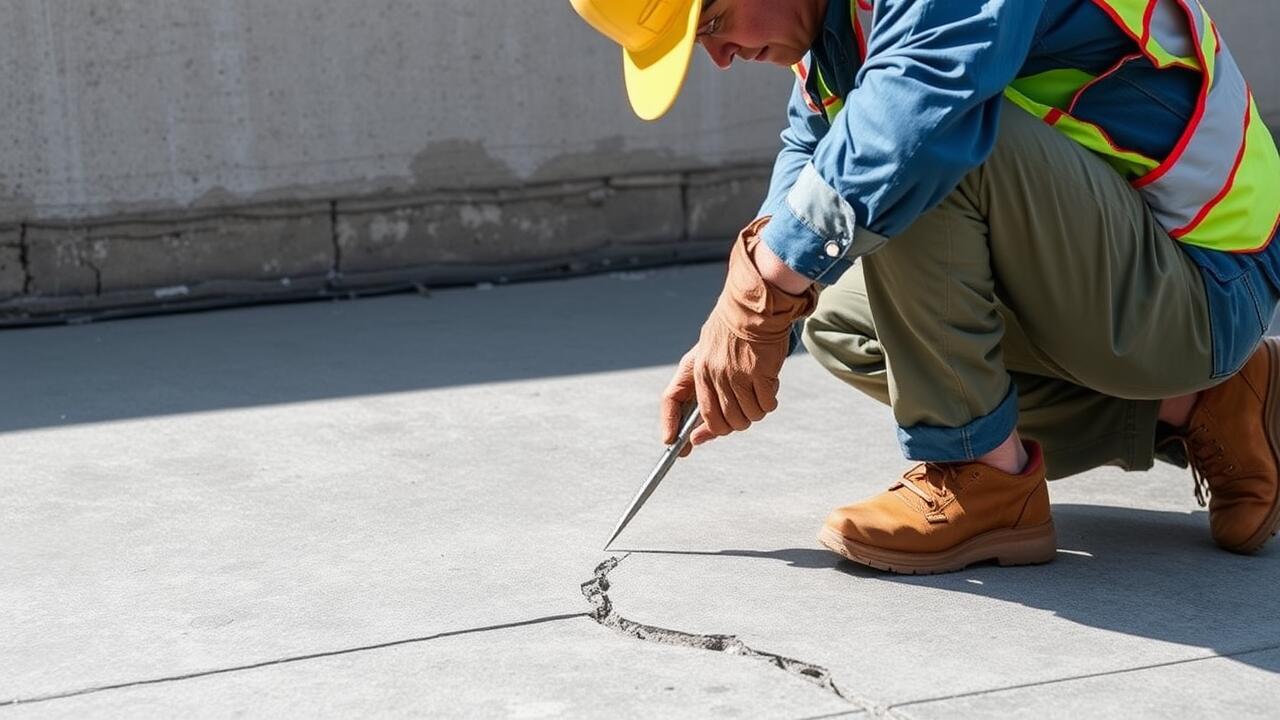
When addressing a crack in gyprock, the first step is to apply an appropriate filler designed for crack repair. Begin by ensuring that the area around the crack is clean and free of dust. Use a utility knife to widen the crack slightly, creating a V-shape which allows for better adhesion of the filler. This preparation is vital to ensure that the filler penetrates well and adheres to the gyprock surface.
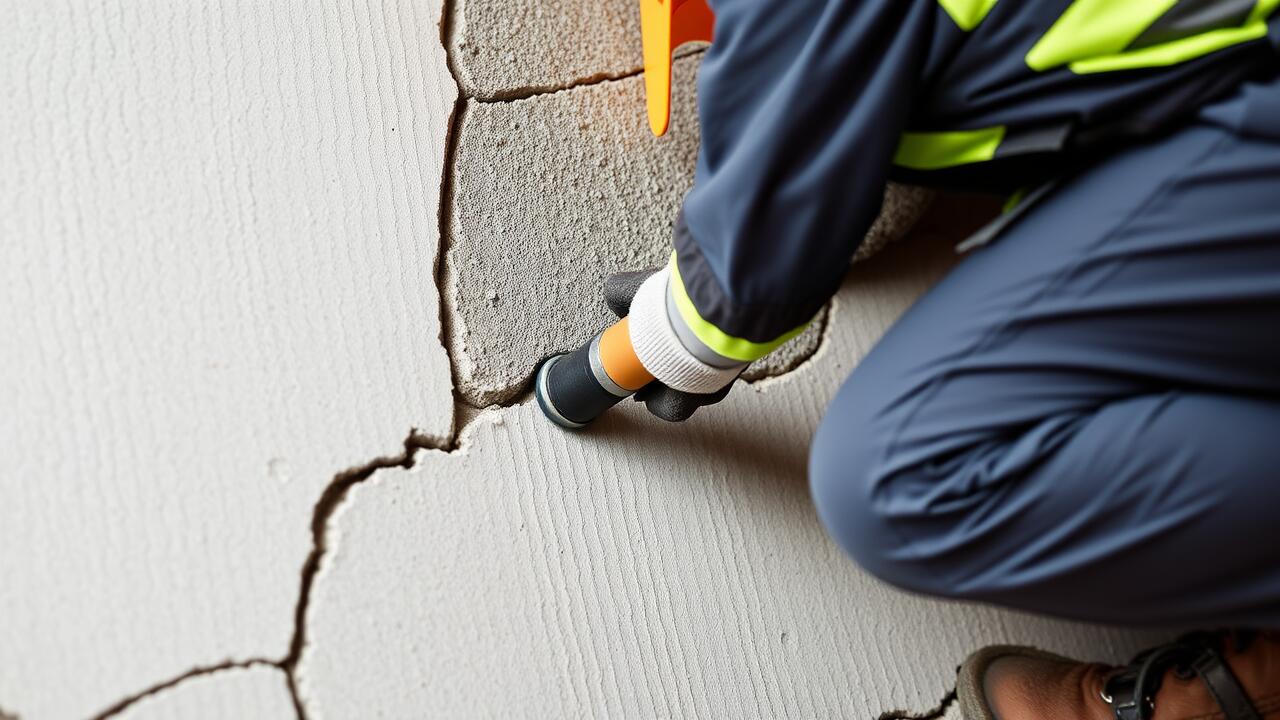
After preparing the crack, take a putty knife and scoop an ample amount of filler. Press the filler firmly into the crack, ensuring it fills the entire void. Smooth out the surface with the putty knife, removing any excess filler. It’s important to feather the edges of the filler out slightly beyond the crack to blend seamlessly with the surrounding surface. Allow the filler to dry completely as per the manufacturer’s instructions before proceeding to the sanding stage.
Techniques for a Smooth Finish
To achieve a smooth finish during the crack repair process, using a putty knife is essential. A flexible knife helps in spreading the filler evenly across the crack, ensuring that it adheres properly. Apply the filler in thin layers, smoothing it out as you go. Each stroke of the knife should be gentle, allowing the filler to blend seamlessly with the surrounding surface. This approach reduces the risk of creating ridges or additional imperfections, which can detract from the final appearance.
After applying the initial layer, let it dry completely before assessing if a second layer is needed. If there are still visible imperfections, repeat the process, feathering the edges of the patch to further blend it into the wall. Use a fine-grit sandpaper once the filler is fully dry, carefully sanding the area until it feels smooth to the touch. Regularly check your progress, as achieving a seamless surface is key to making the repair less detectable in the final finish.
Sanding and Smoothing
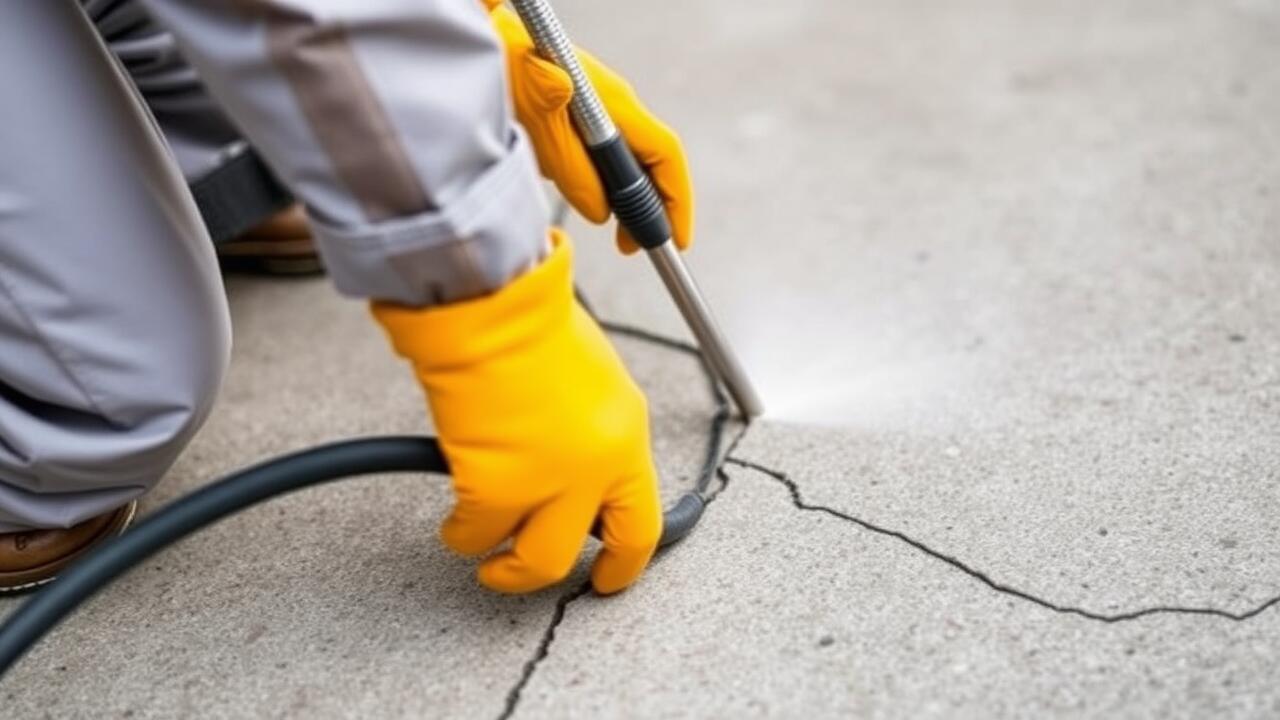
Sanding and smoothing is an essential step in the process of crack repair, ensuring that the patched area integrates seamlessly with the surrounding gyprock. Once the filler has dried completely, a fine-grit sandpaper can be used to gently smooth the surface. It is important to use even pressure and focus on blending the edges of the repair with the existing wall. Taking your time during this process will help achieve a more uniform finish, avoiding any noticeable bumps or unevenness.
After the initial sanding, it is often beneficial to check the area under good lighting. This can reveal any imperfections that may have gone unnoticed. If needed, applying a second layer of filler to address these spots can enhance the overall appearance. Once fully dried, a light sanding should follow, ensuring that the repaired section is as smooth as possible before moving on to the painting stage. This attention to detail in sanding and smoothing is crucial for a successful crack repair, making sure the final result looks polished and professional.
Achieving a Seamless Surface
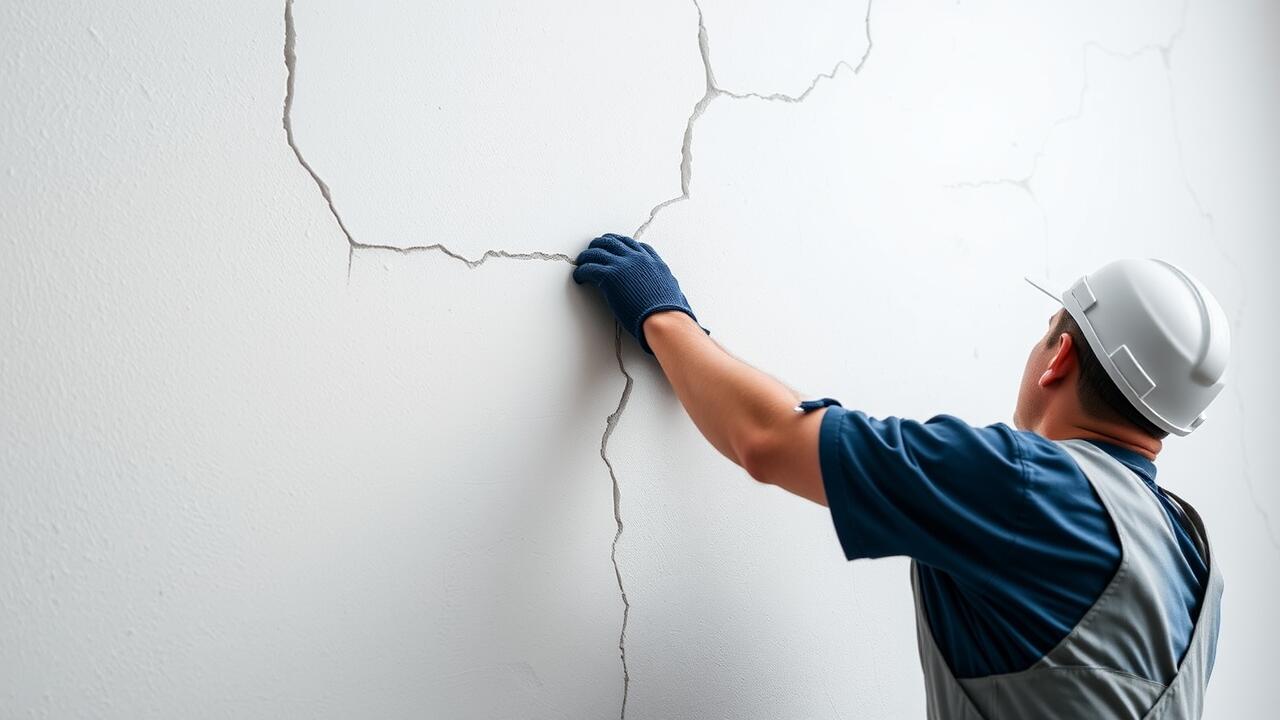
After applying the filler, focus on achieving a seamless surface that blends seamlessly with the rest of the wall. Inspect the filled area carefully to ensure no bumps remain. Using a putty knife, apply additional filler if necessary to level the surface further. Allow the filler to fully dry before proceeding to the sanding stage. This process is crucial for ensuring that the finish is smooth and even, which is essential for effective crack repair.
Once the filler is dry, begin sanding gently with fine-grit sandpaper. This helps to refine the surface and eliminate any imperfections. Use a light touch to avoid creating new divots or damage around the repaired area. Regularly check your progress to ensure that you are achieving a flawless finish. Dust off any excess particles after sanding to prepare for painting. The goal is to create a surface so smooth that the repair becomes virtually invisible against the existing wall.
Painting the Repaired Area
Once the repaired area has been sanded smooth and the dust cleaned away, it's time to focus on painting. Selecting the right paint is crucial for achieving a satisfactory finish that blends well with the surrounding gypsum board. A quality paint in a similar hue to the existing wall will help to disguise any imperfections. Look for paint products that specifically mention good coverage and durability, as these will provide a long-lasting result after the crack repair.
Before applying the paint, consider using a primer on the repaired surface. This step can enhance adhesion and ensure an even application of the top coat. When painting, use a brush or roller that suits the texture of your wall. Apply the paint in thin, even layers to avoid clumping and ensure a seamless blend with the rest of the wall. After the first coat has dried, evaluate the need for a second coat, as this may enhance the coverage and overall appearance of the repair.
Selecting the Right Paint and Finish
Choosing the appropriate paint and finish for a crack repair job ensures that the repair blends seamlessly with the surrounding area. It is important to consider the original paint type and finish to achieve the best possible match. If the existing surface is matte, a matte finish on the repair will help create consistency. For gloss or satin finishes, select a product that reflects similar levels of sheen to maintain uniformity in appearance.
When selecting a paint, opt for a high-quality product that is specifically designed for interior walls. This not only aids in durability but also in covering imperfections that may still be visible after the repair. Colours should be matched as closely as possible to the original paint; bringing a sample to your local paint shop can help in achieving a precise match. Proper preparation by priming the repaired area before painting will enhance adhesion and longevity, giving the best results for your crack repair project.
FAQS
What materials do I need to fix a crack in gyprock?
To fix a crack in gyprock, you will need a suitable filler, a putty knife, sandpaper, a damp cloth, and paint for the final touch-up.
How long does it take for the filler to dry before I can sand it?
Most fillers require at least 24 hours to dry completely, but it's best to check the manufacturer's instructions for specific drying times.
Can I use any type of paint to cover the repaired area?
It's recommended to use a paint that matches the existing wall finish. A water-based paint usually works well, but be sure to select a paint designed for interiors.
What if the crack keeps coming back after I've repaired it?
If the crack reappears, it may indicate a structural issue. Consider consulting a professional to assess the underlying cause before attempting further repairs.
Is it necessary to sand the filler before painting?
Yes, sanding the filler is essential to ensure a smooth surface for painting, which helps achieve a seamless finish between the repaired and surrounding areas.