Table Of Contents
Application Techniques for Crack Fillers
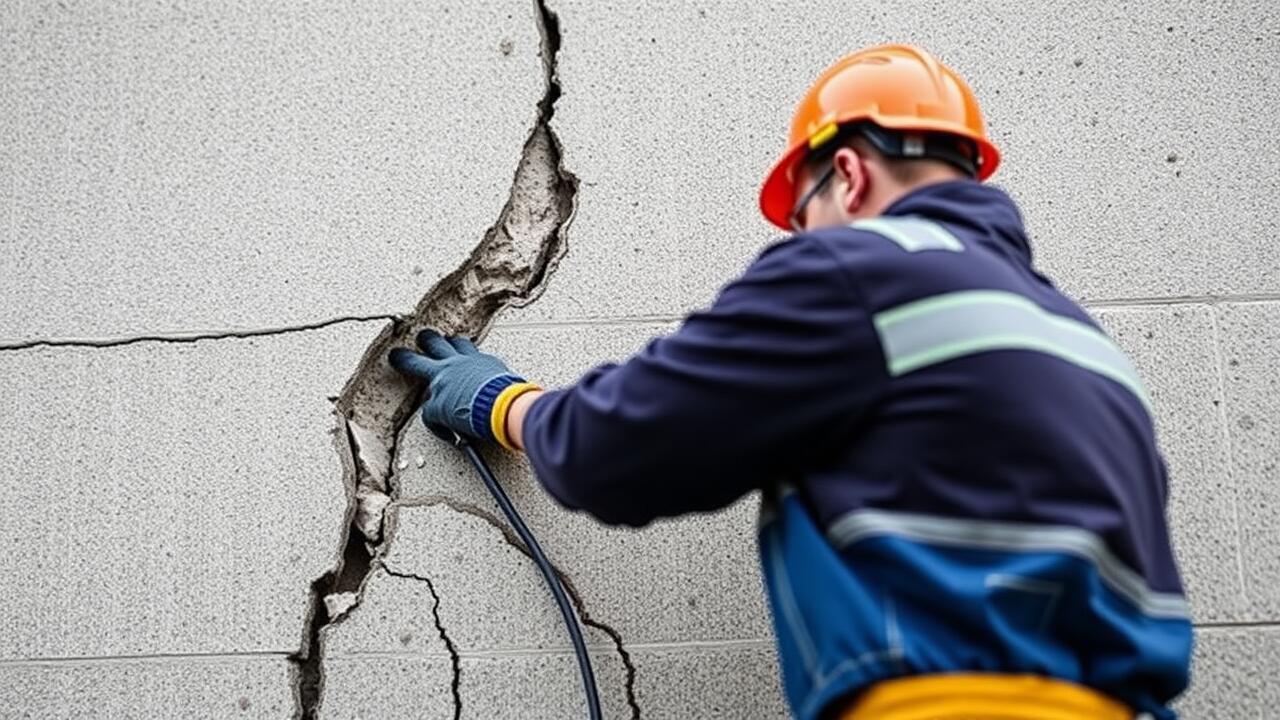
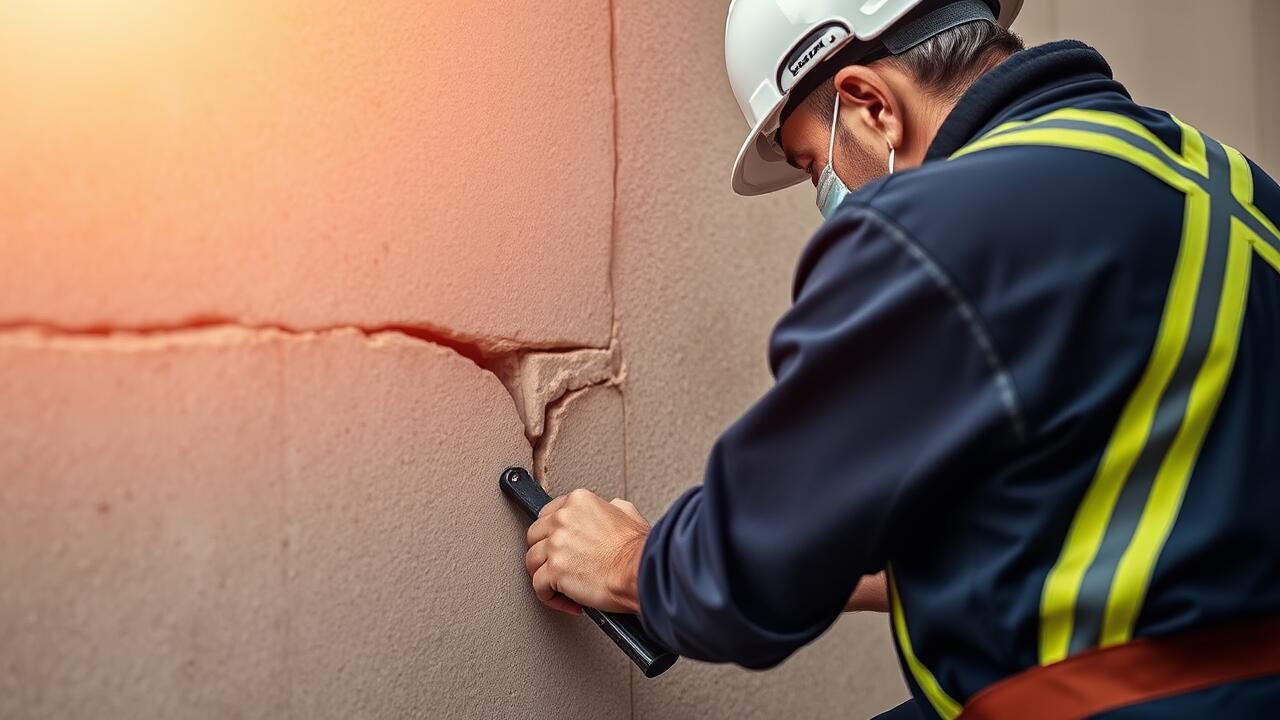
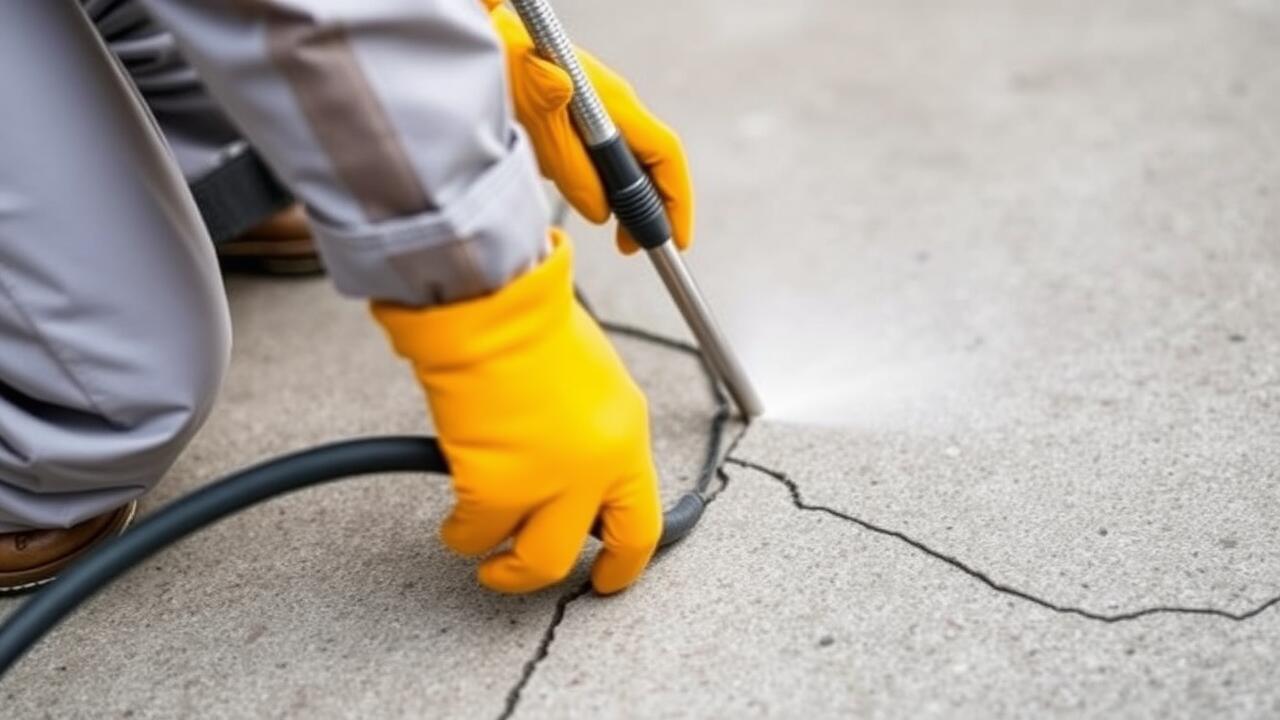
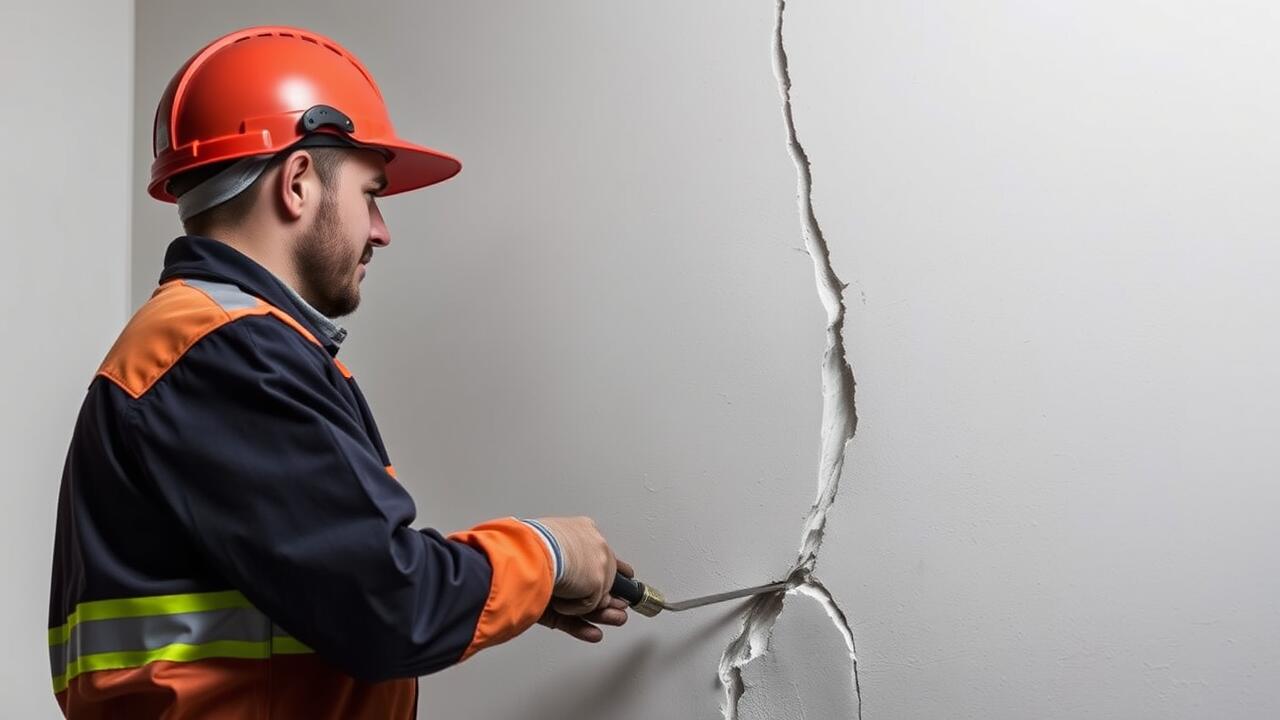
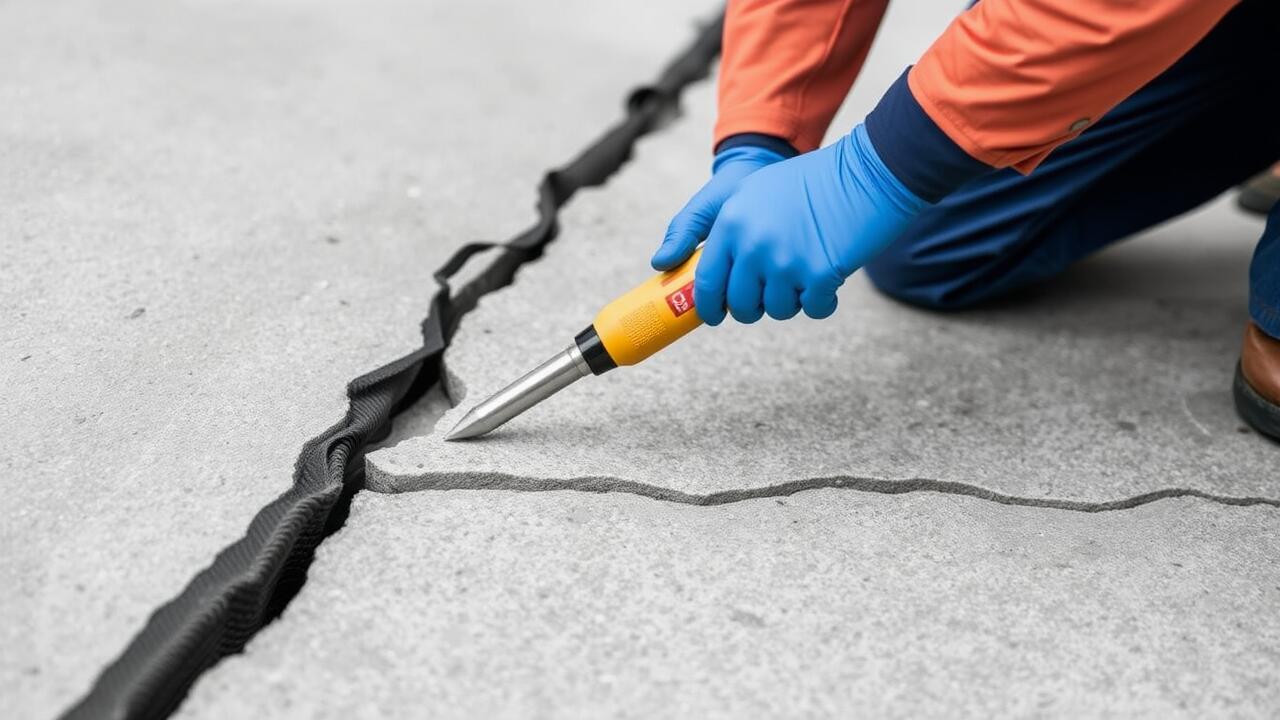
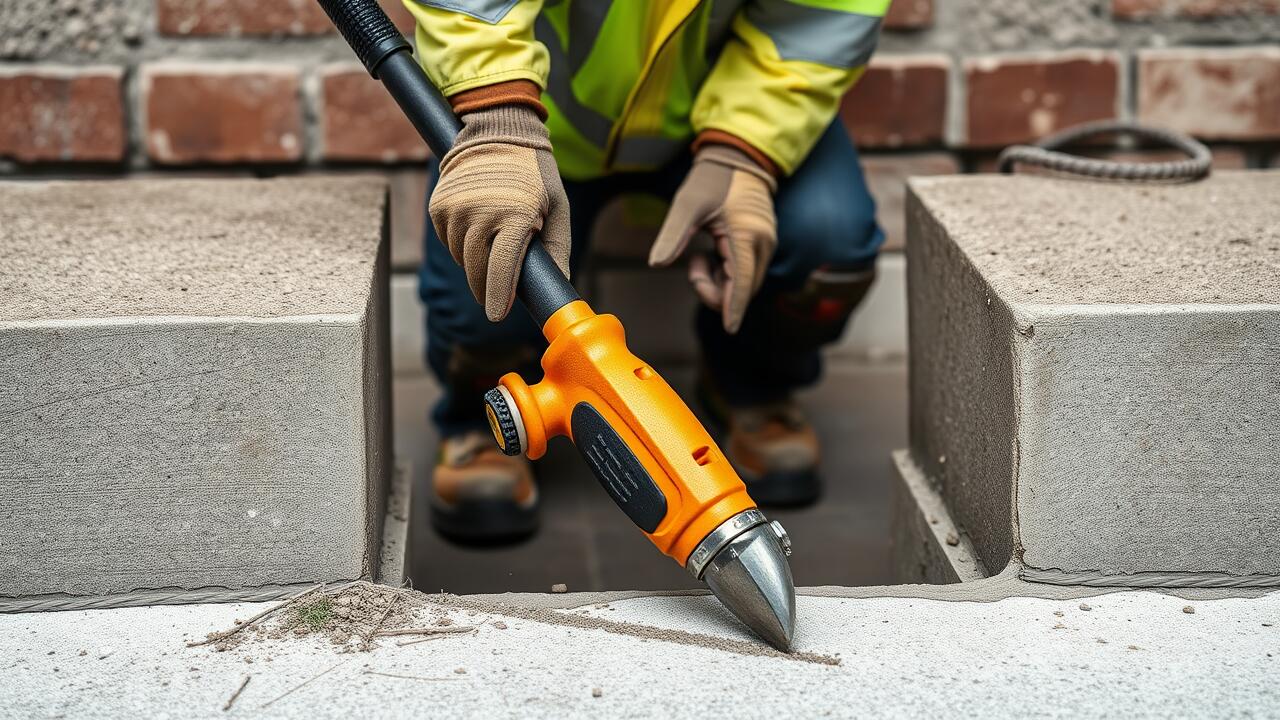
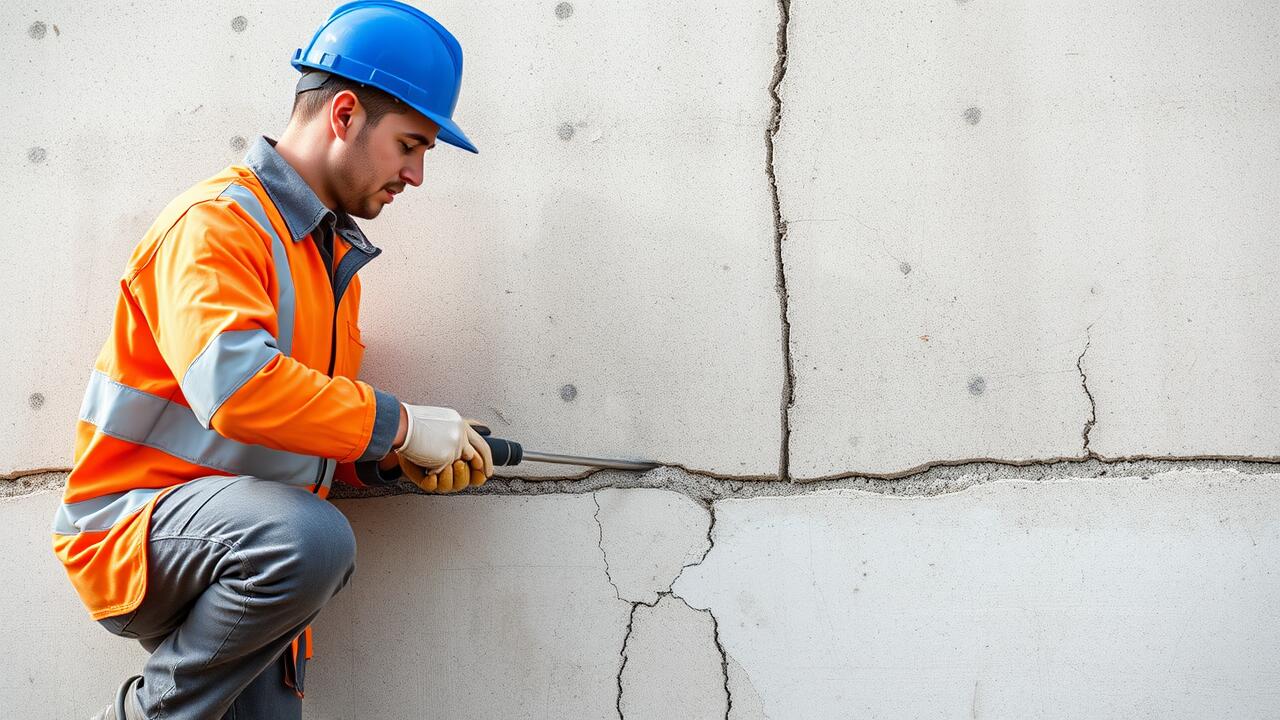
Proper application techniques are crucial for effective crack repair. Start by thoroughly cleaning the area around the crack. Remove any loose debris, dust, or old filler using a wire brush or scraper. This ensures the new filler adheres properly. For deeper cracks, consider using a chisel to widen the base of the crack slightly, which helps the filler to expand and bond effectively. When ready, apply the filler using a putty knife, making sure to push it deep into the crack for a tight seal.
After applying the filler, smooth the surface to create an even finish that blends with the surrounding area. For vertical or overhead cracks, you may need to support the filler with tape or a backing rod until it sets. Timing is important; follow the manufacturer's instructions regarding curing and drying times. Avoid applying paint or sealants too soon, as this can compromise the effectiveness of the crack repair. Regular inspections of filled cracks help identify any issues early on, ensuring long-lasting results.
Tools Required for Effective Application
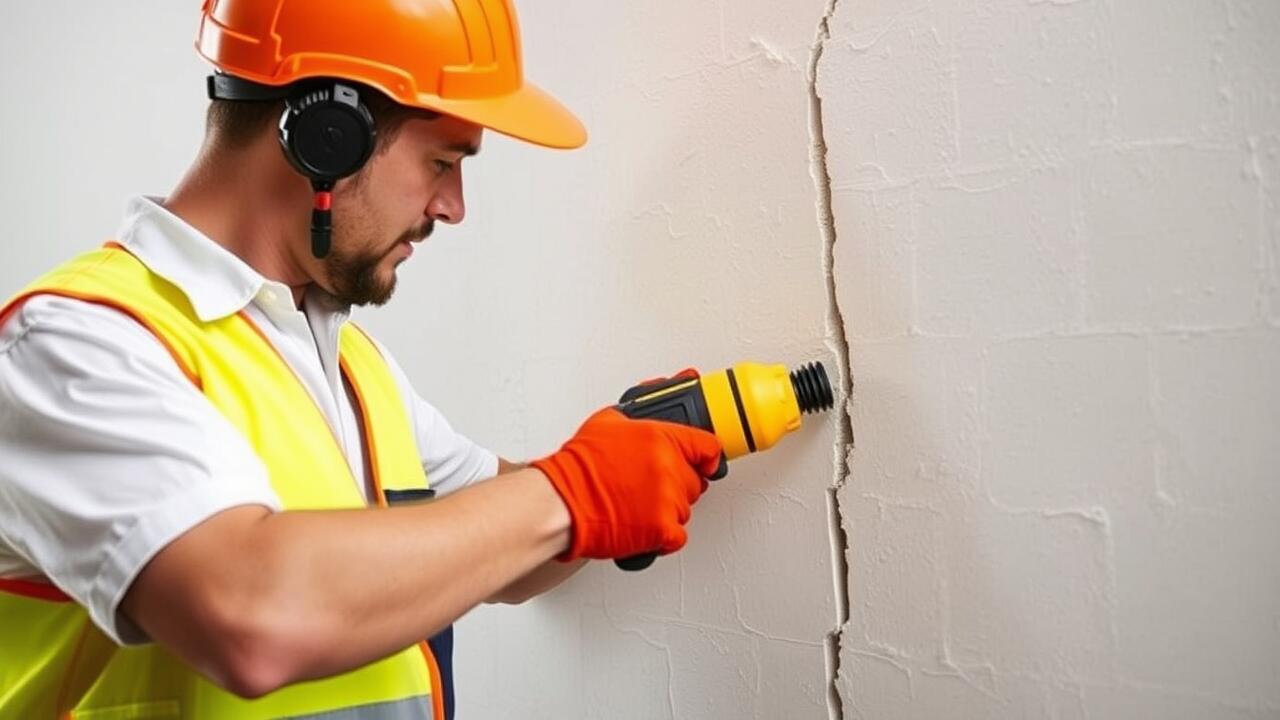
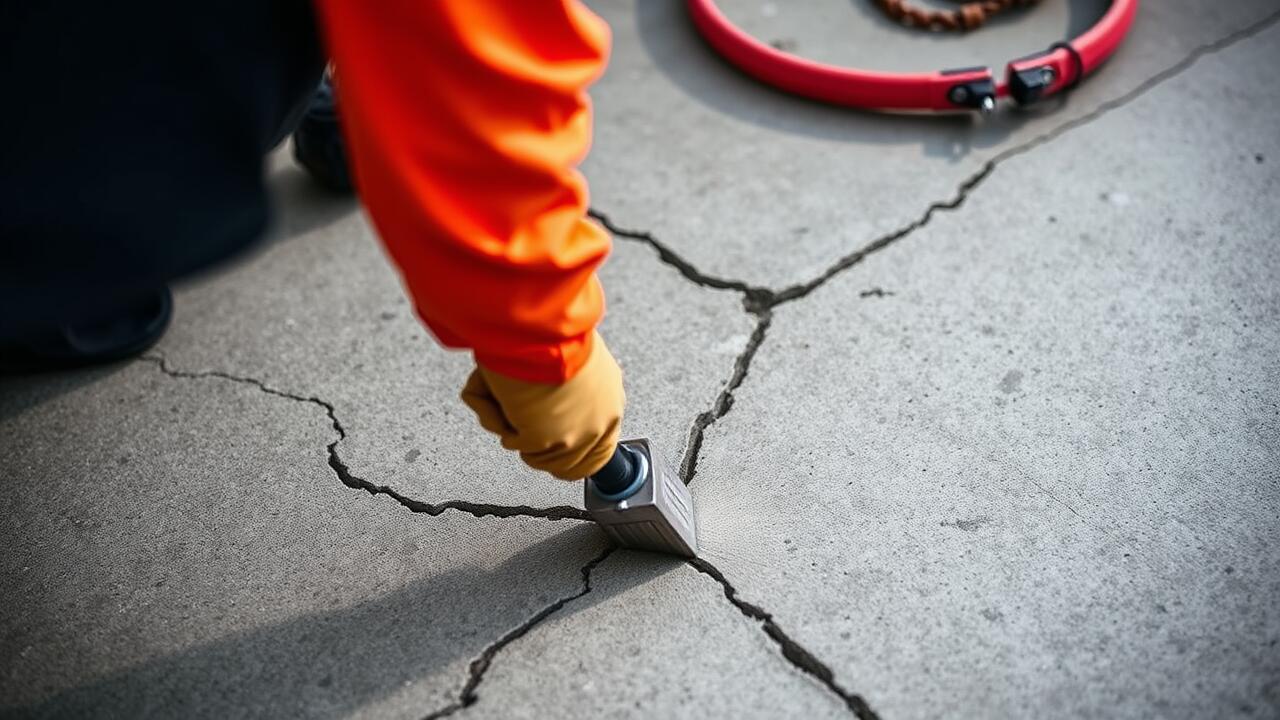
A successful crack repair often hinges on having the right tools at hand. Essential items include a putty knife, which enables you to apply the filler smoothly and evenly into the crevice. A wire brush can assist in cleaning the area prior to application, ensuring better adhesion. For larger cracks, a caulking gun may be needed to dispense the filler effectively. Having sandpaper on standby for smoothing out the surface once the filler has cured is also beneficial.
In some cases, surface preparation tools like a scraper or chisel might be necessary to remove any loose debris before beginning the repair. A dust mask can protect your lungs from inhaling any fine particles during this process. Additionally, gloves and protective eyewear are recommended to safeguard against potential irritation from filler materials. Each of these tools plays a vital role in facilitating an efficient and effective crack repair, setting the stage for a lasting finish.
Curing and Drying Times for Fillers
Curing and drying times for fillers used in crack repair can vary significantly depending on the type of filler selected. Generally, water-based fillers dry faster, often ready for light use within a few hours, while solvent-based options may take longer to set. It's essential to refer to the manufacturer's instructions for specific drying times, as these can provide guidance on how long to wait before applying additional coats or finishing touches. Temperature and humidity also play a role in the drying process, with warmer and drier conditions typically speeding up the time required for complete curing.
Once the initial drying period has elapsed, it is advisable to observe the filler for a hardness test before proceeding with any further treatments. Inadequate curing can lead to uneven surfaces or re-emerging cracks. For optimal results in crack repair, allowing the filler to cure fully according to product specifications will enhance its durability and effectiveness. If your area experiences high humidity, you might need to extend the waiting period to ensure a proper and lasting seal.
Best Practices for Ensuring Proper Set
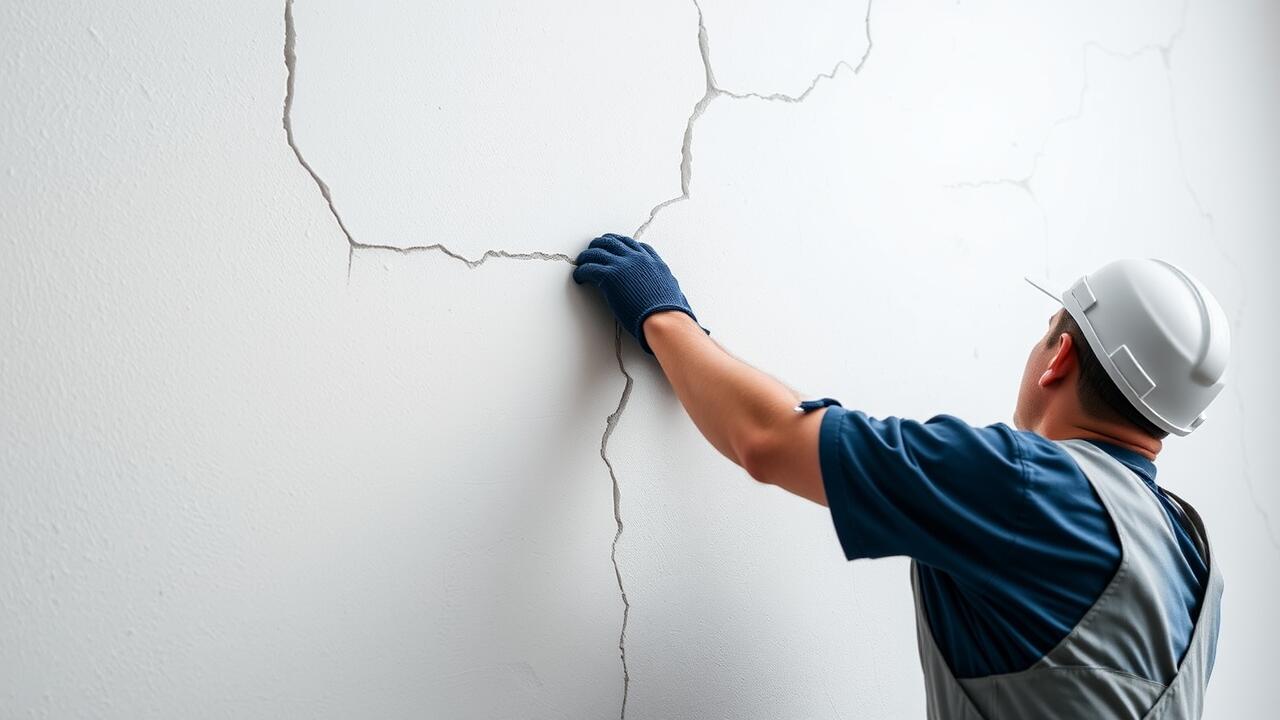
To ensure proper set during crack repair, it is essential to prepare the surface adequately. Clean the area thoroughly to remove any dust, debris or loose material. A clean surface allows the filler to bond effectively, preventing future issues. If the crack is deep, consider using a filler designed for larger gaps, applying the material in layers to avoid shrinkage during the curing process.
Monitoring environmental conditions plays a significant role in achieving optimal results. Temperature and humidity affect drying times and consistency. Aim for a temperature above 10°C and avoid applying fillers in windy or rainy conditions. Providing adequate time for the filler to cure will also contribute to a more durable and longer-lasting repair. Following these practices will lead to a successful crack repair project.
Maintenance of Filled Cracks
Maintaining filled cracks is essential to ensure longevity and structural integrity. Regular inspection of the repaired areas allows for early detection of any signs of deterioration. Environmental factors such as temperature fluctuations and moisture can impact the durability of the crack repair. Keeping the filled cracks clean will prevent debris from accumulating and stressing the repair. It is advisable to wash the area periodically using a gentle detergent and a soft brush to remove any contaminants.
To enhance the durability of the repair, consider applying a protective sealant over the filled cracks. This additional layer helps safeguard against moisture penetration and further damage. Regular maintenance should include checking for fresh signs of cracking or chipping, which may indicate that the filler is no longer performing effectively. Addressing any issues promptly will prolong the benefits of your crack repair and maintain the aesthetic appeal of the surface.
Tips for Long-Lasting Results
To ensure long-lasting results after performing crack repair, it's crucial to select the right filler material suitable for the specific type of crack and substrate. Consider the environmental conditions where the repair is located. Some fillers are more resilient to moisture or temperature variations, providing better adherence over time. Applying the filler correctly enhances durability, so thorough preparation of the crack surface can lead to a stronger bond.
Post-repair maintenance plays a vital role in the longevity of filled cracks. Protecting the repaired area from heavy traffic or extreme weather conditions shortly after application helps prevent any strain that could compromise the integrity of the repair. Regular inspections for signs of wear or new cracking can prompt timely touch-ups, preserving the effectiveness of the crack repair and maintaining the aesthetic quality of the surface.
FAQS
What are the different types of fillers available for settling cracks?
There are several types of fillers for settling cracks, including epoxy fillers, polyurethane foam, acrylic caulks, and traditional patching compounds. Each type has its own strengths and is suited for specific applications depending on the size and nature of the crack.
How do I choose the right filler for my specific crack?
When choosing a filler, consider the size of the crack, the material it will be applied to, and the environment (such as moisture exposure). For larger cracks, epoxy fillers may be more effective, while small cracks can often be addressed with acrylic caulks.
How long does it usually take for crack fillers to cure?
Curing times for crack fillers can vary widely based on the type of filler used and environmental conditions. Generally, most fillers can take anywhere from a few hours to several days to fully cure. Be sure to check the manufacturer's instructions for specific guidance.
Can I paint over filled cracks?
Yes, most crack fillers can be painted over once they have fully cured. It is recommended to use a primer before painting to ensure better adhesion and a smooth finish.
How can I maintain filled cracks to prevent them from reopening?
To maintain filled cracks, regularly inspect the area for signs of re-cracking, ensure proper drainage to avoid moisture accumulation, and apply sealants as needed. Additionally, keeping the surrounding area in good condition can help prevent further settling.