Table Of Contents
Preparing the Surface
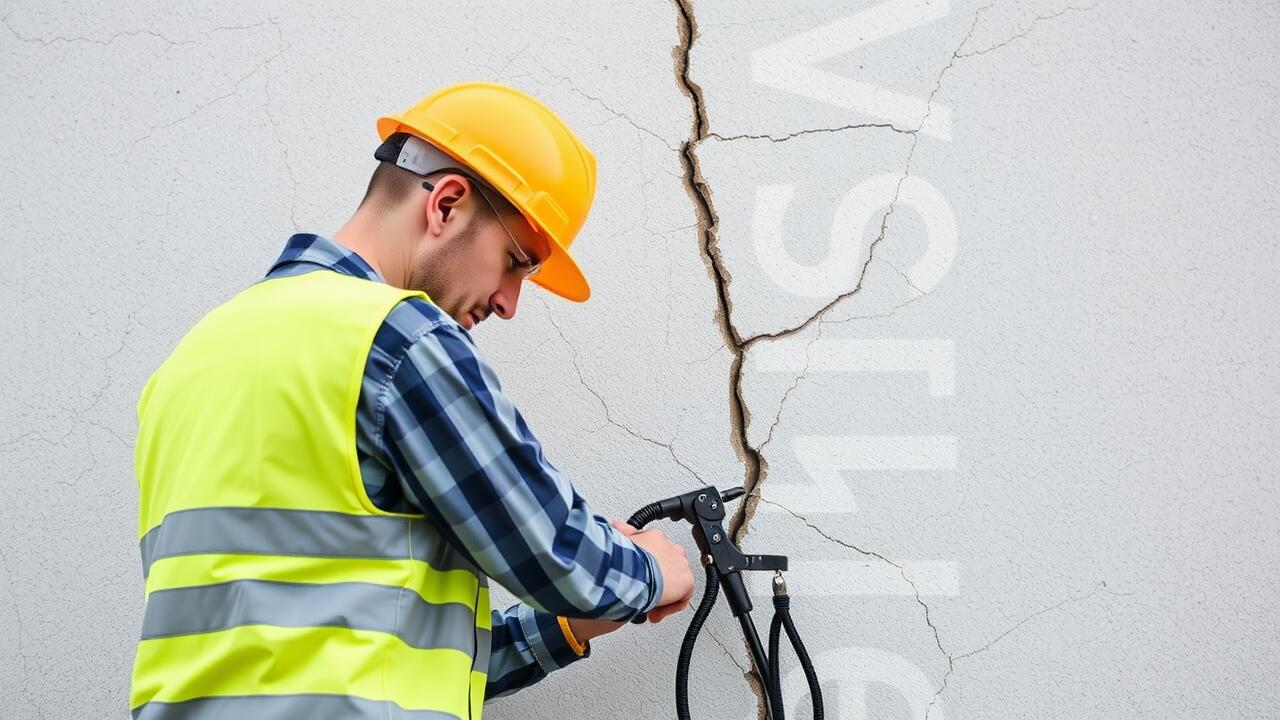
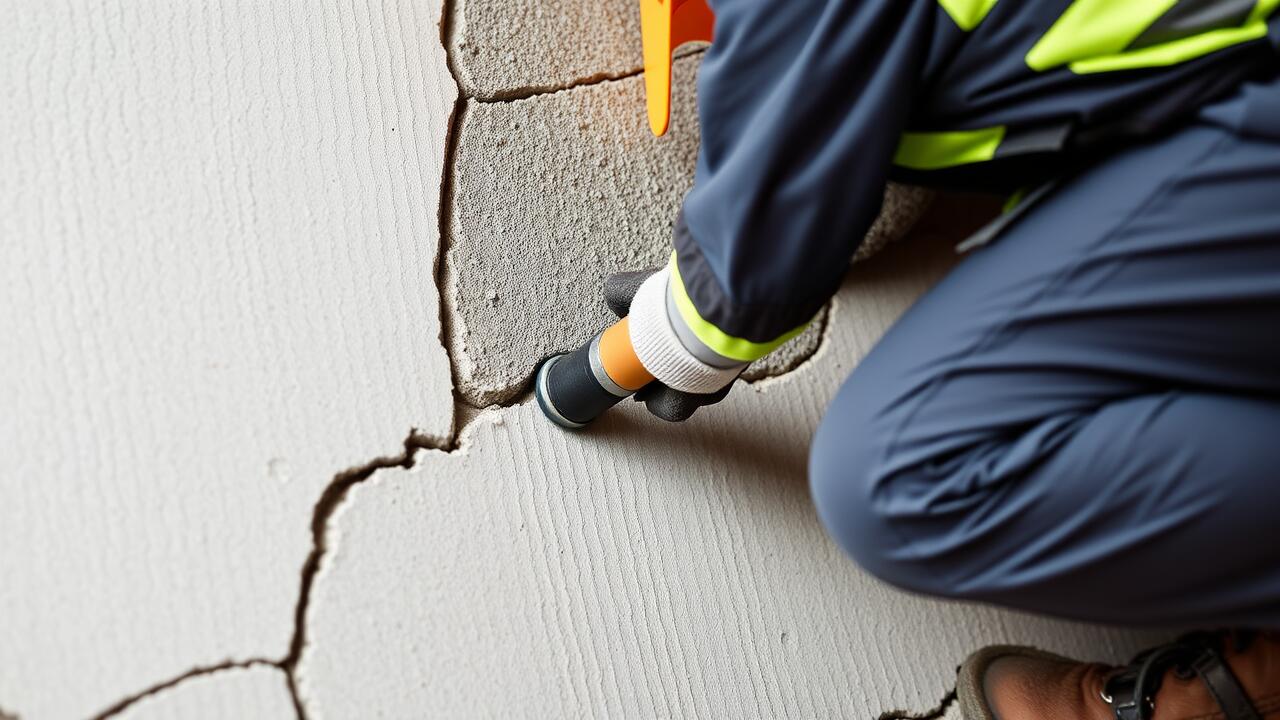
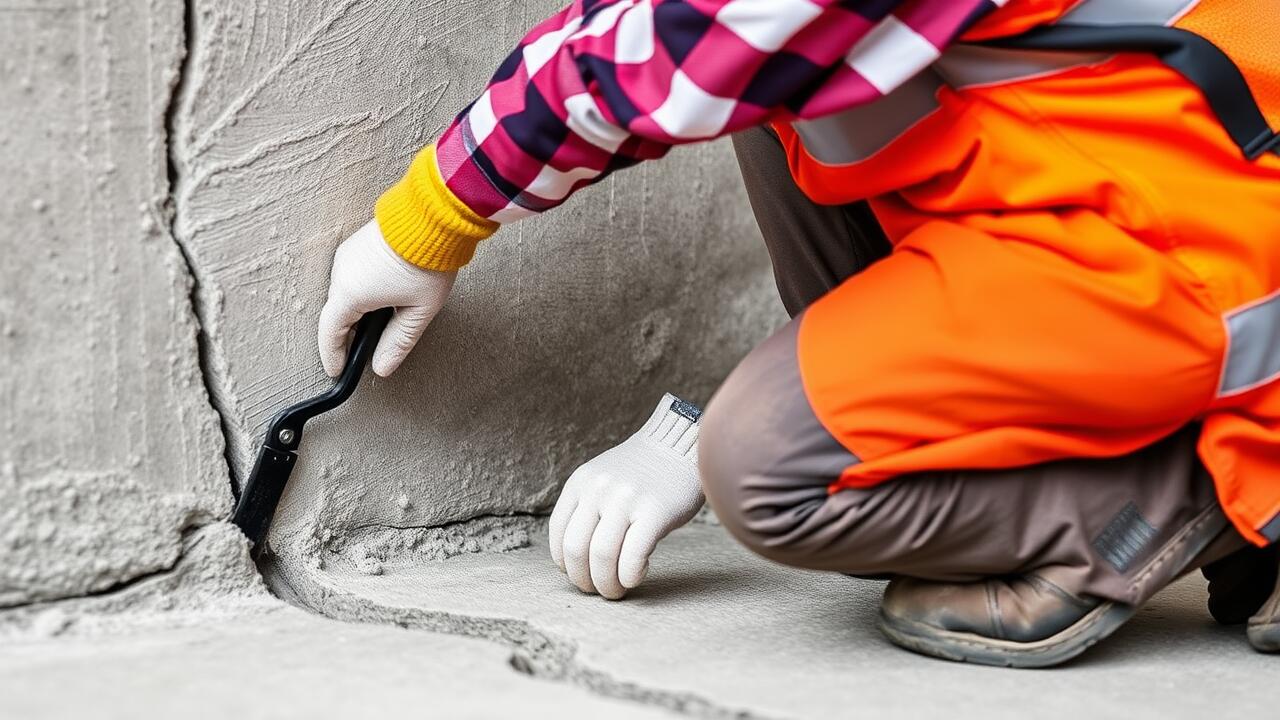
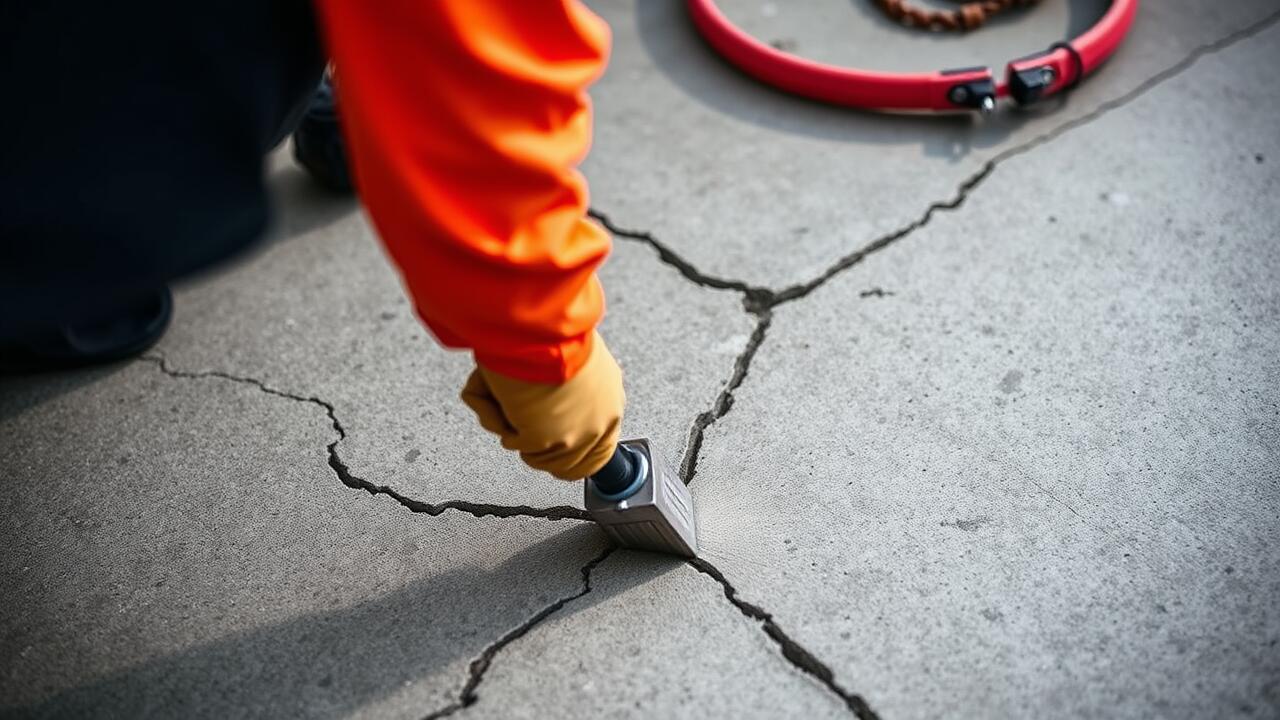
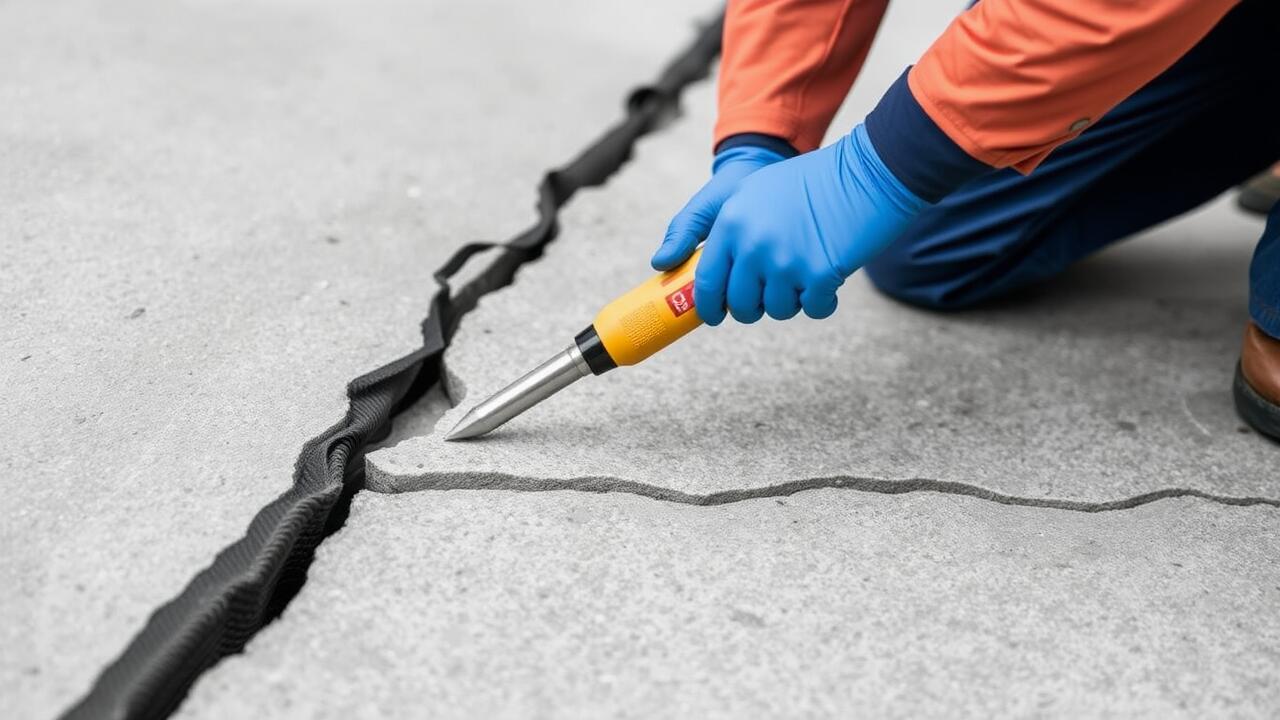
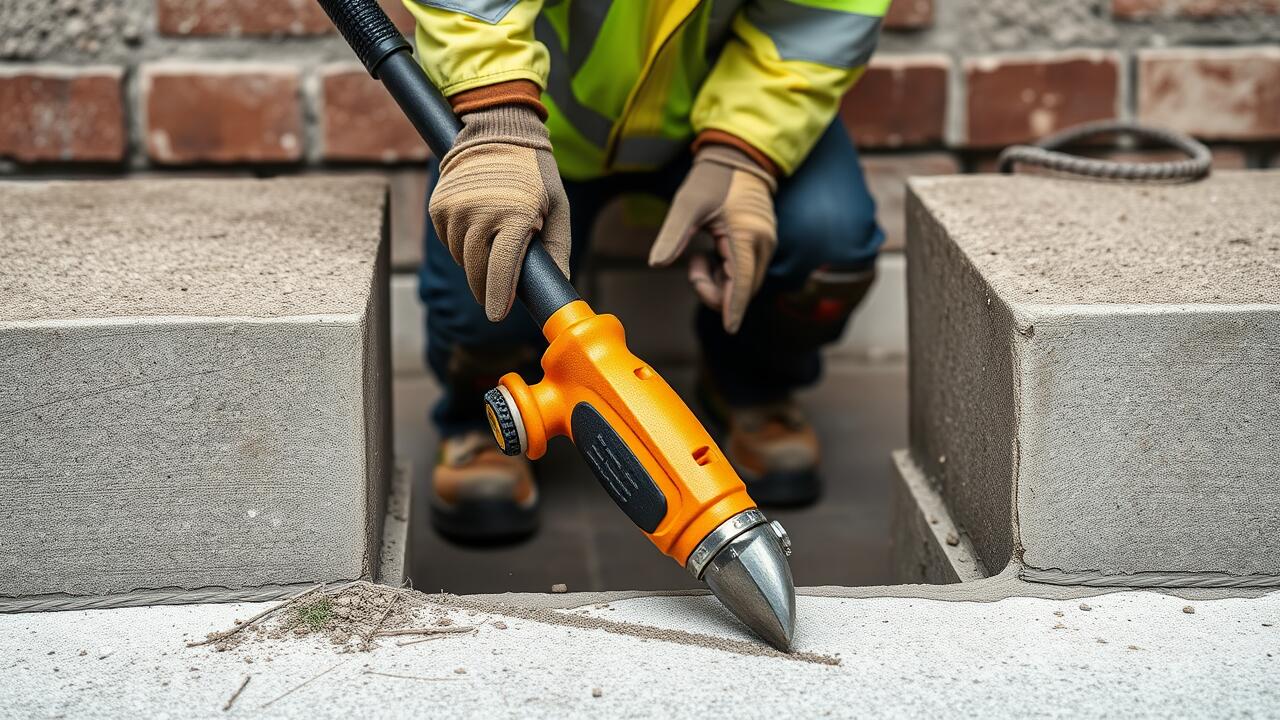
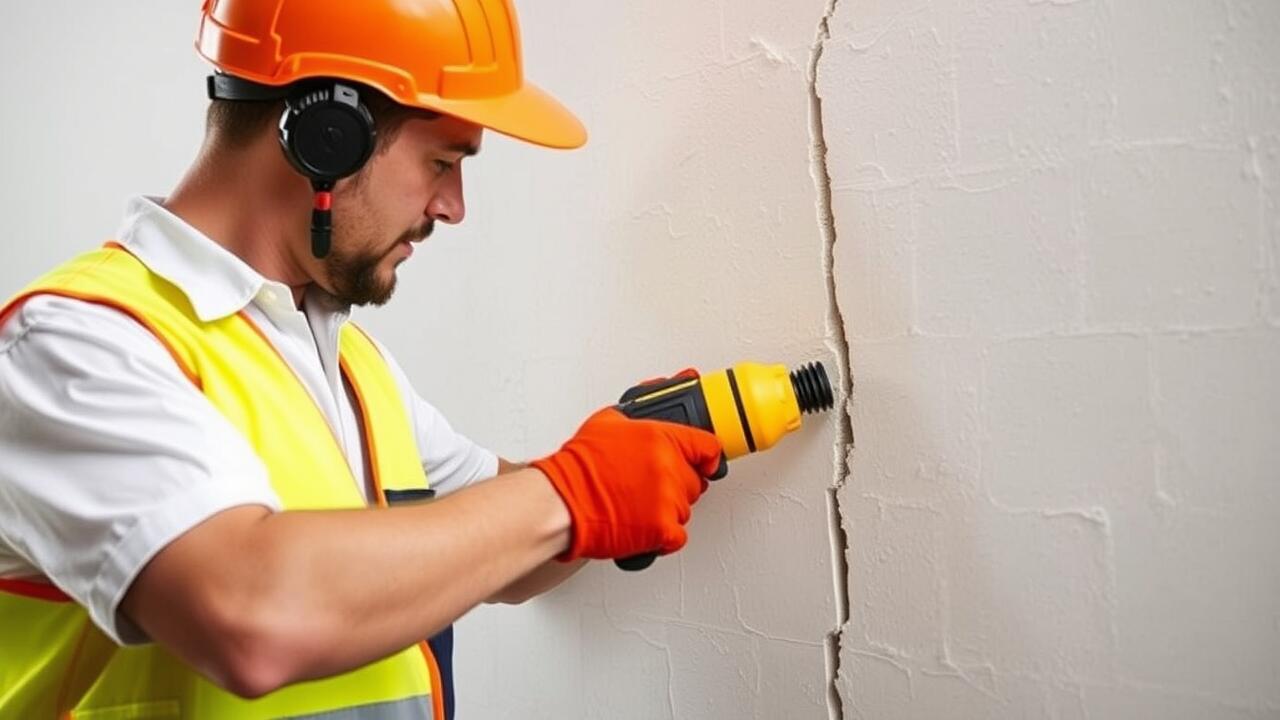
Before applying any crack filler, it is essential to prepare the surface thoroughly. Begin by removing loose paint, plaster, and debris around the crack using a putty knife or scraper. This ensures better adhesion of the filler. If the crack is deep, it may benefit from widening slightly to create a better profile for the repair material. Vacuum or wipe down the area to eliminate dust, ensuring a clean surface for the Crack Repair process.
Next, assess the moisture levels in the wall. If the wall feels damp or has water stains, it is crucial to address the source of moisture before proceeding with repairs. Allow any dampness to dry completely before application. In some cases, applying a primer or sealant may be beneficial to create an ideal base for the filler. Proper surface preparation contributes significantly to the longevity and effectiveness of the Crack Repair.
Steps to Get Your Walls Ready
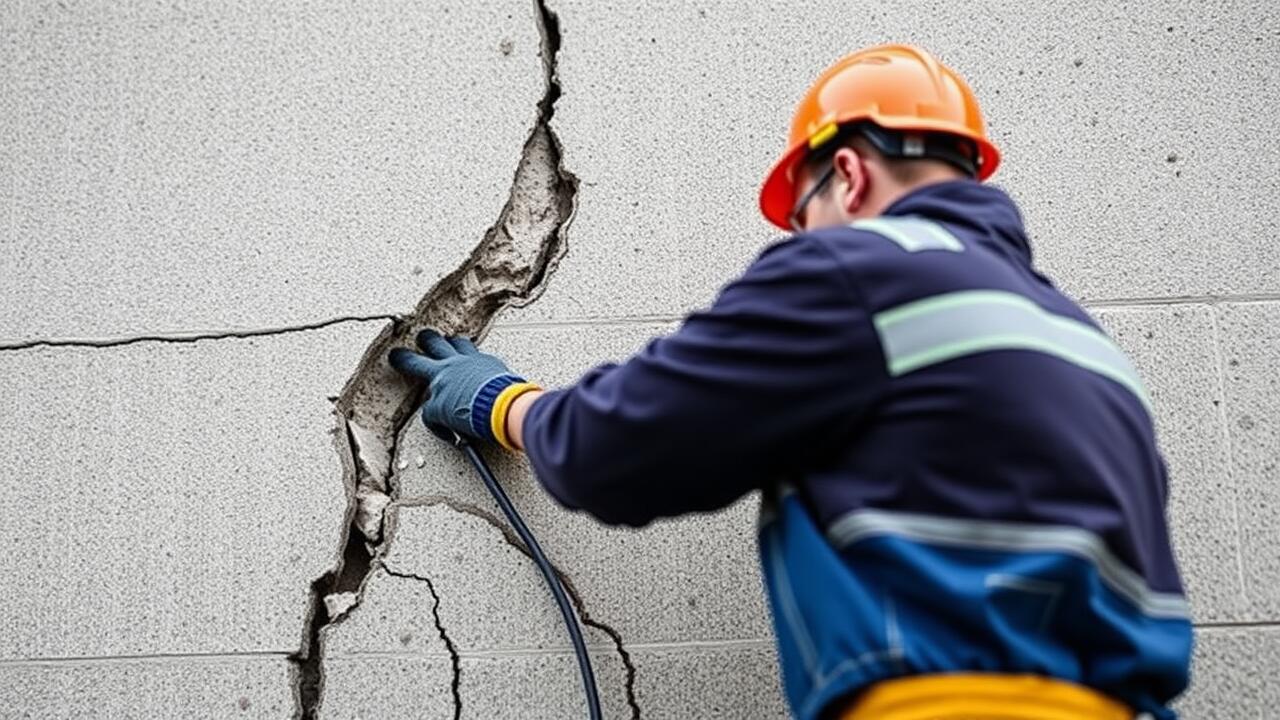
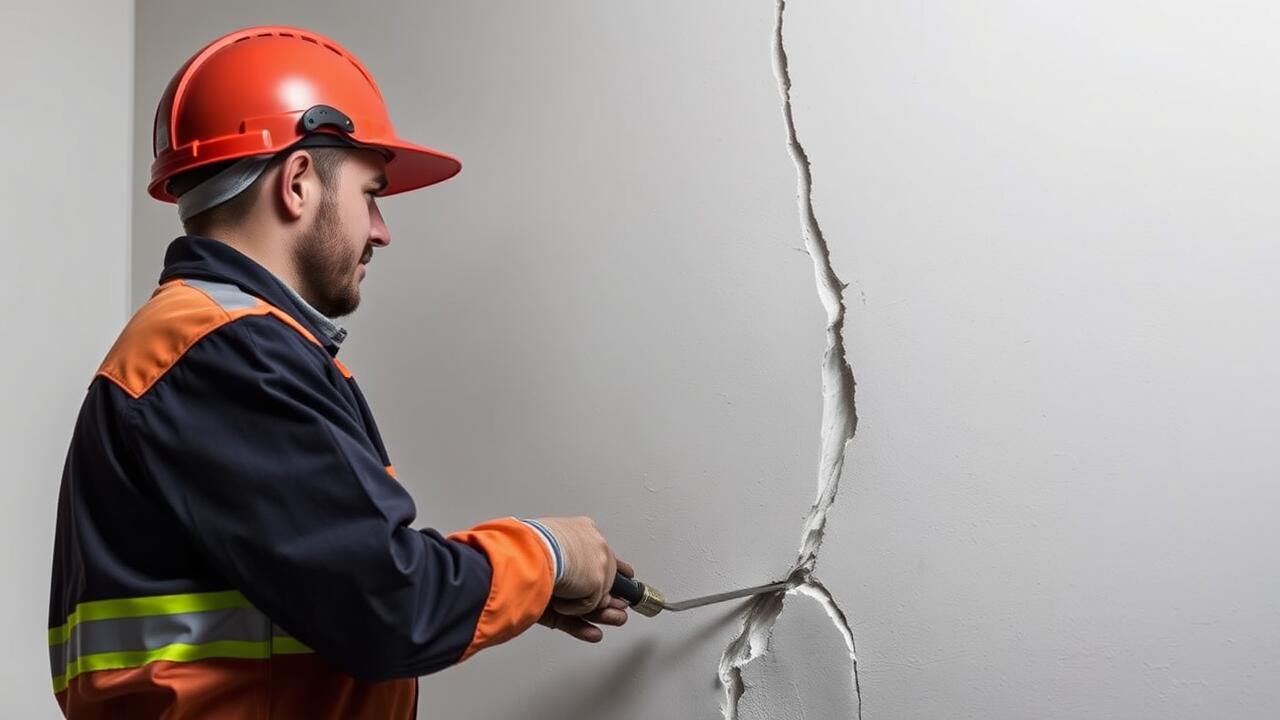
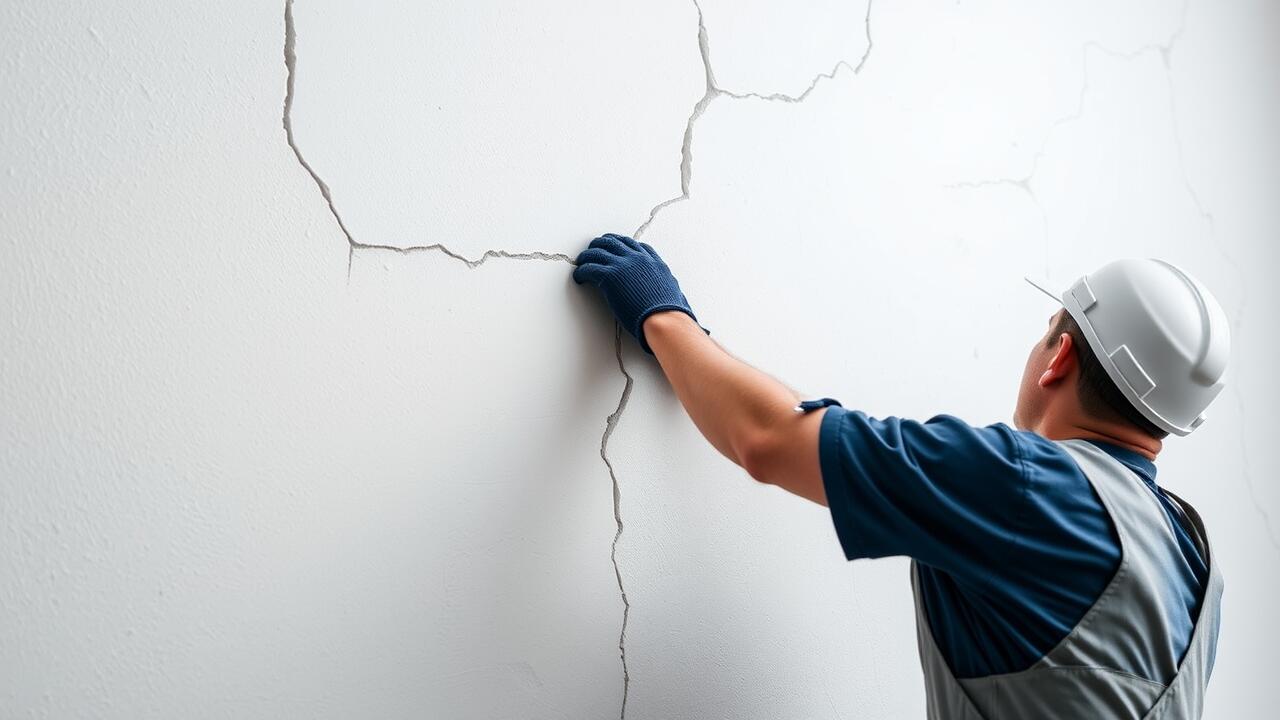
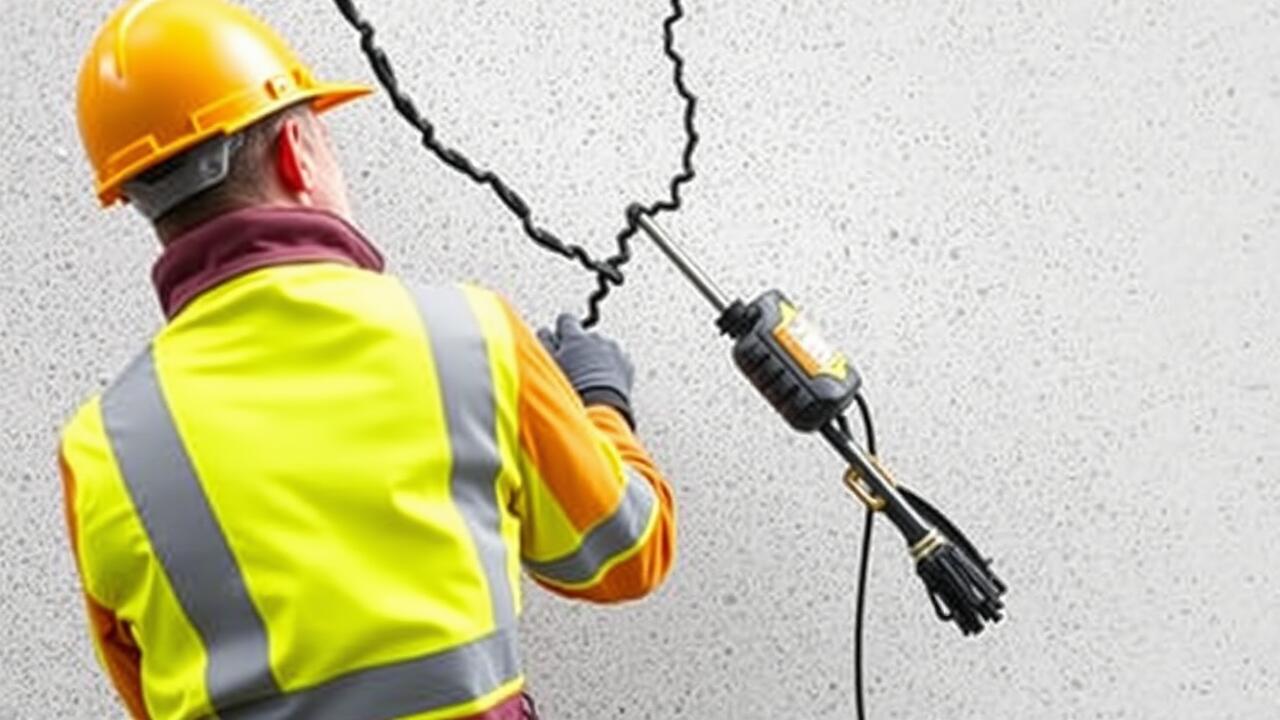
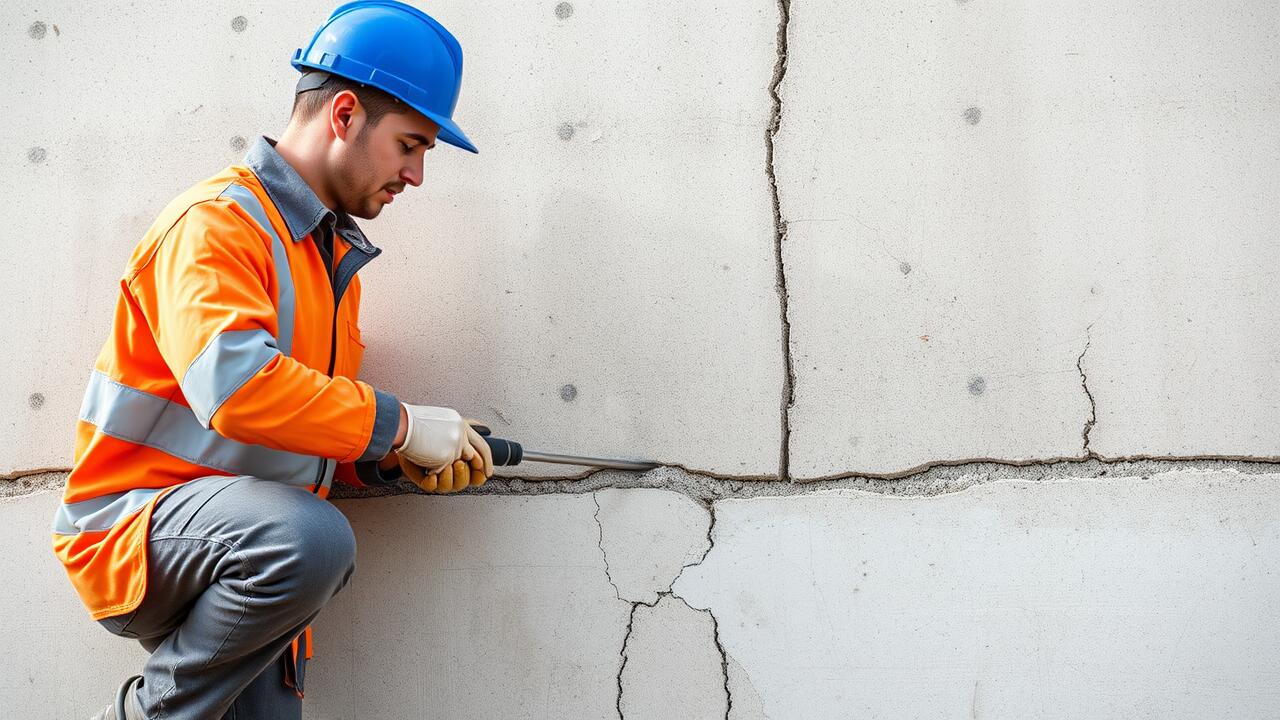
Before starting any crack repair, ensure the wall surface is clean and free of dust or debris. This preparation step is crucial for achieving good adhesion between the filler and the wall. Use a scraper or putty knife to remove any loose material around the crack. If the crack is particularly deep or wide, it may be beneficial to widen it slightly for better filling. A thorough inspection of the surrounding area can also provide insight into whether additional repairs are necessary.
Once the surface is cleaned and scraped, it’s important to allow it to dry completely. Moisture can interfere with the filling process, resulting in inadequate adhesion and potential future problems. Depending on the wall material and environmental conditions, drying times may vary. Before proceeding with the application of the filler, conduct a touch test to ensure the surface is dry and ready for crack repair. Taking these steps will help guarantee a smooth and effective repair process.
Curing and Drying Times
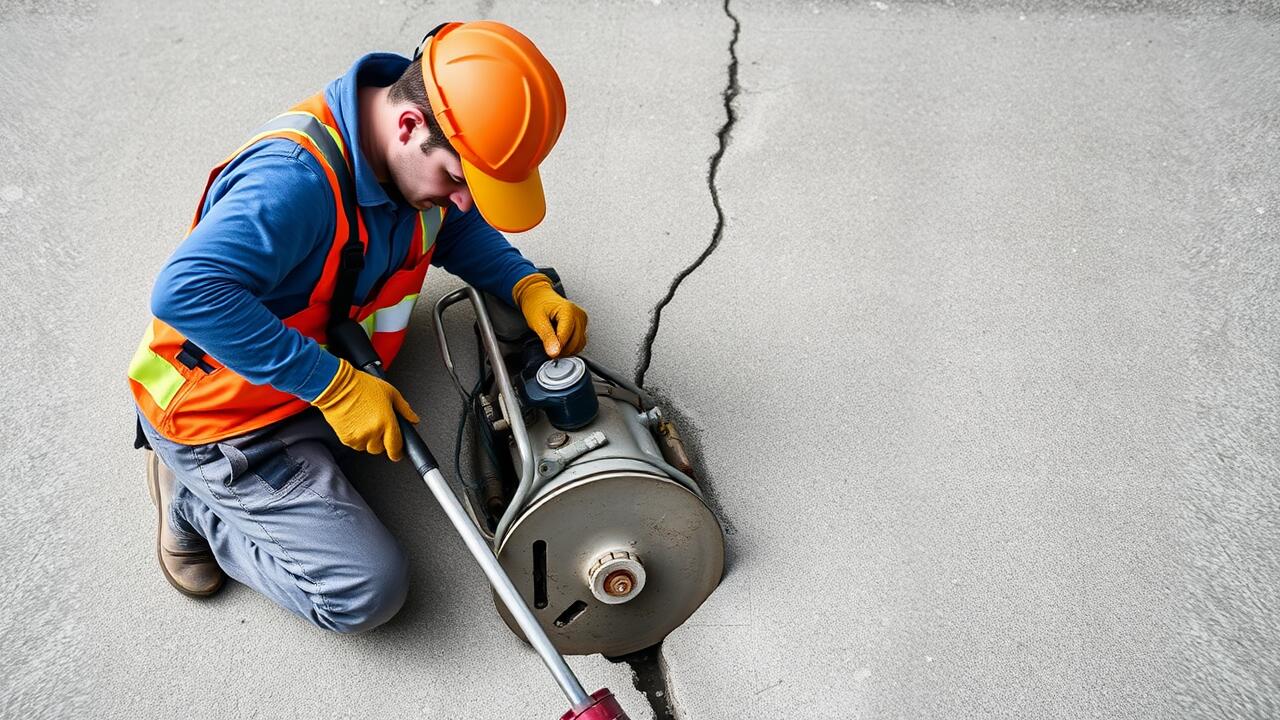
Curing and drying times are crucial factors to consider after applying any filler during the crack repair process. Depending on the type of filler used, these times can vary significantly. Most fillers will have specific instructions from the manufacturer, guiding you on how long to leave the area undisturbed until it is ready for sanding or painting. Generally, it may take anywhere from a few hours to a couple of days for the filler to fully cure, ensuring that it has bonded effectively with the wall surface.
Monitoring the environment can also influence the drying time. High humidity or lower temperatures may prolong the curing process. It's essential to keep the area well-ventilated to aid in drying. If a filler is not given adequate time to cure before being painted over, it may lead to issues such as cracking or peeling down the line. Taking the time to allow the filler to fully dry will contribute to a more durable and aesthetically pleasing finish in your crack repair.
What to Expect After Application
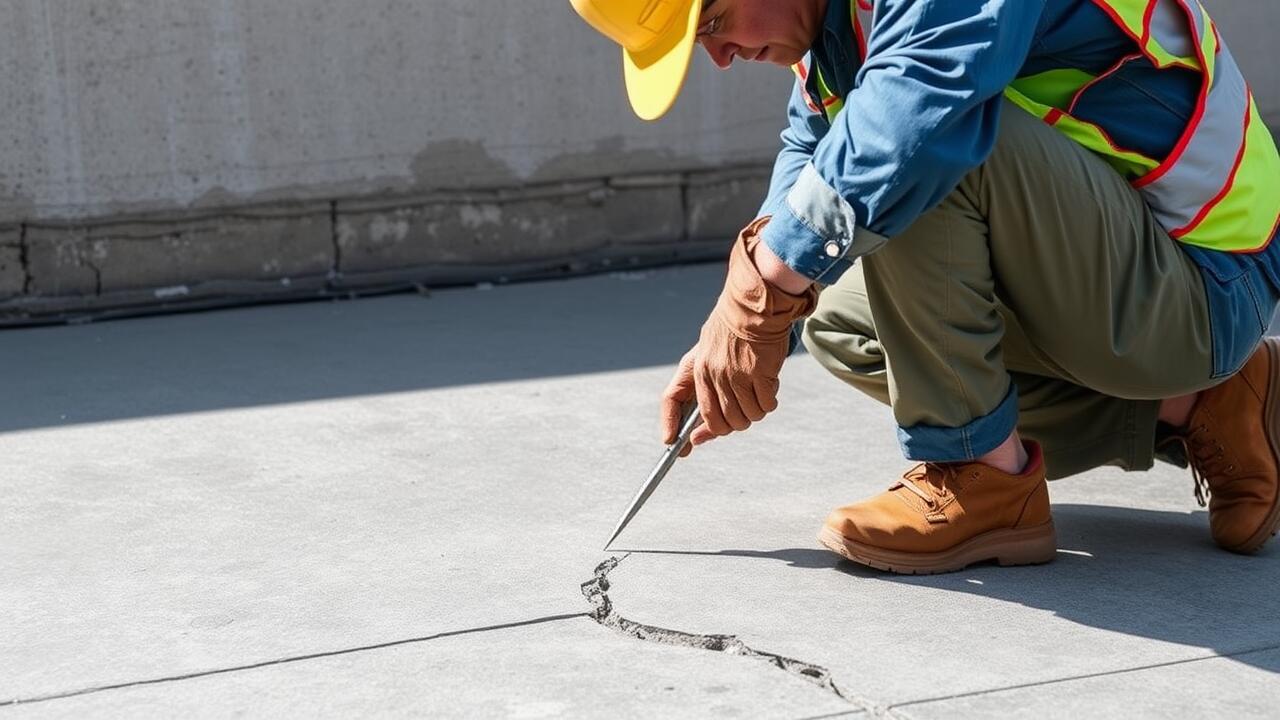
After applying your chosen filler for wall cracks, patience is crucial as the curing time varies based on the product used and the environmental conditions. Most fillers will dry to the touch relatively quickly, but full curing may take longer. During this period, do not rush to paint over the repaired areas. Ensure the filler has fully set according to the manufacturer's instructions, typically taking anywhere from a few hours to a few days. This allows the crack repair to bond effectively with the surrounding wall surface.
Once the filler has cured, inspect the application for any inconsistencies. Surface imperfections may still be present, which can be easily rectified by sanding the area lightly. Take care to achieve a smooth finish. Following this preparation, you are ready to proceed to painting. Properly cured and sanded crack repair creates a seamless look, enhancing the overall appearance of your walls.
Painting Over Filled Cracks
After applying a suitable filler to wall cracks, it’s essential to ensure that the surface is properly prepared before painting. Start by allowing ample time for the crack repair filler to dry completely. Depending on the product used, drying times can vary. Ensure the surface is sanded smooth to achieve an even finish. Cleaning the area of any dust or debris will enhance paint adhesion, resulting in a better overall appearance.
When selecting paint for the finished surface, consider using a paint that matches the existing wall colour. This will help conceal the repair and maintain a uniform look across the wall. Apply paint in thin, even coats to avoid sagging or uneven texture. For optimal results, be patient and allow each coat to dry thoroughly before applying the next, ensuring that the crack repair is well integrated into the surrounding paint finish.
Tips for a Smooth Finish
Achieving a smooth finish when painting over filled cracks requires attention to detail. After applying the chosen filler, allow it to dry thoroughly before sanding. Use fine-grit sandpaper to gently smooth the surface, ensuring it blends seamlessly with the surrounding wall. This helps eliminate any raised edges or uneven spots. Always wear a mask and goggles while sanding to protect yourself from dust.
When selecting paint, consider a high-quality product that matches the existing wall texture and colour. Use a roller for larger areas and a brush for tight corners to achieve an even coat. After the first layer dries, inspect the filled areas for any imperfections. If necessary, apply a second coat to ensure uniformity. Proper preparation and attention during the process will enhance the overall appearance of your crack repair.
FAQS
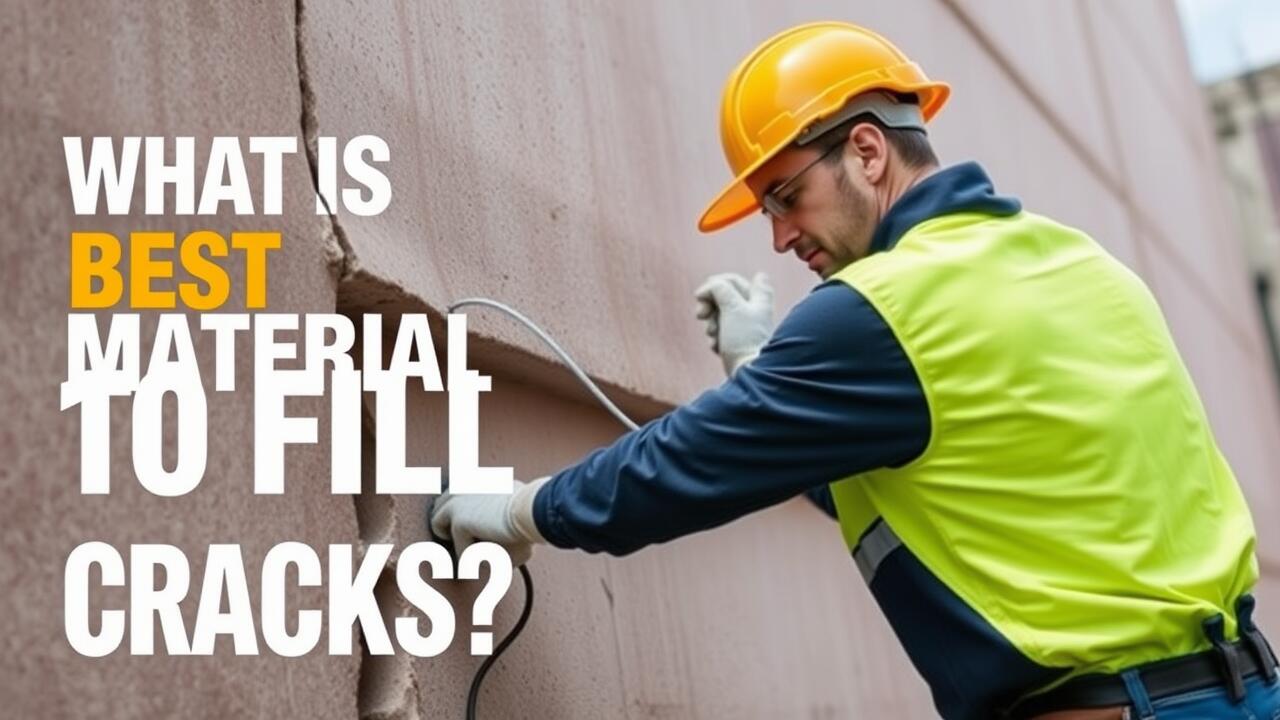
What is the best type of filler for wall cracks?
The best type of filler for wall cracks depends on the size and type of crack. For small hairline cracks, a lightweight spackling compound is often sufficient. For larger cracks, a heavier-duty filler or a pre-mixed joint compound may be more effective.
How do I prepare the surface before applying filler?
To prepare the surface, start by cleaning the area around the crack to remove dust and debris. Then, use a putty knife to scrape out any loose material from the crack. You may also want to dampen the crack slightly to help the filler adhere better.
How long does it take for wall crack filler to dry?
Curing and drying times can vary depending on the type of filler used and the environmental conditions. Generally, lightweight fillers may dry in about 30 minutes to an hour, while heavier fillers can take several hours or even overnight to fully cure.
Can I paint over filled cracks immediately?
It’s best to wait until the filler has completely dried and cured before painting over it. This may take several hours to a day, depending on the filler used. Always check the manufacturer’s instructions for specific recommendations.
What tips can help achieve a smooth finish when painting over filled cracks?
To achieve a smooth finish, ensure the filled area is sanded down to be level with the surrounding wall before painting. Use a high-quality primer over the filled area to help the paint adhere better, and apply thin, even coats of paint for the best results.