Table Of Contents
Sanding and Smoothing
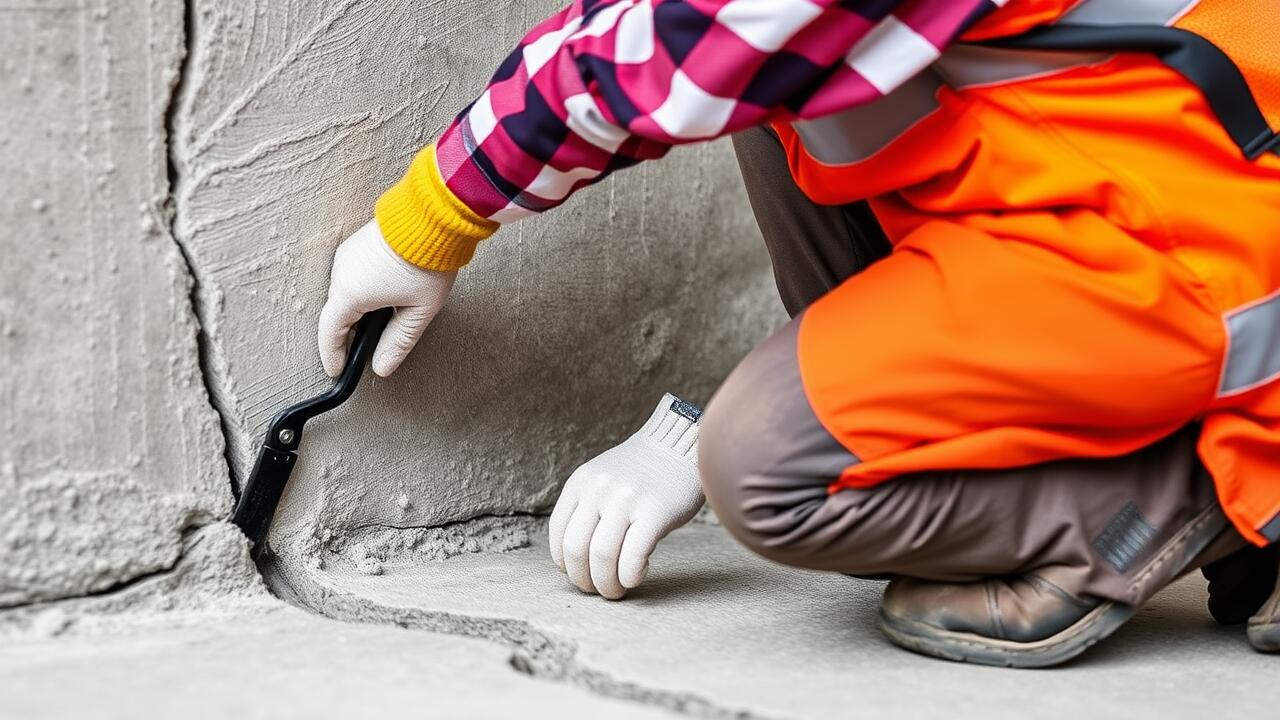
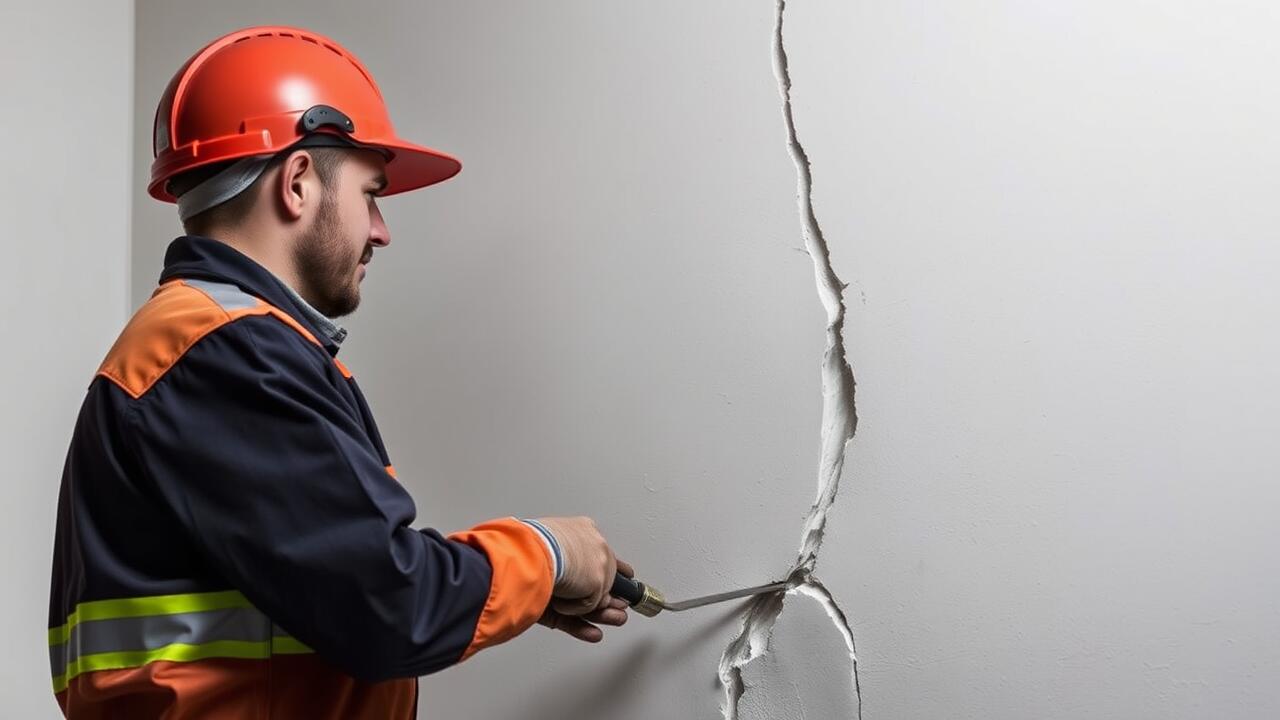
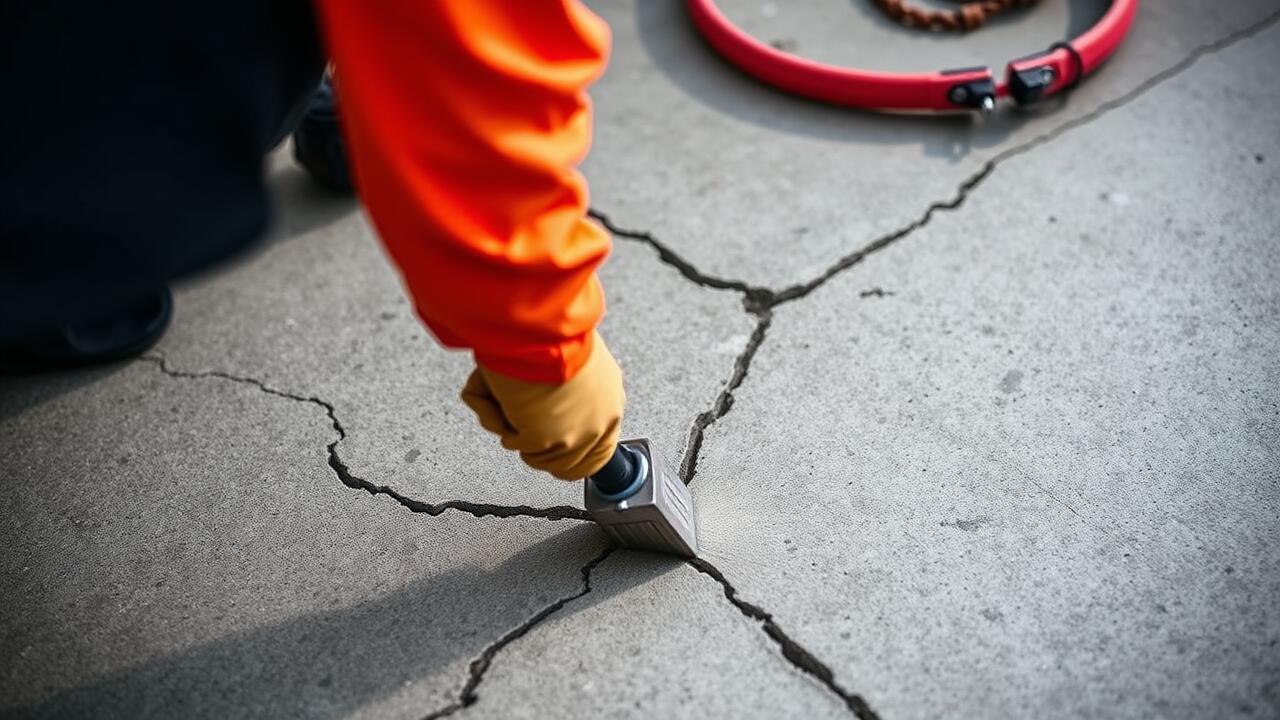
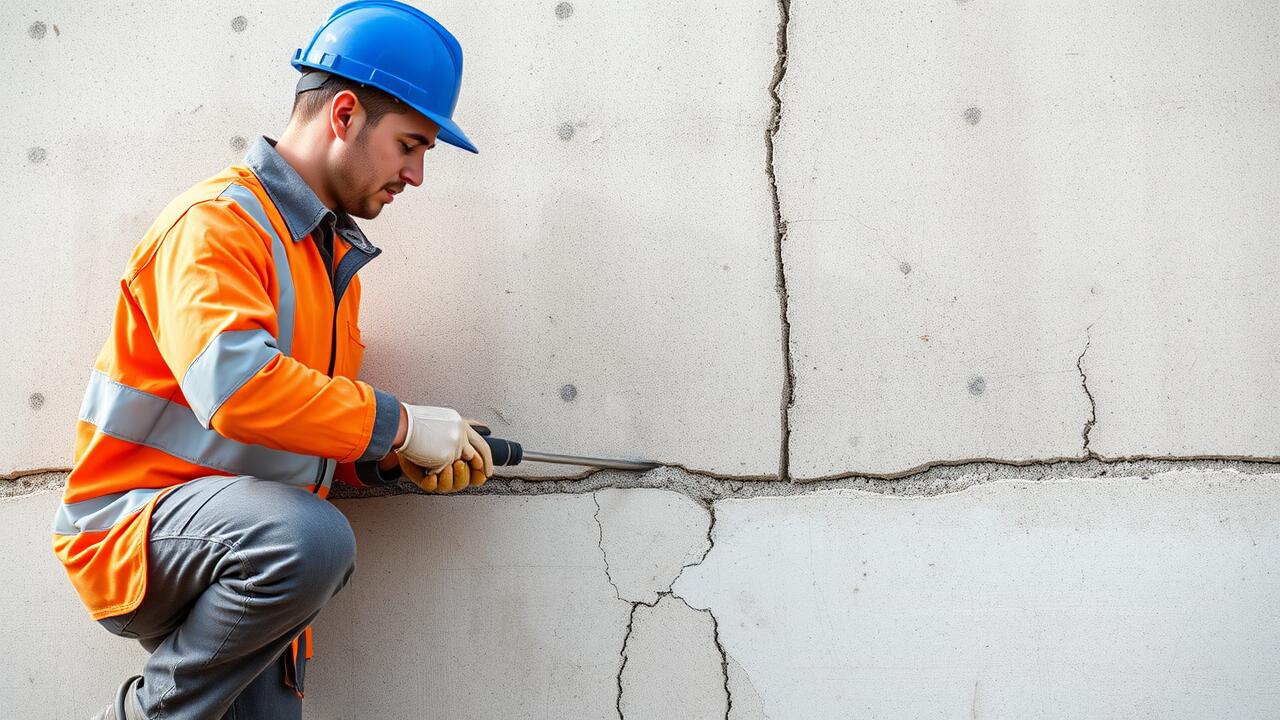
Sanding and smoothing are essential steps in the crack repair process for plaster. Once the repair material has been applied and dried, using fine-grit sandpaper helps to create a smooth surface that blends seamlessly with the surrounding wall. Careful attention during this phase can enhance the overall appearance of the repair. It is important to apply even pressure and work in circular motions, ensuring that the edges remain feathered to avoid noticeable transitions.
After sanding, wiping the area with a damp cloth removes any dust and debris that could interfere with the final finish. A well-prepared surface is crucial for achieving a flawless outcome. Checking for any remaining imperfections will ensure that the crack repair is not only practical but also visually appealing. Taking the time to properly sand and smooth can lead to lasting results, making the effort well worth it.
Achieving a Flawless Finish
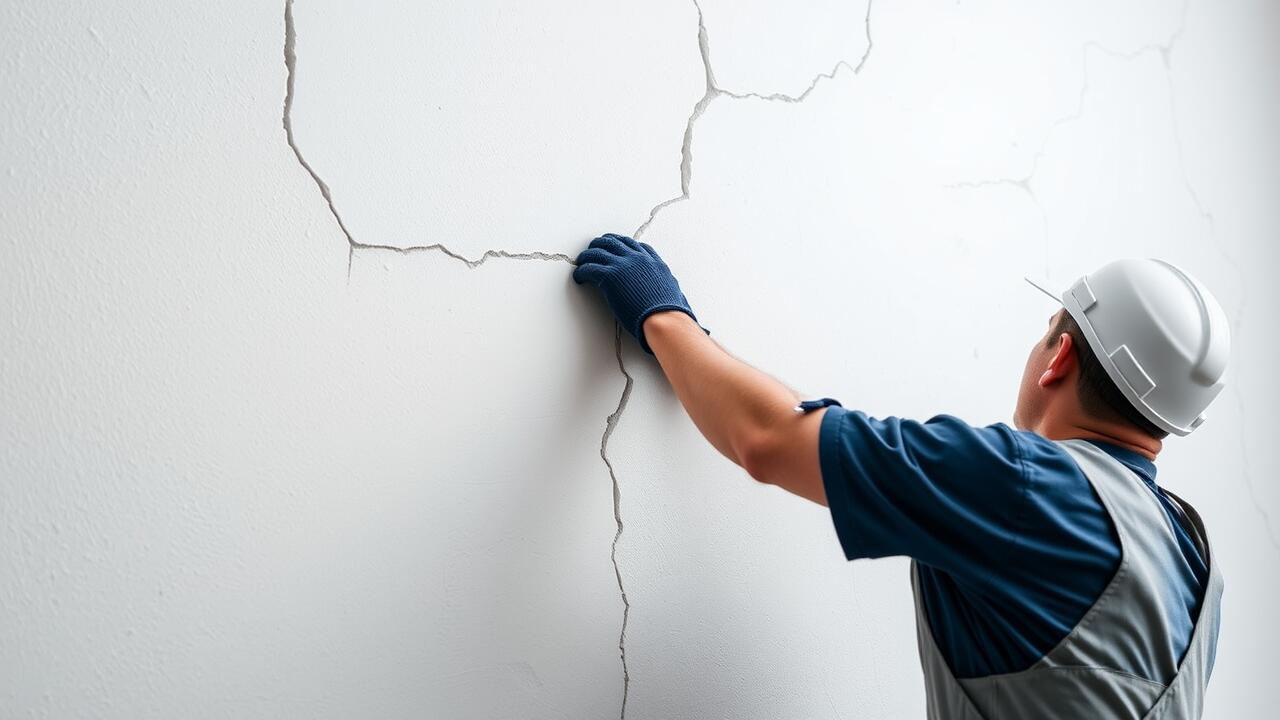
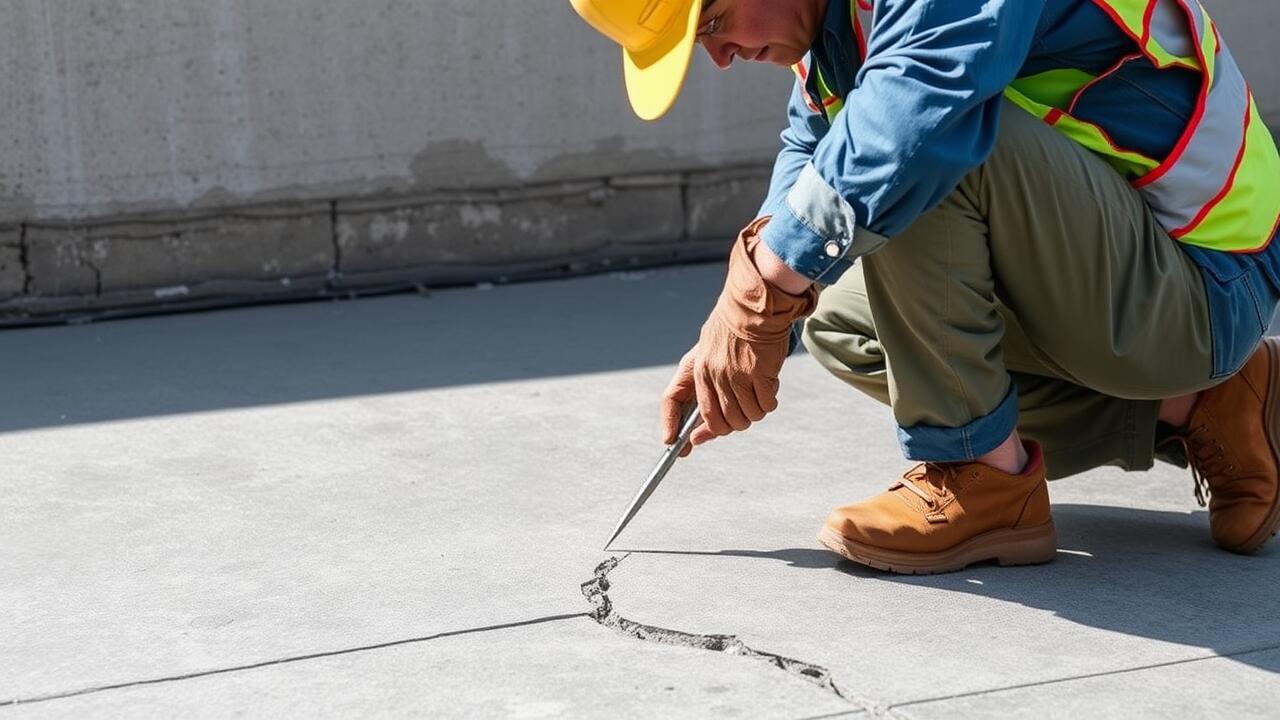
Achieving a flawless finish after a crack repair is crucial for maintaining the aesthetic value of your walls. Start by ensuring the repaired area is perfectly level with the surrounding plaster. Use a fine-grade sandpaper to gently smooth out any rough patches. Sanding should be done with care, applying even pressure to avoid gouging the surface. Once you've achieved a smooth texture, wipe the area with a damp cloth to remove any dust particles. This step is vital before applying any further treatments.
After you've prepped the surface, consider the use of a primer to enhance adhesion and uniformity. Selecting the right primer can significantly impact the final appearance of the paint, making it essential for a cohesive look. Once your primer has dried, apply your chosen paint carefully. Use a brush or roller to ensure even coverage across the crack repair, blending it seamlessly with the surrounding surface. Patience during this process guarantees that the repair will not only be robust but also visually appealing in the long run.
Painting Over Repairs
Choosing the right paint for your plaster after completing crack repair is crucial for achieving a seamless look. It is essential to select a paint type that matches the sheen and texture of the surrounding areas. Using a high-quality paint not only enhances the aesthetic appeal but also ensures better adherence and durability. After ensuring that the repaired area is completely dry and smooth, apply a primer specifically designed for plaster surfaces. This step helps in sealing the repair and provides a uniform base for the final coat.
When selecting paint, it is wise to consider its compatibility with the existing wall finish. Water-based paints are often recommended for interior plaster, as they tend to allow for better moisture regulation. If there are noticeable differences in paint colour between the repair and the surrounding wall, consider using a high-quality touch-up paint that can provide better coverage. Testing a small area before committing to the entire surface can help ensure that the final appearance meets expectations.
Choosing the Right Paint for Harmony
Selecting the right paint for areas where crack repair has been done is essential to achieving a seamless appearance. A high-quality paint can help to blend the repaired sections with the existing surface, making any imperfections less noticeable. Consider using paints that are specially formulated for interior wall surfaces, as they often provide better coverage and durability. It's advisable to test the paint on a small patch first to ensure colour consistency and texture match.
Colour choice also plays a pivotal role in creating harmony within the room. Light hues can enhance the effect of natural light, making the space feel larger, while darker shades add depth and intimacy. When deciding on a colour, take into account the overall design and atmosphere of the room. The goal is to create a cohesive look that integrates the crack repair seamlessly, making it an inconspicuous part of your decor.
Preventing Future Cracks
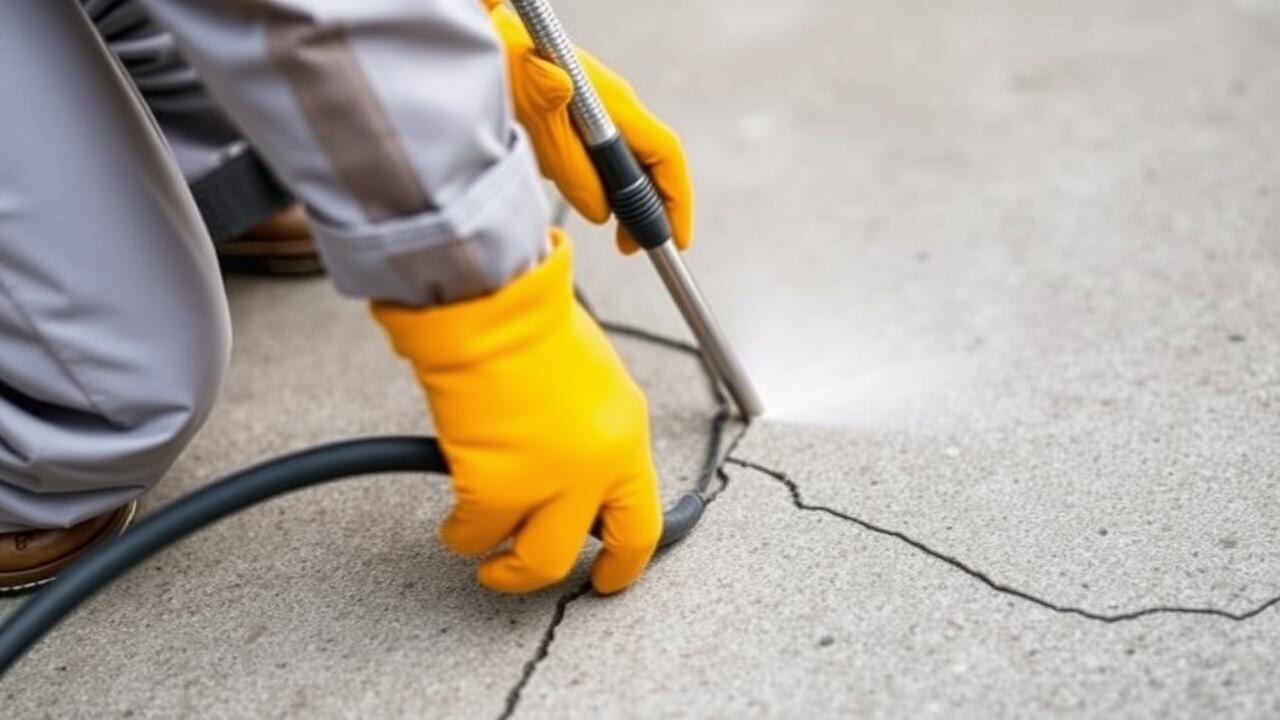
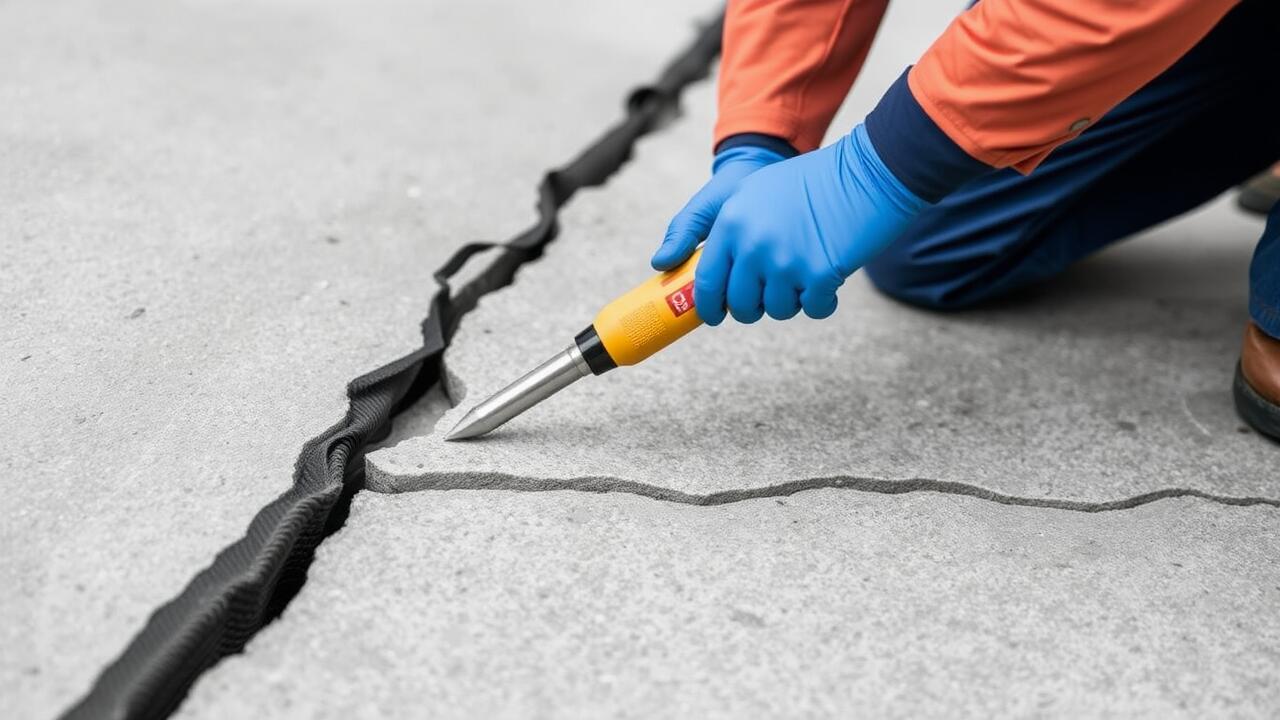
Regular maintenance of plaster surfaces is crucial in preventing future cracks. Keep an eye on temperature fluctuations within the environment, as extreme changes can cause plaster to expand and contract. Ensuring adequate ventilation reduces humidity levels, which often leads to moisture-related damage. Applying a quality sealer can also provide a protective layer, minimising the risk of water penetration that contributes to cracks.
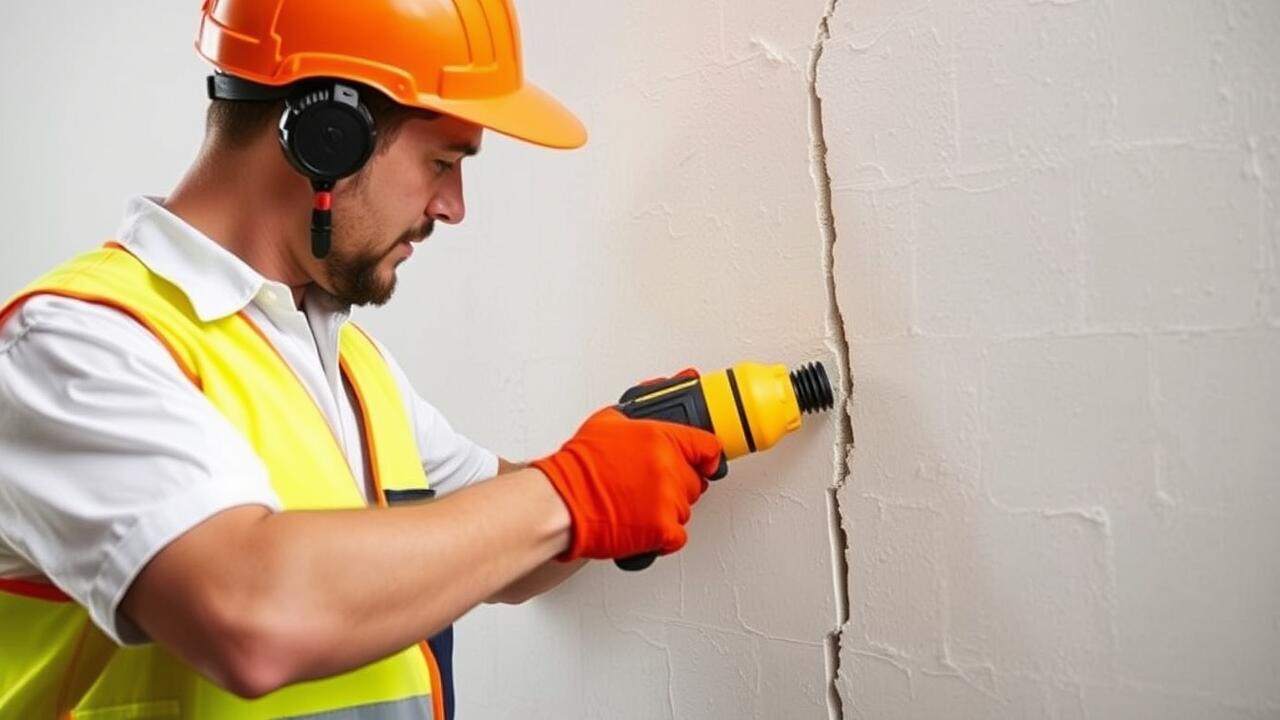
Additionally, the installation of corner beads or metal framing along high-stress areas offers extra support. This reinforcement helps absorb impacts and reduces stress on the plaster. When carrying out any renovations, ensure that crack repair is completed to a high standard. Properly addressing any underlying structural issues is essential for long-lasting results, helping to maintain the integrity of the plasterwork.
Tips for Long-lasting Plaster
Maintaining the integrity of plaster surfaces is crucial for preventing cracks and prolonging their lifespan. Proper installation techniques play a key role in ensuring durability. It’s essential to avoid excessive moisture during application, which can weaken the plaster and lead to future issues. Regular inspections can help identify early signs of wear or damage. Attention to environmental factors such as humidity and temperature can also influence the longevity of plaster.
To enhance crack repair efforts, consider applying a suitable sealant after repairs have been completed. This step helps maintain the bond between new and old plaster while providing an additional layer of protection against moisture. Keeping walls clean and clear of debris prevents unnecessary strain on the plaster. Additionally, reinforcing the structure behind the plaster can reduce movement and minimise the occurrence of cracks over time. These proactive measures can contribute to a more resilient plaster surface.
FAQS
What are the common causes of cracks in plaster?
Common causes of cracks in plaster include settling of the building, temperature fluctuations, moisture damage, and improper installation or application techniques.
How can I tell if a crack in plaster is serious?
If a crack is wider than 5mm, has a jagged appearance, or appears to be growing, it may indicate a more serious structural issue and should be assessed by a professional.
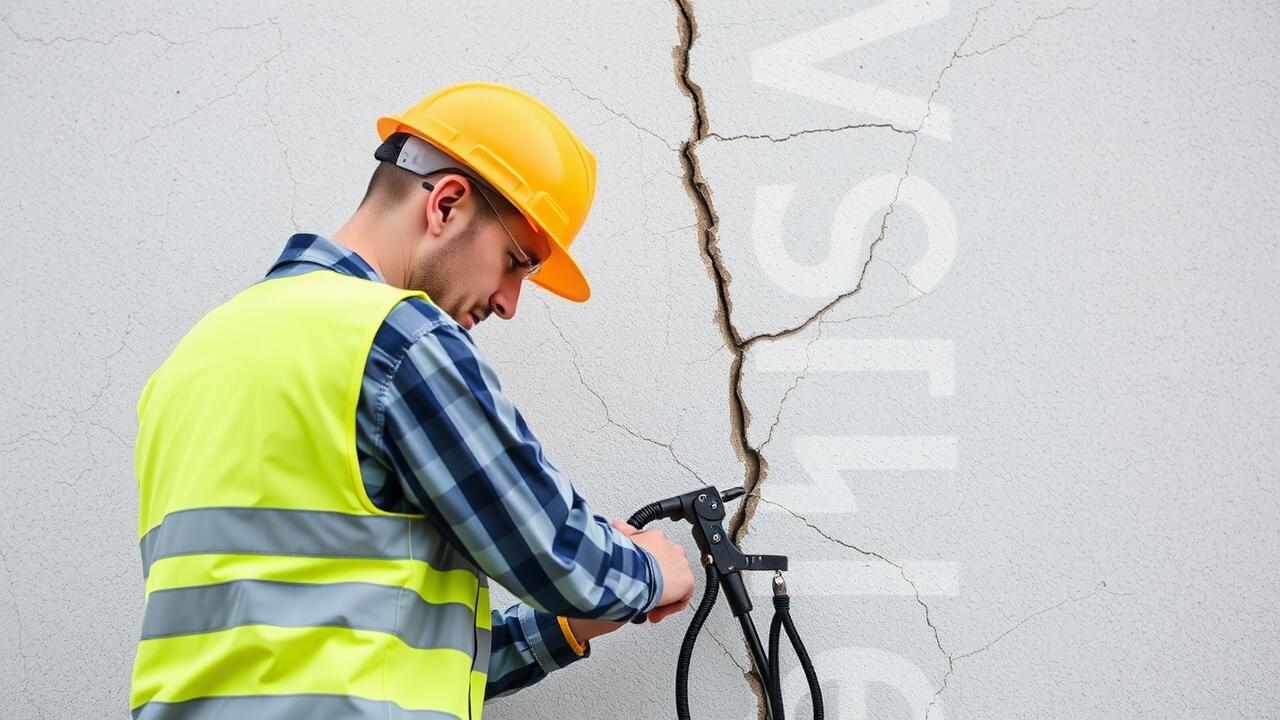
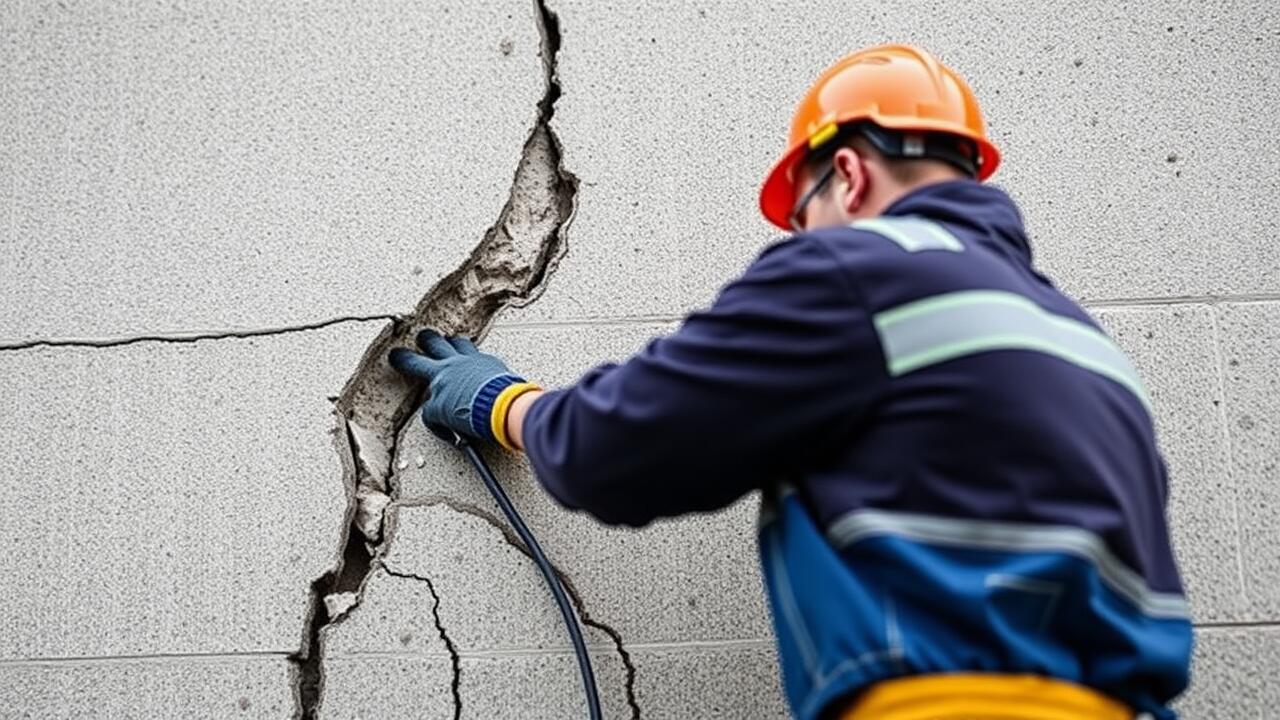
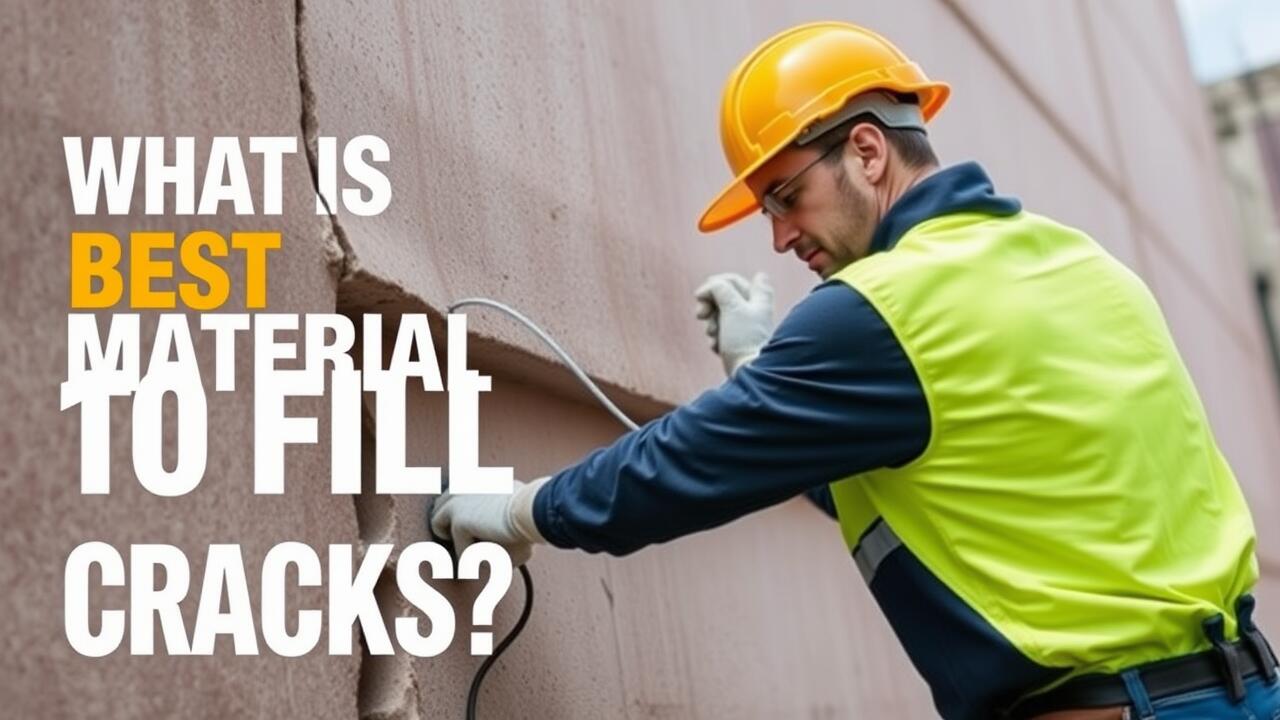
What materials are best for repairing cracks in plaster?
For repairing cracks in plaster, materials such as plaster filler, joint compound, or a high-quality patching compound are recommended for effective results.
Is it necessary to sand the area before painting over plaster repairs?
Yes, sanding the repaired area is crucial to achieve a smooth and even surface, ensuring that the paint adheres properly and provides a flawless finish.
How can I prevent future cracks in my plaster walls?
To prevent future cracks, maintain stable humidity levels, ensure proper ventilation, avoid excessive moisture exposure, and periodically inspect and maintain your plaster surfaces.