Table Of Contents
Preparing the Surface
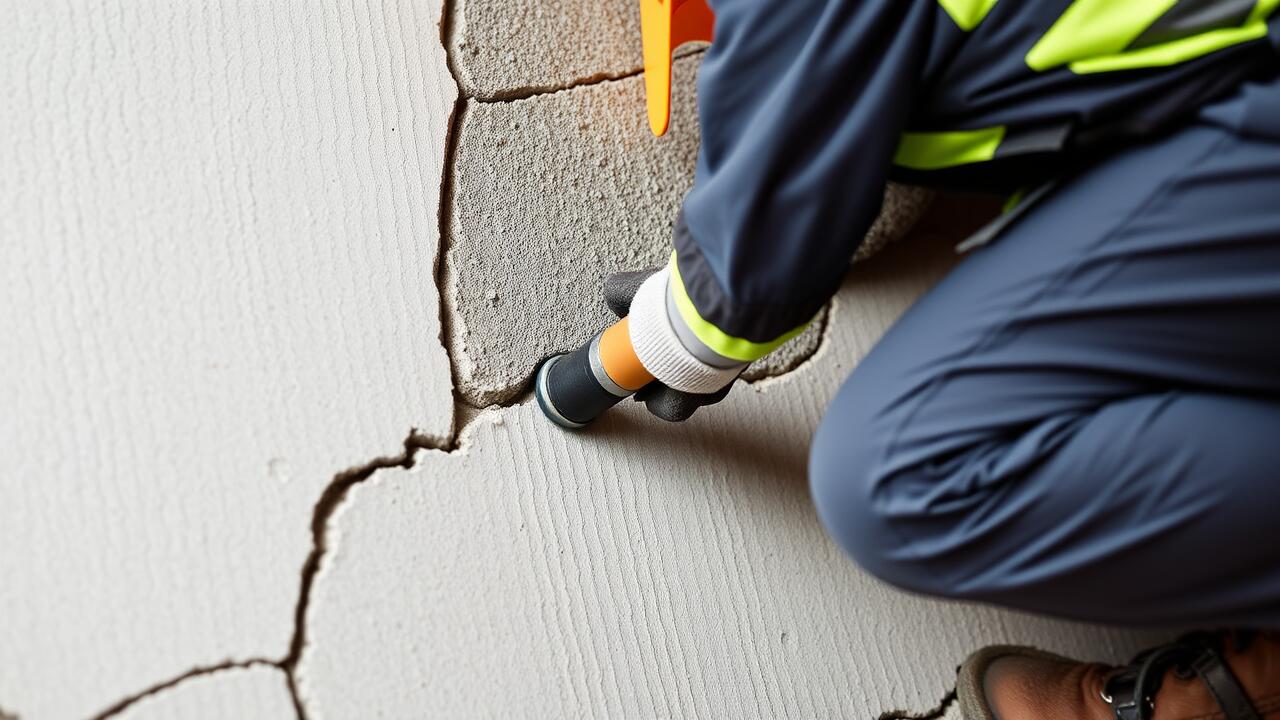
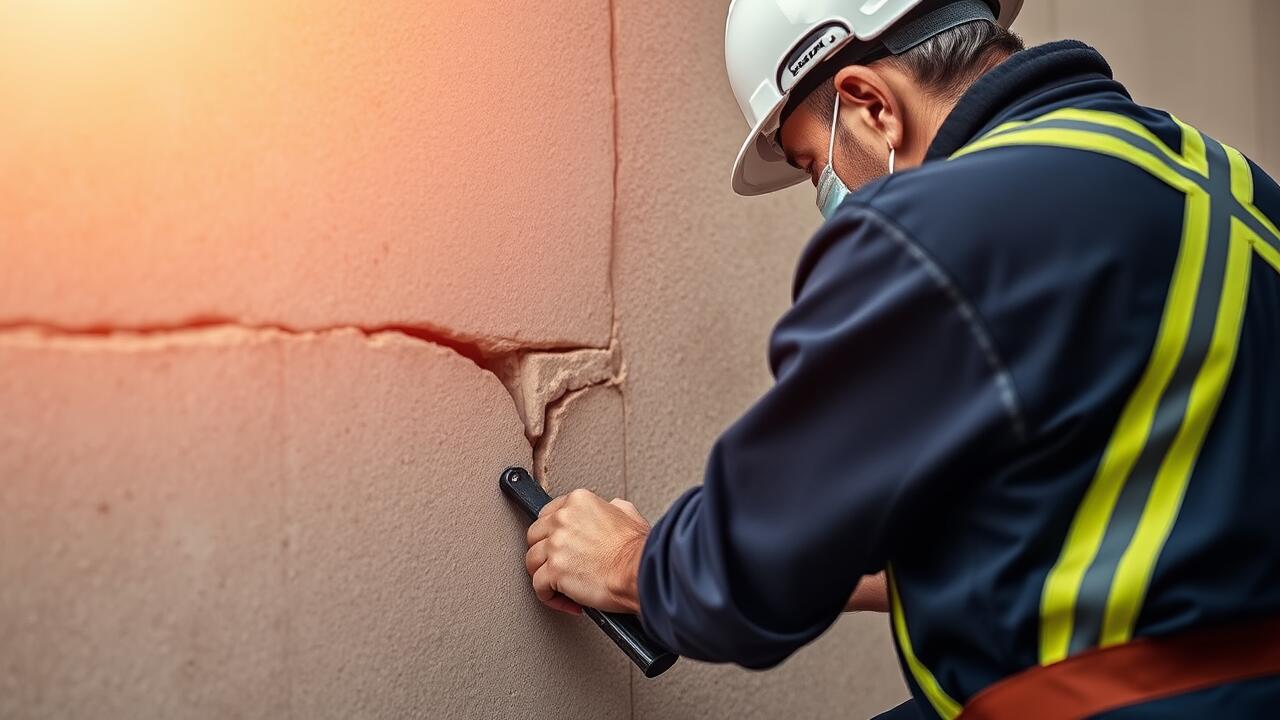
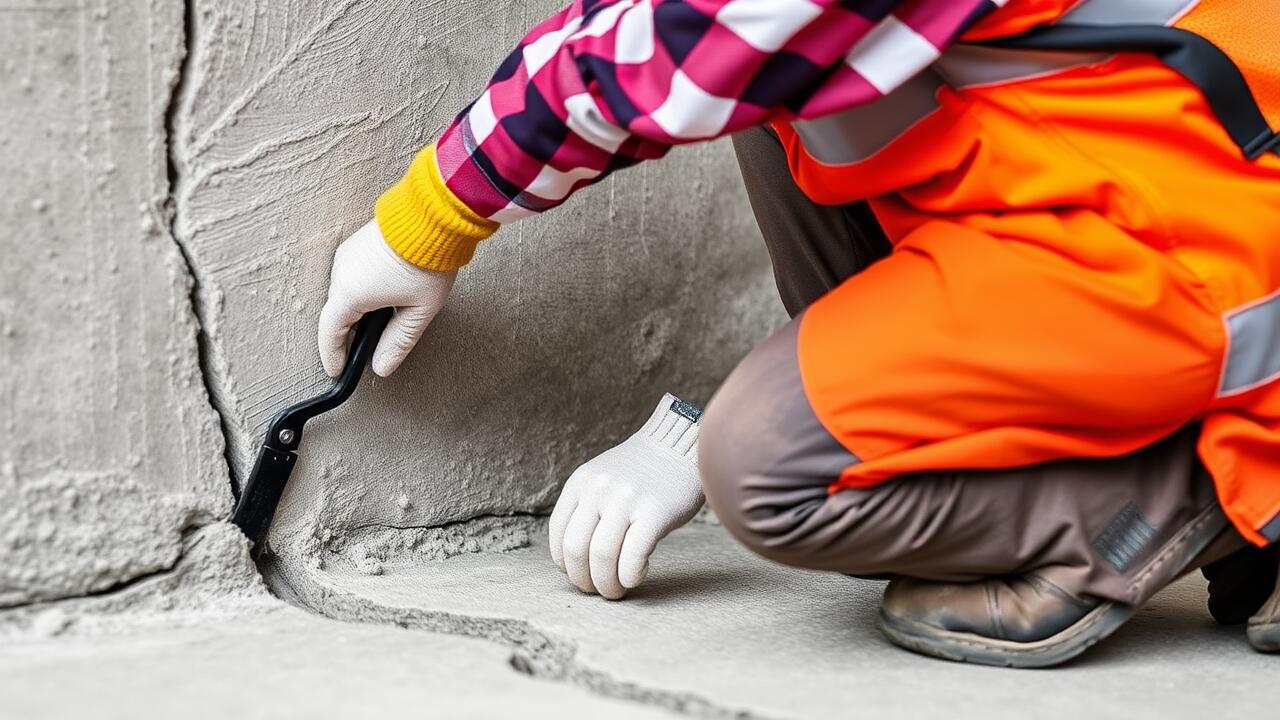
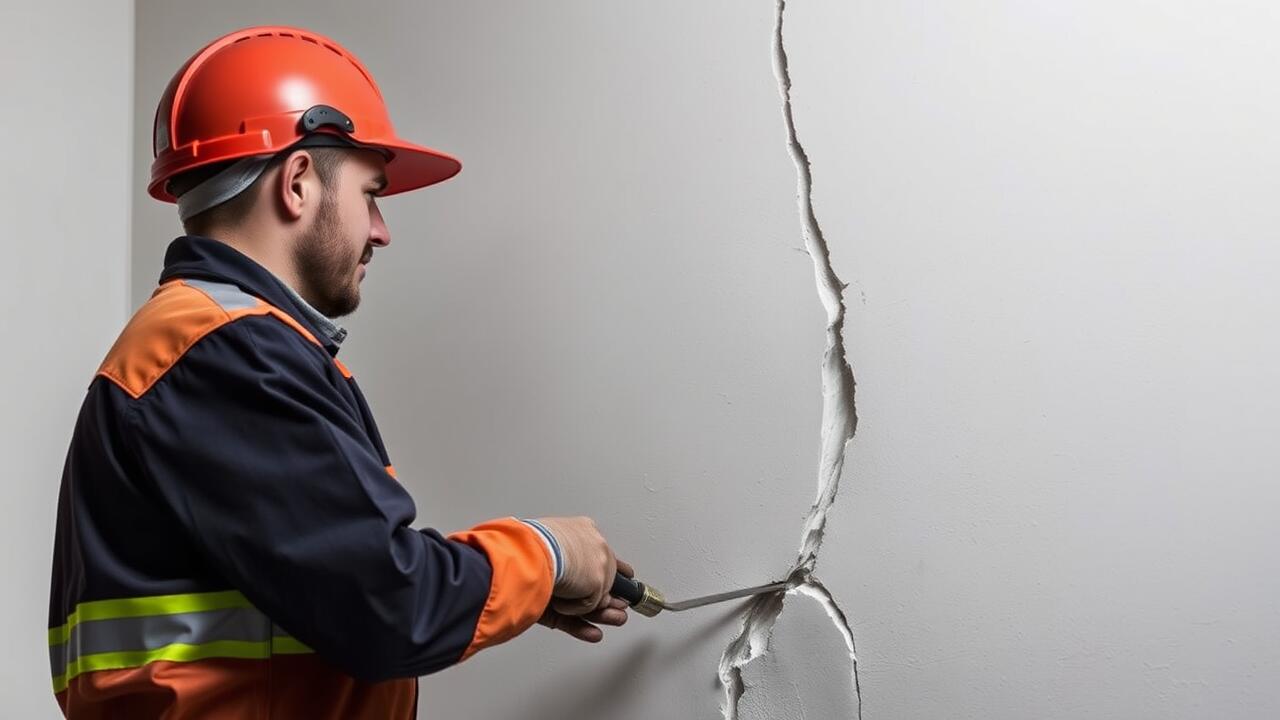
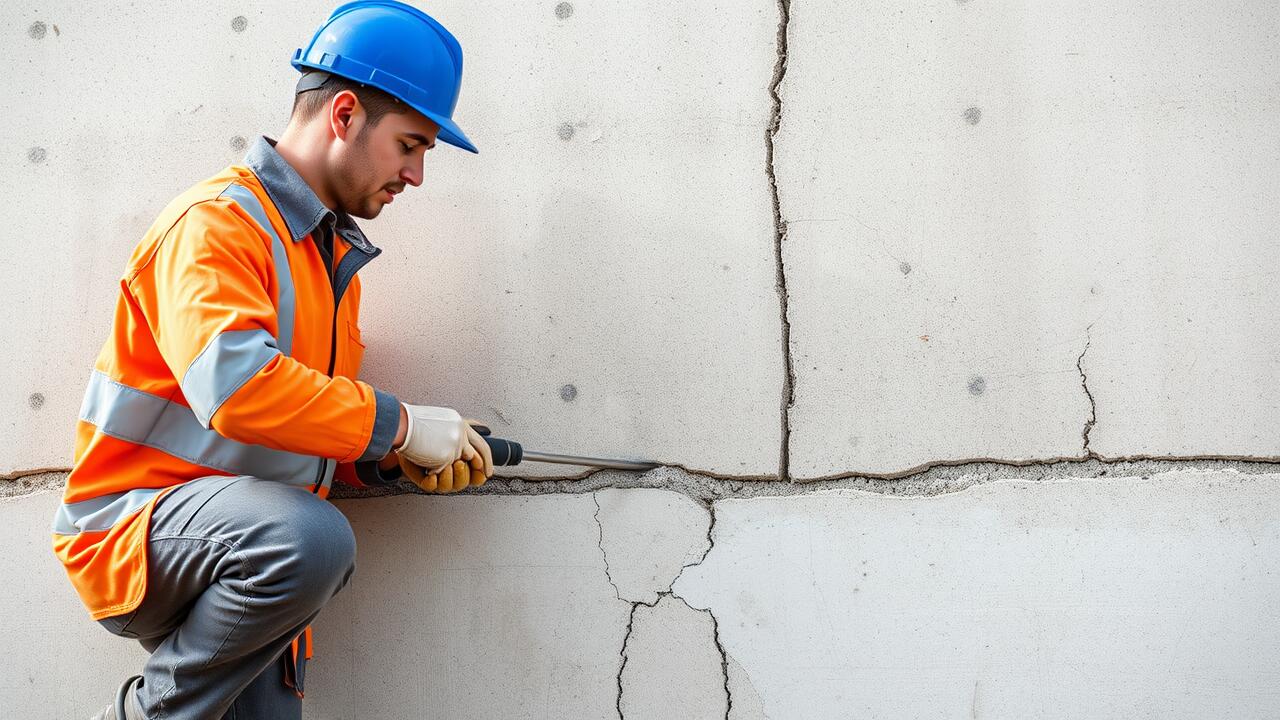
Before applying any sealant, it’s crucial to prepare the surface adequately. Start by removing any loose plaster around the crack. A putty knife can help scrape away debris, dust, or any peeling paint. Thorough cleaning of the area ensures that the sealant adheres effectively. Once the loose material is cleared, consider using a vacuum or a damp cloth to eliminate any remaining particles. This preparation step is essential for a successful crack repair.
After cleaning, inspect the crack thoroughly to determine its depth and width. If necessary, deepen or widen the crack slightly to allow better penetration of the sealant. For larger cracks, filling them with a suitable filler material may be beneficial before applying the final sealant. Following these steps will create a well-prepped surface, leading to a more durable and long-lasting result in your crack repair efforts.
How to Properly Prepare Cracked Plaster
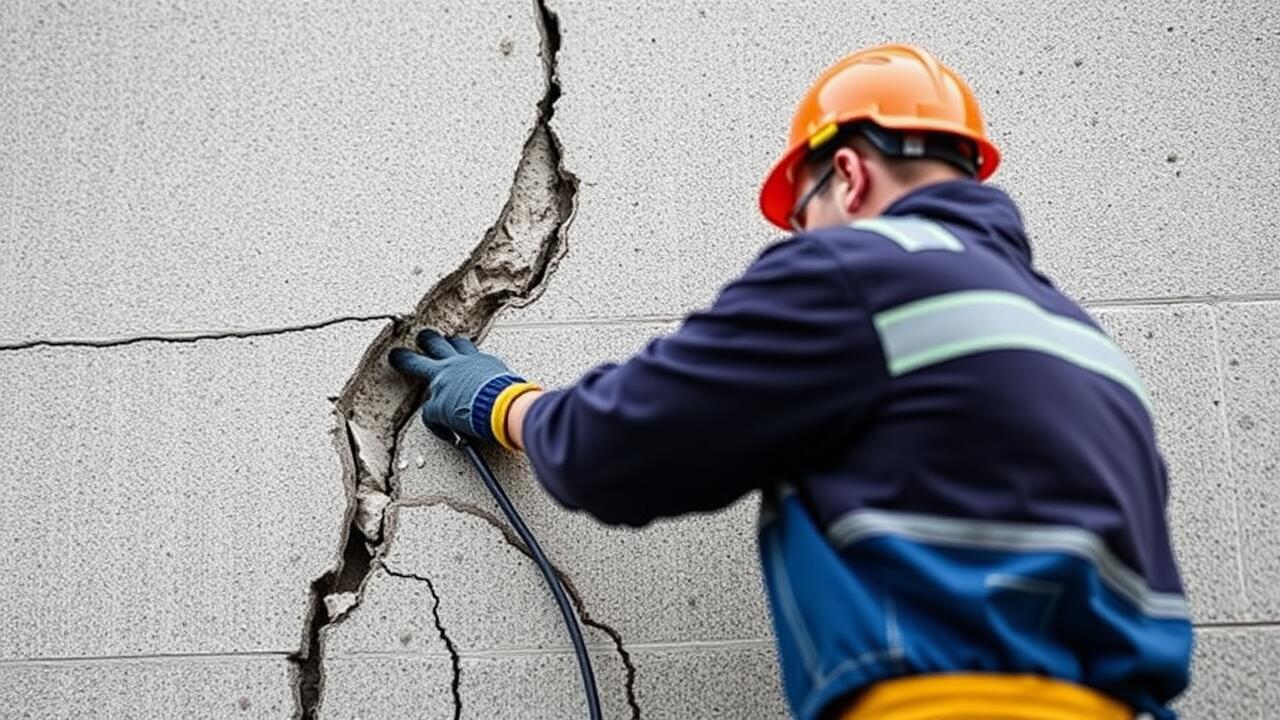
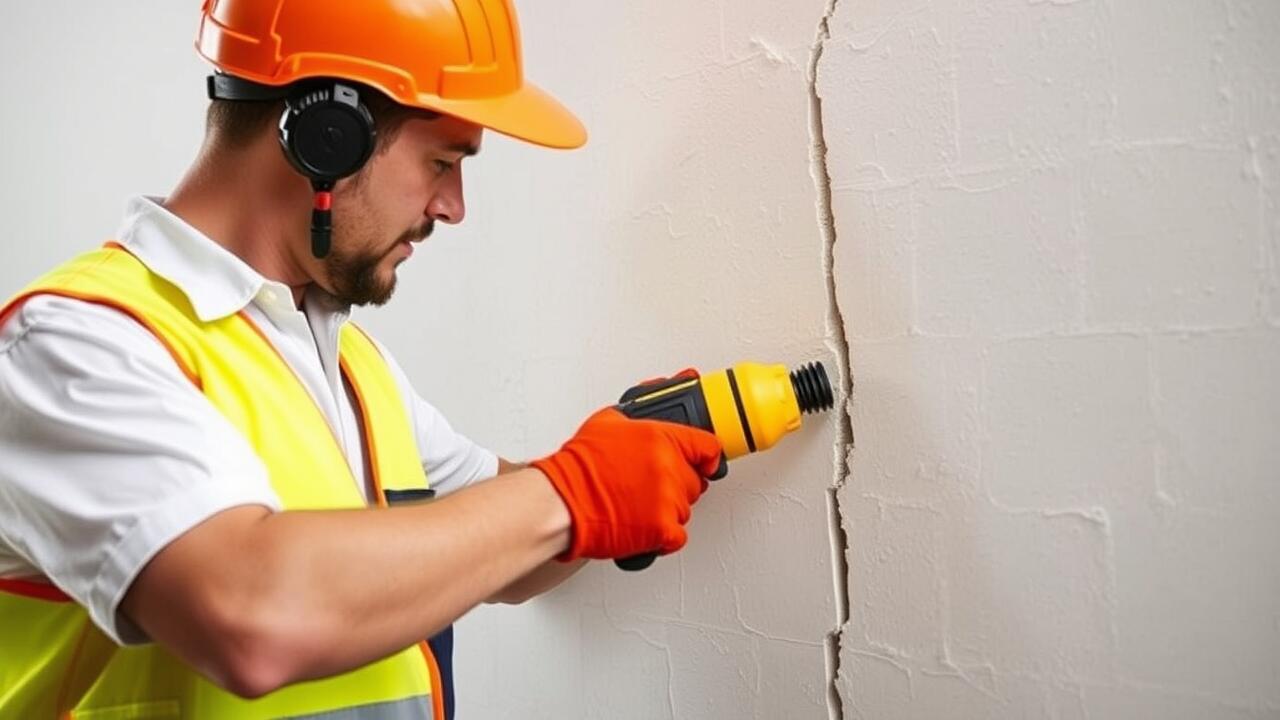
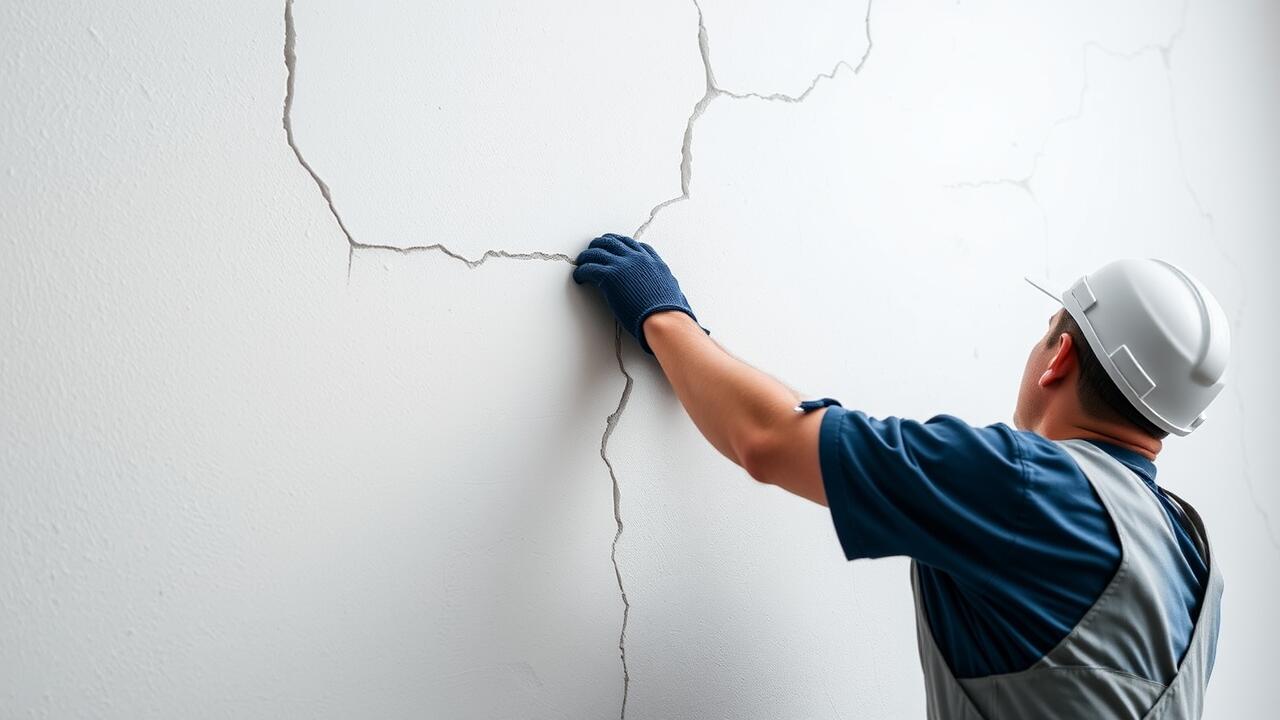
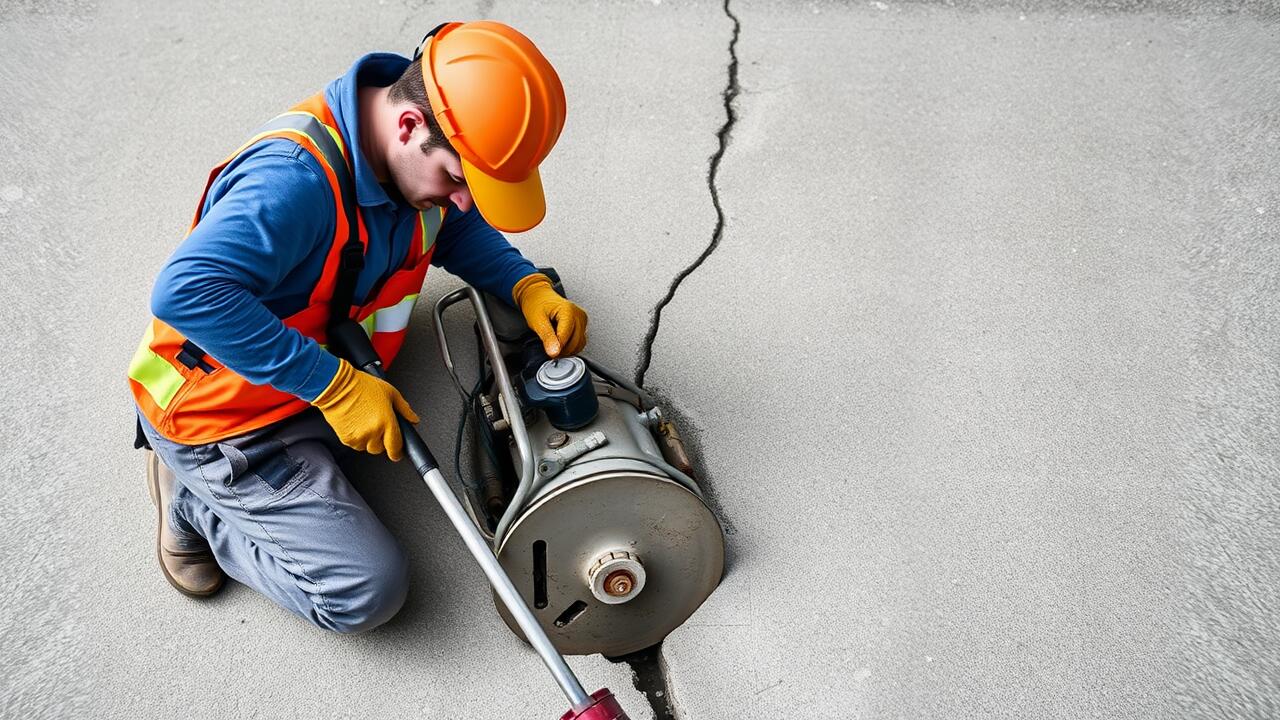
Before applying any sealant, it’s essential to properly prepare the cracked plaster. Start by cleaning the area around the crack to remove dust, dirt, and loose plaster. A small brush or vacuum can help clear debris effectively. Assess the extent of the crack; if it’s deep, you may need to widen it slightly with a utility knife. This will allow for better adhesion of the sealant. After that, ensure the surface is dry as applying sealant on wet plaster can lead to poor results.
Once the crack is clean and the edges are defined, you can proceed with Crack Repair. For optimal results, use a primer on larger cracks to ensure a uniform surface for the sealant. Allow the primer to dry fully before applying the selected sealant. During this process, it’s critical to follow the manufacturer's instructions for both the primer and sealant used. This preparation phase sets the foundation for a durable repair that can withstand time and fluctuations in humidity.
Maintenance After Sealing
After applying sealant to plaster cracks, it is essential to monitor the treated areas regularly. Checking for any signs of new cracks or deterioration will help ensure the longevity of your Crack Repair efforts. If you notice any changes, addressing them promptly can prevent further damage. Keeping an eye on the overall condition of the plaster is crucial, especially in locations prone to moisture or temperature fluctuations.
Routine maintenance plays a significant role in the effectiveness of your Crack Repair. Light cleaning of the sealed areas can help preserve the sealant's integrity. Avoid using harsh chemicals, as these may compromise the seal. Instead, opt for a gentle cleaner and a soft cloth to maintain the appearance and durability of the sealed plaster. Regular inspections and minor touch-ups can extend the life of your repairs, ensuring a better finish over time.
Tips for Long-lasting Sealed Cracks
For effective crack repair and long-lasting results, it's essential to choose the right sealant designed specifically for plaster. Look for a product that offers flexibility, moisture resistance, and durability. Such features help prevent future cracking by allowing for some movement within the plaster. Always follow the manufacturer’s instructions for application, as improper technique can negate the benefits of the sealant. Checking the label for compatibility with your plaster's finish can also contribute to a successful repair.
After sealing the cracks, proper maintenance is crucial to ensure the longevity of the repair. Monitor the area for any signs of moisture or new cracks appearing. Regular inspections can help identify potential issues before they escalate. Keeping the surrounding walls dry and well-ventilated can also minimise the risk of further damage. By combining a quality sealant with vigilant maintenance, you can extend the life of your plaster surfaces and keep your home looking its best.
Common Mistakes to Avoid
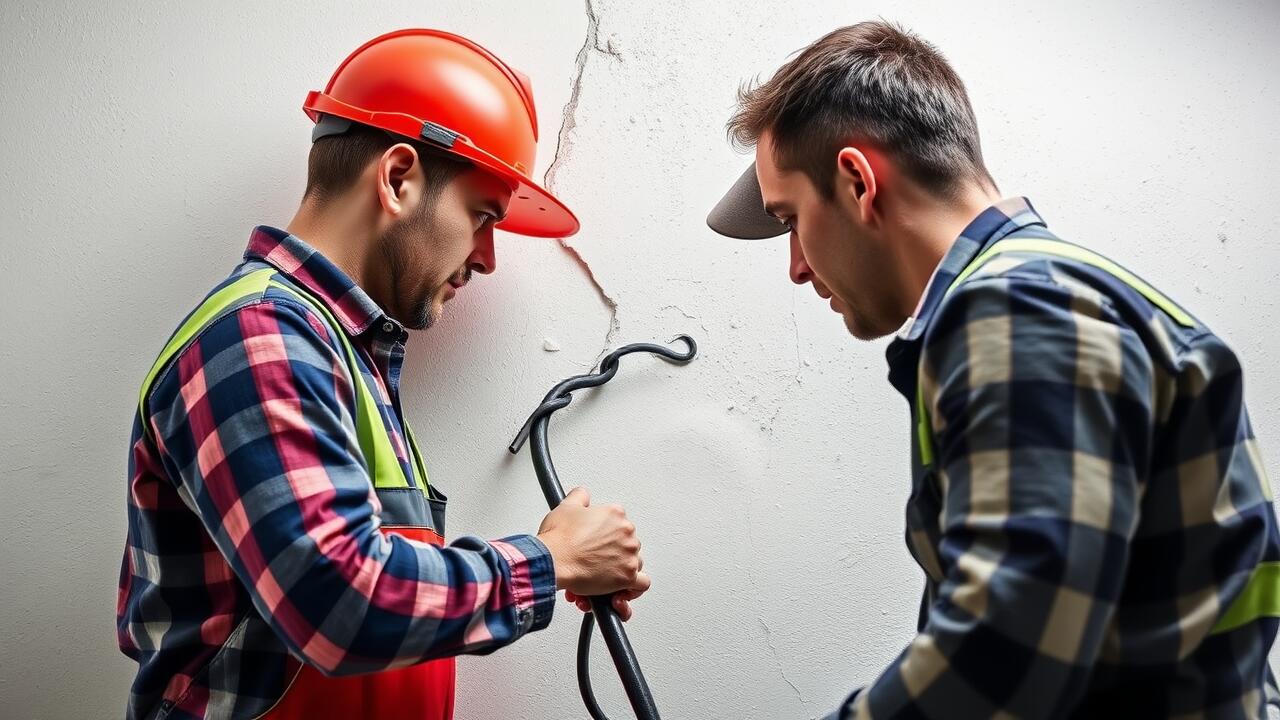
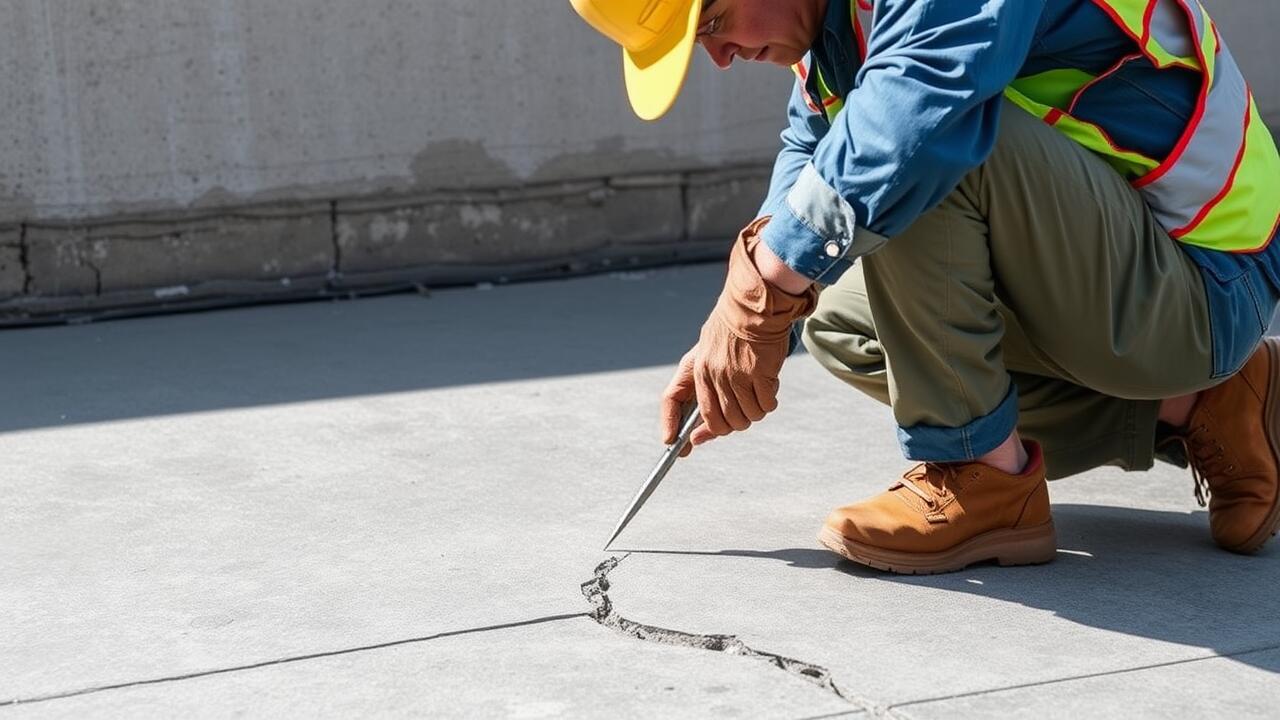
One of the most common mistakes when applying sealants for crack repair is neglecting to clean the surface adequately. Dust, dirt, and loose plaster can interfere with the adhesion of the sealant. Ensuring the area is entirely free from contaminants allows the sealant to bond properly, which is crucial for durability. Users often skip this step in the process, leading to future complications such as peeling or shrinking of the sealant.
Another frequent pitfall arises from using the wrong type of sealant for the specific needs of plaster cracks. Not all sealants are suitable for every application. Some may harden too rigidly, causing them to crack again over time, while others might not adhere well to the plaster surface. Consulting product specifications and selecting a sealant designed explicitly for plaster crack repair can prevent these issues and promote a longer-lasting finish.
Pitfalls When Applying Sealant
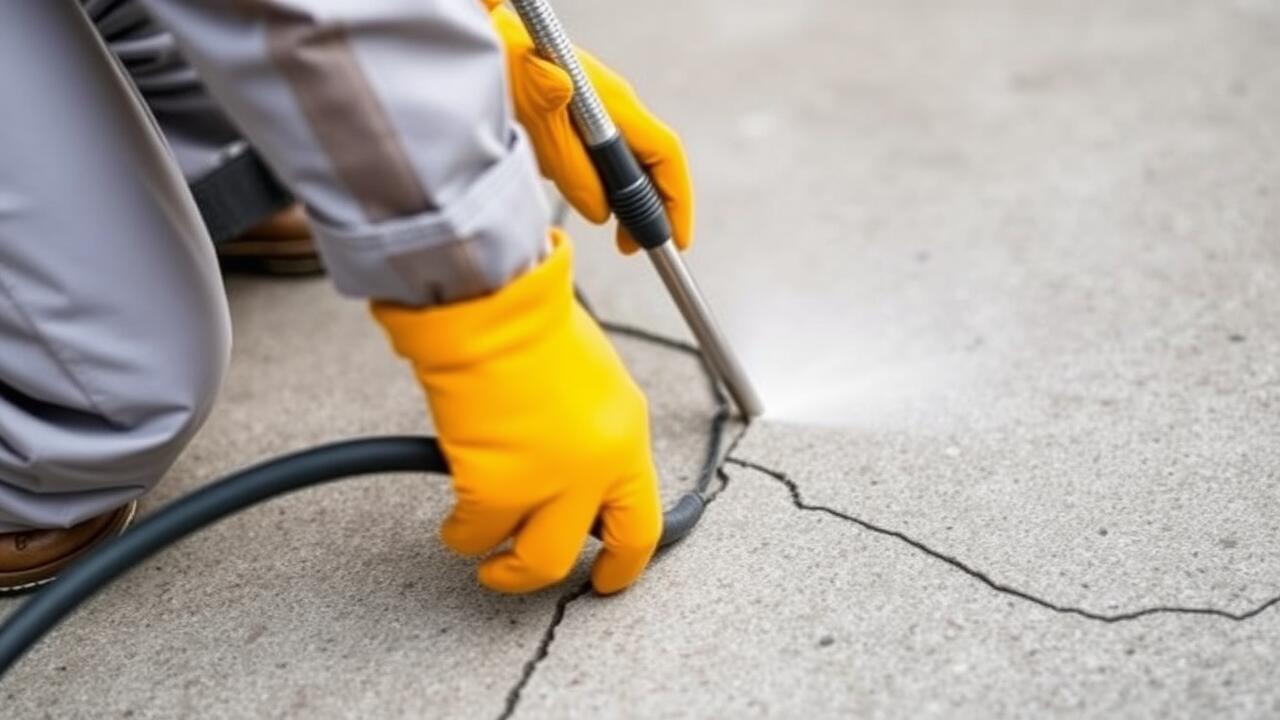
When applying sealant for crack repair, one of the most common pitfalls is neglecting to fully clean the surface of the plaster. Dust, debris, or old paint can interfere with the sealant's adhesion, leading to premature failure of the repair. It's crucial to use a vacuum or a damp cloth to ensure the area is free from any contaminants before applying sealant. This simple step can significantly enhance the longevity of your repair work.
Another mistake is applying too much sealant in one go, which can cause it to sag or run. A thick application may seem like a quicker solution, but it often results in an uneven finish and may fail to properly fill the crack. Instead, it's best to apply the sealant in thin layers, allowing each layer to dry before proceeding to the next. This method ensures better coverage and a more professional-looking result for your crack repair project.
FAQS
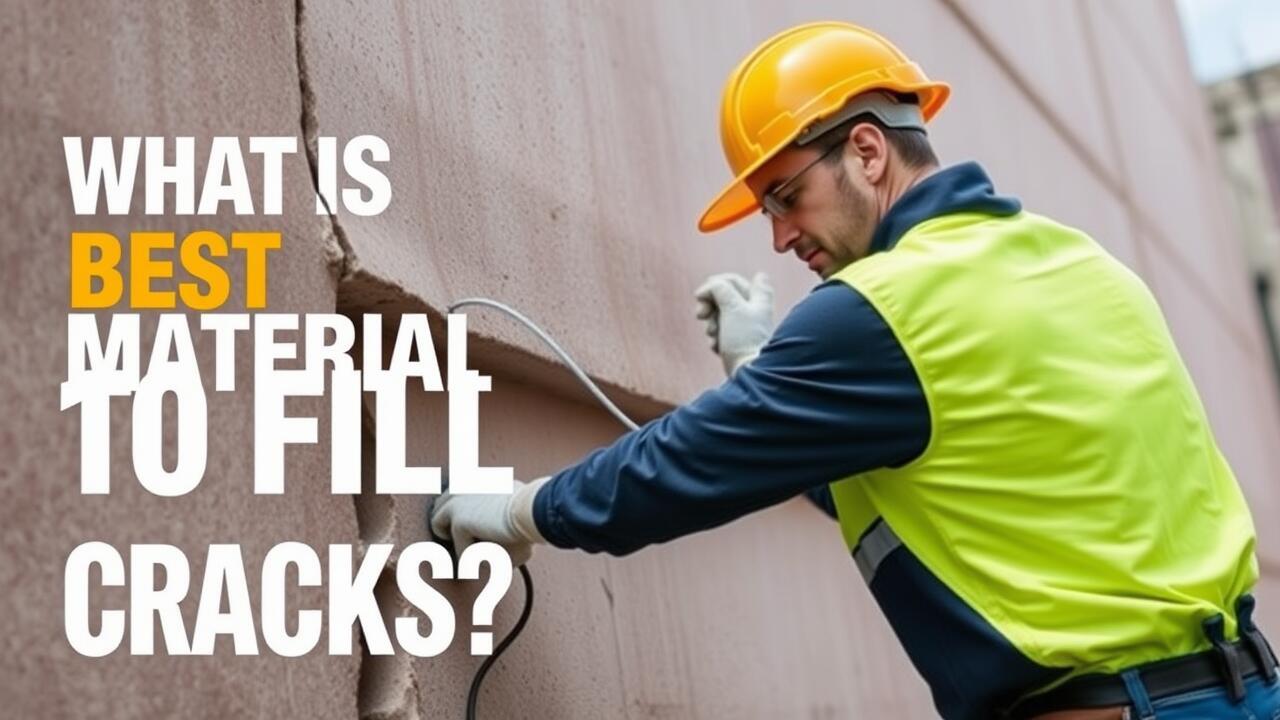
What type of sealant is best for plaster cracks?
A high-quality acrylic or latex sealant is often recommended for plaster cracks, as it offers flexibility and good adhesion. For larger cracks, a polyurethane sealant may be a better choice due to its durability.
How do I prepare cracked plaster for sealing?
To prepare cracked plaster, first clean the area by removing any loose debris or dust. Then, use a putty knife to scrape out the crack to create a V-shaped groove for better sealant adhesion. Ensure the surface is dry before applying the sealant.
How long does it take for sealant to dry on plaster?
Drying times can vary depending on the type of sealant used. Generally, most sealants will be dry to the touch within a few hours but may take up to 24 hours to fully cure. Always refer to the manufacturer's instructions for specific drying times.
Can I paint over the sealant after it dries?
Yes, most acrylic and latex sealants can be painted over once they are fully cured. It’s advisable to wait at least 24 hours before applying paint, and ensure that the sealant is compatible with the type of paint you intend to use.
What common mistakes should I avoid when sealing plaster cracks?
Common mistakes include applying sealant to damp surfaces, not properly preparing the crack, using the wrong type of sealant for the job, and failing to smooth out the sealant for a clean finish. Always take your time to ensure a thorough and careful application.